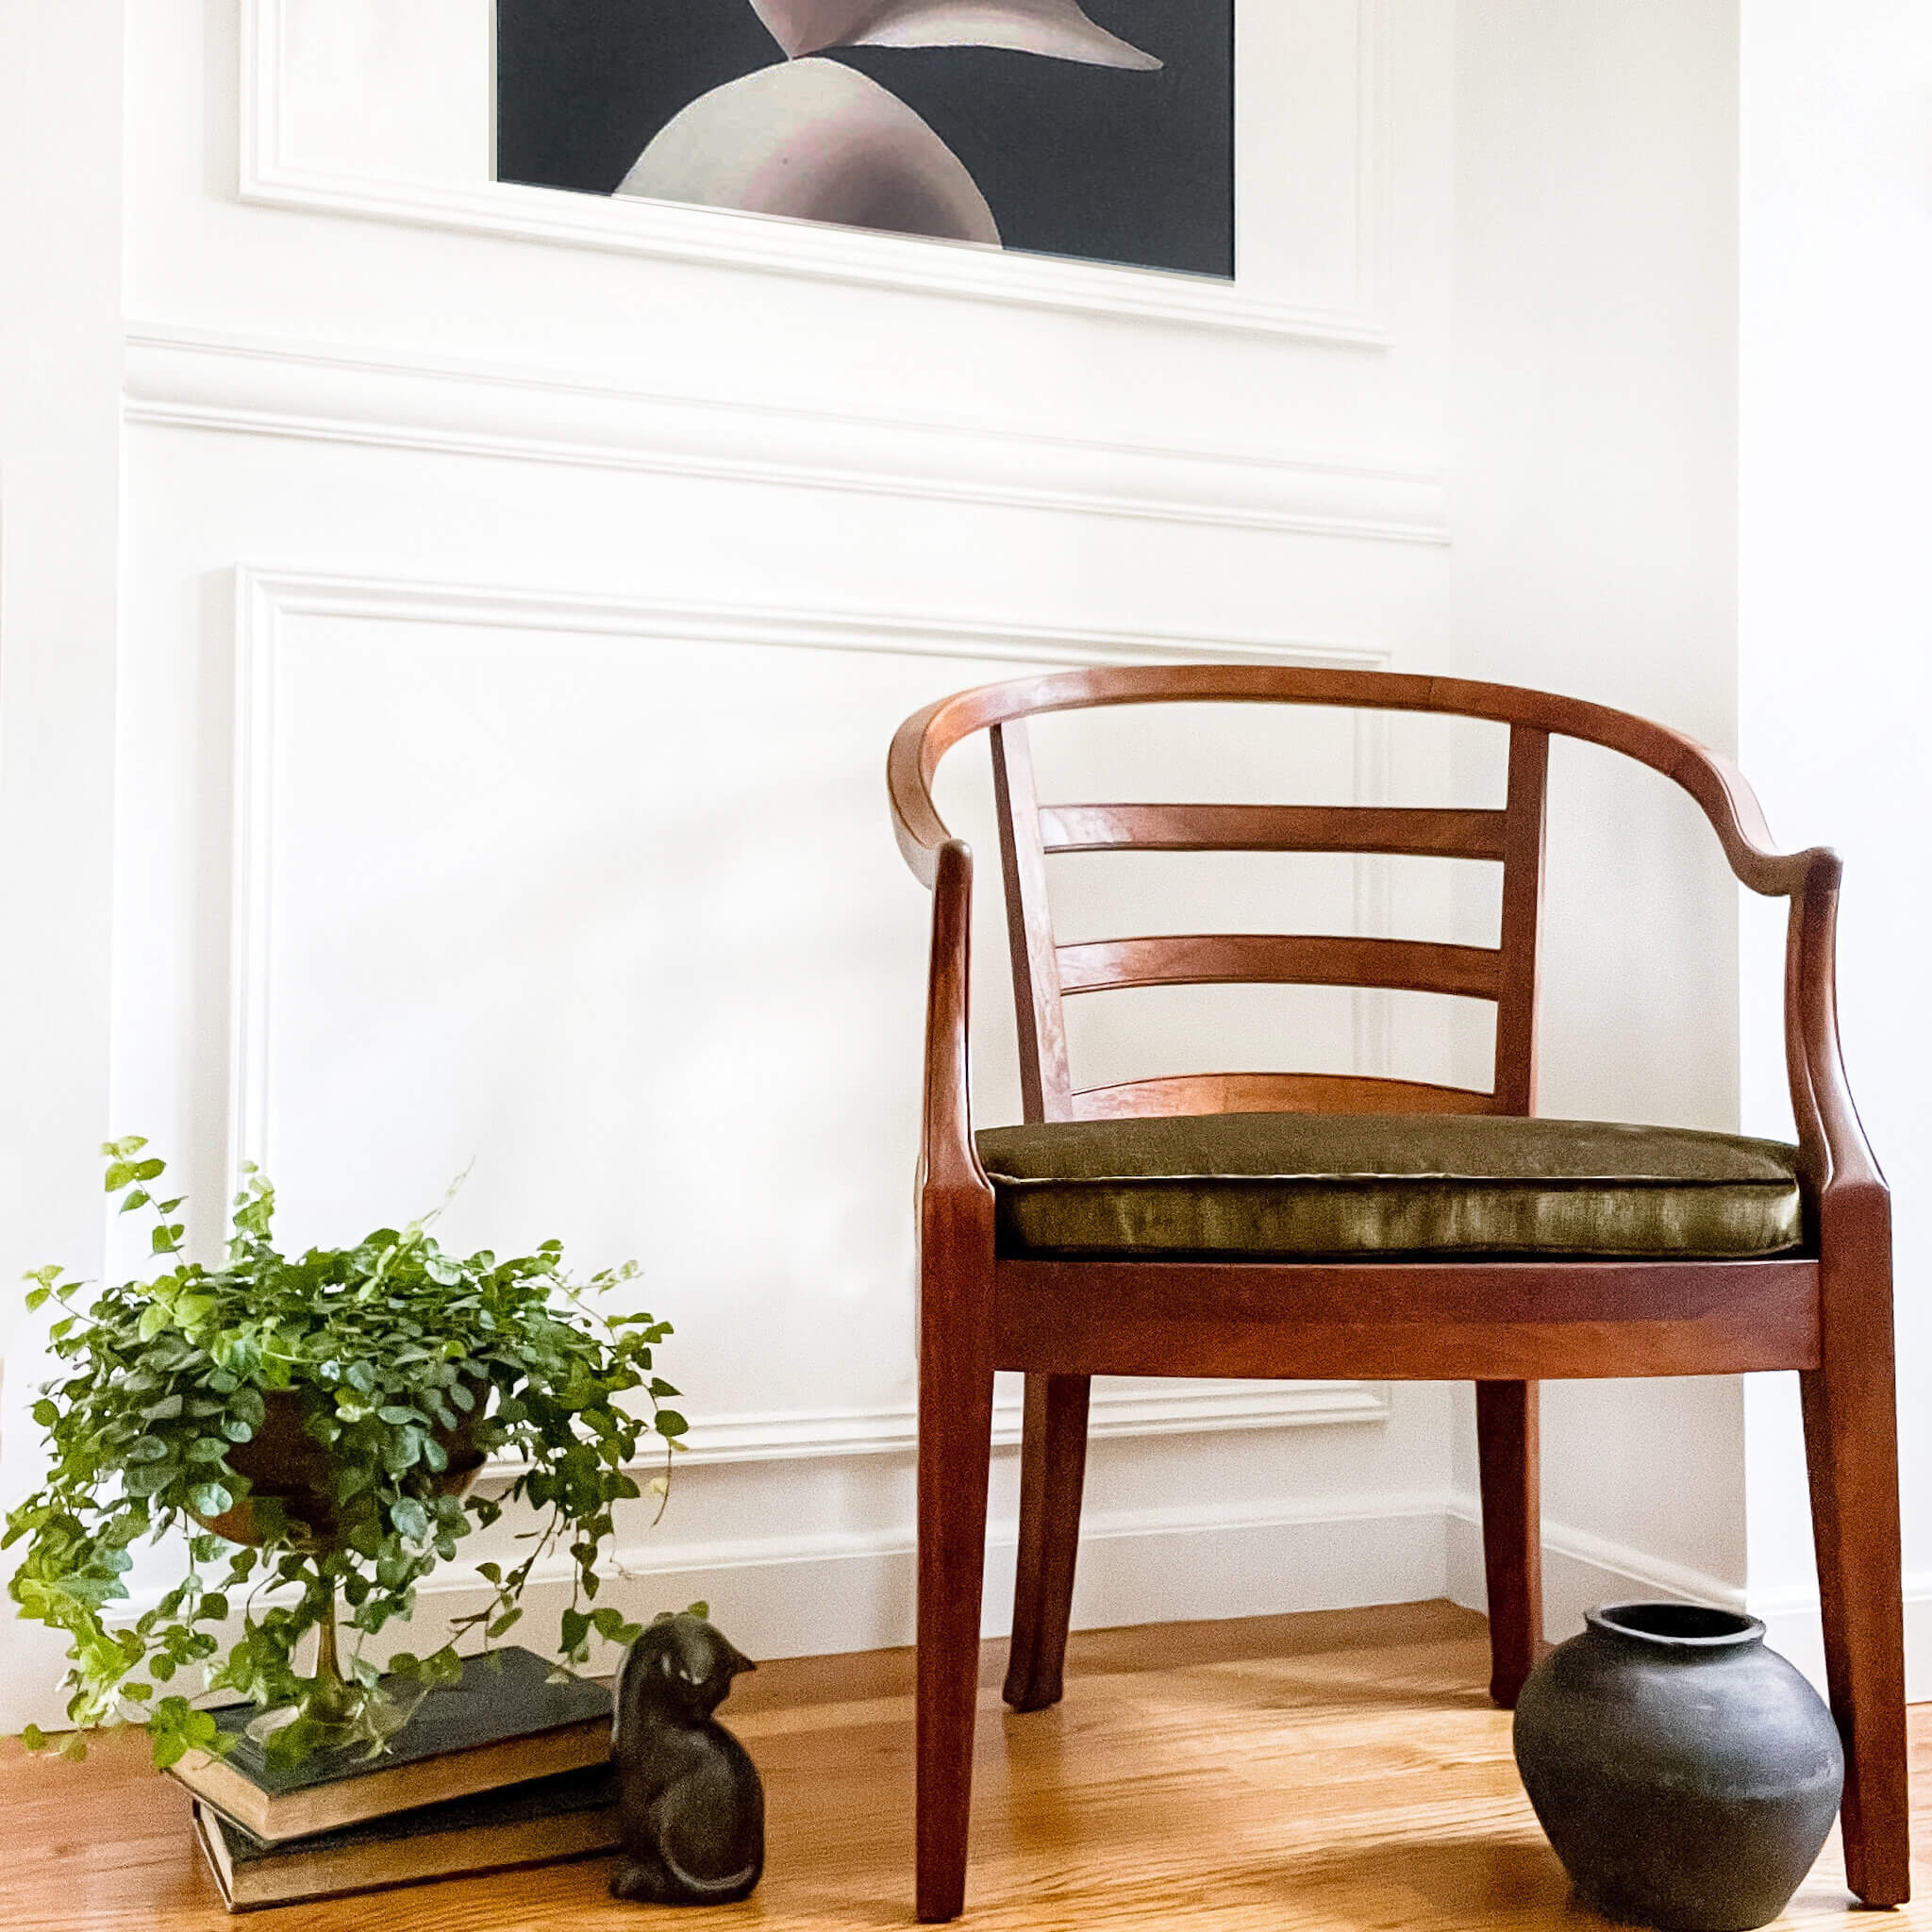
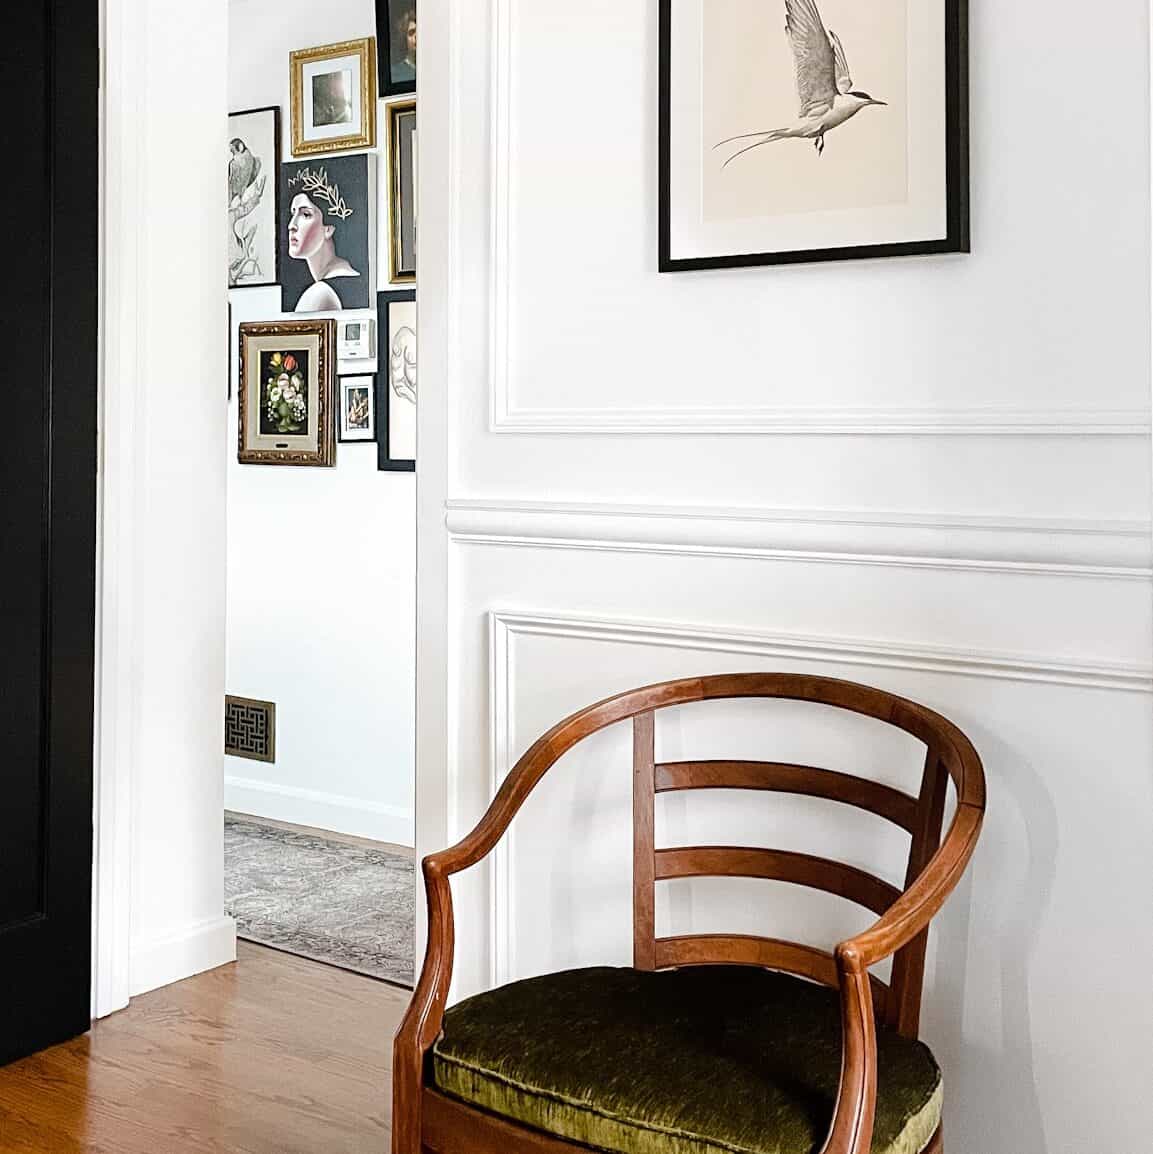
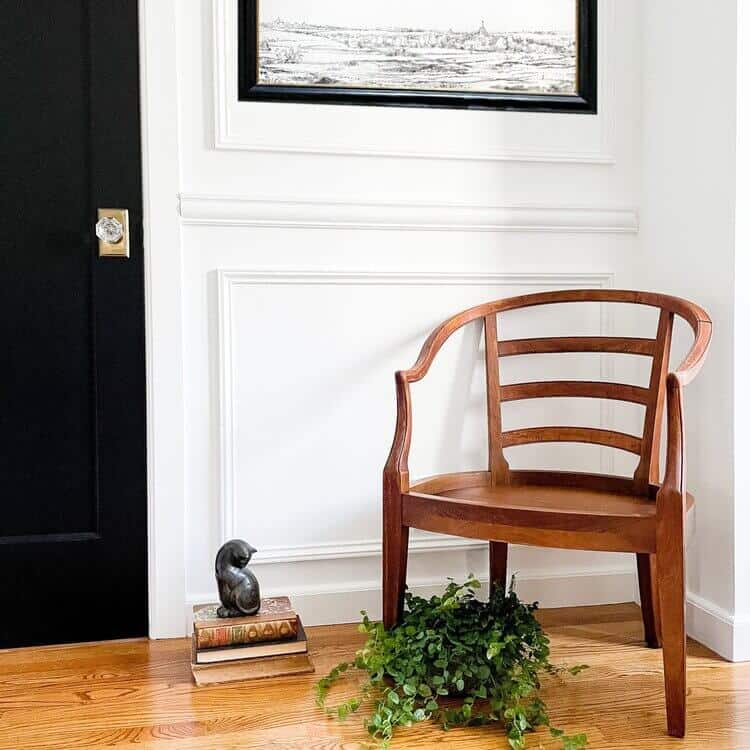
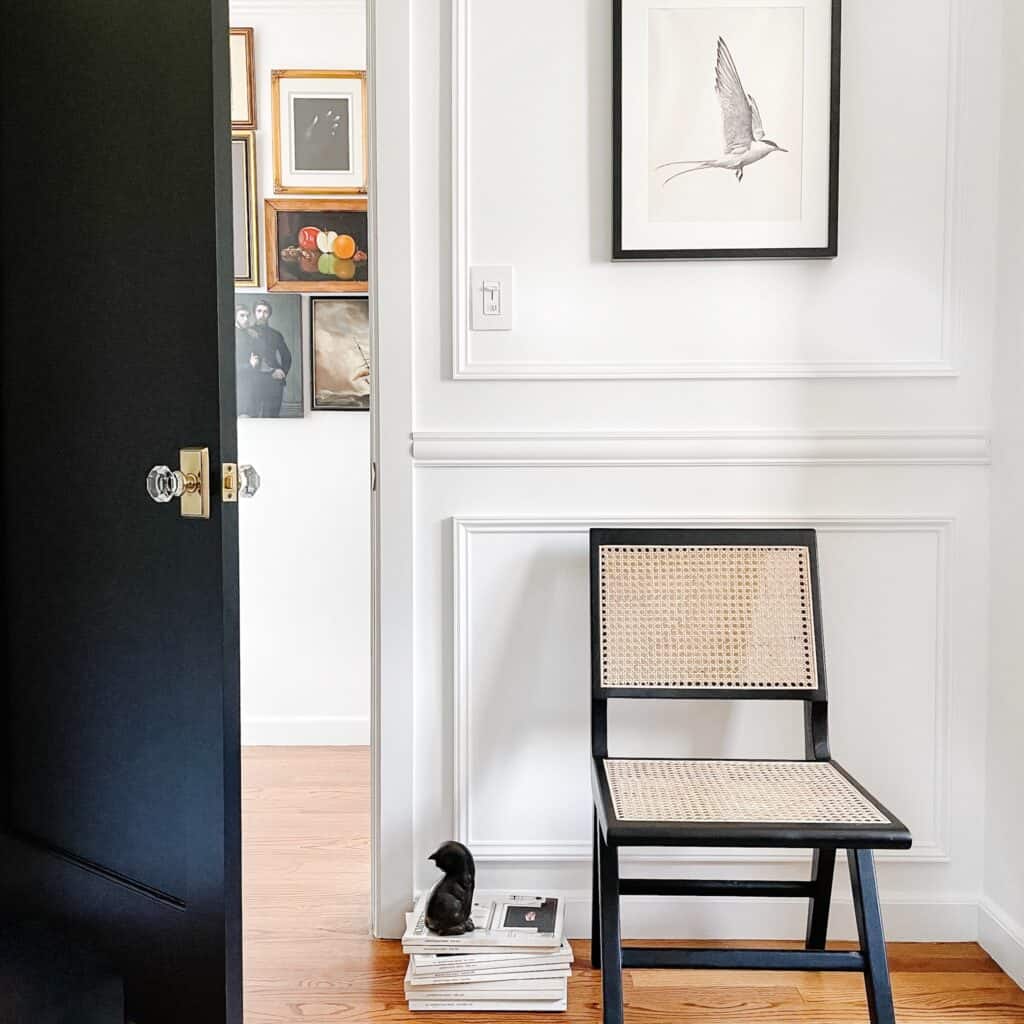
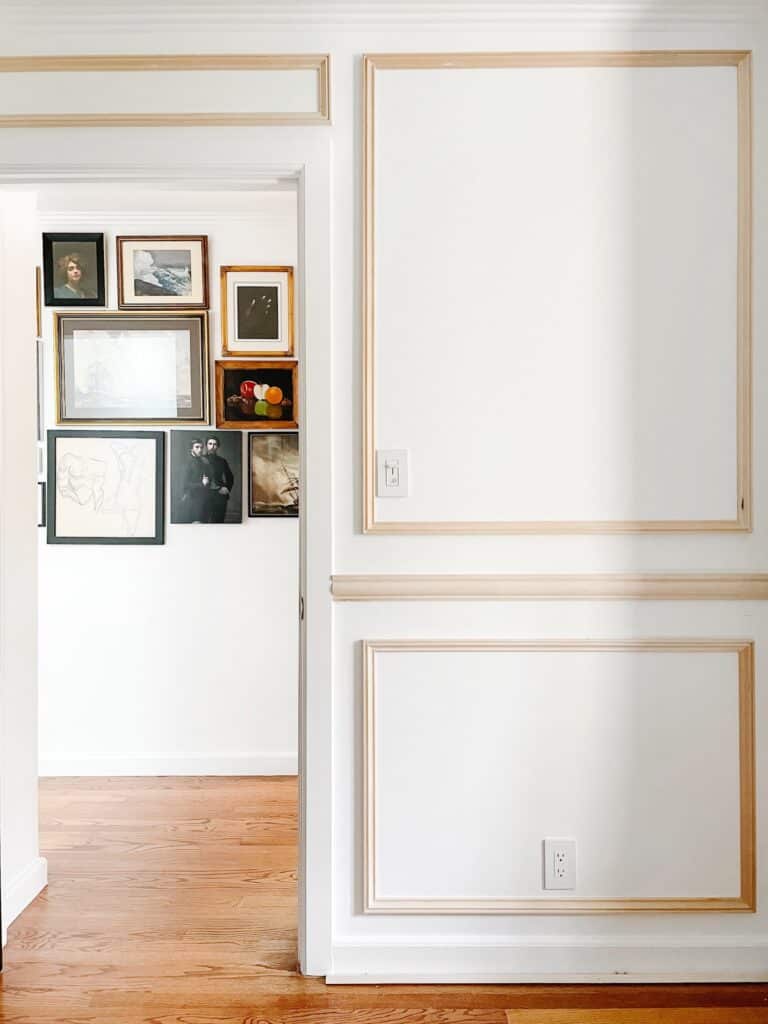
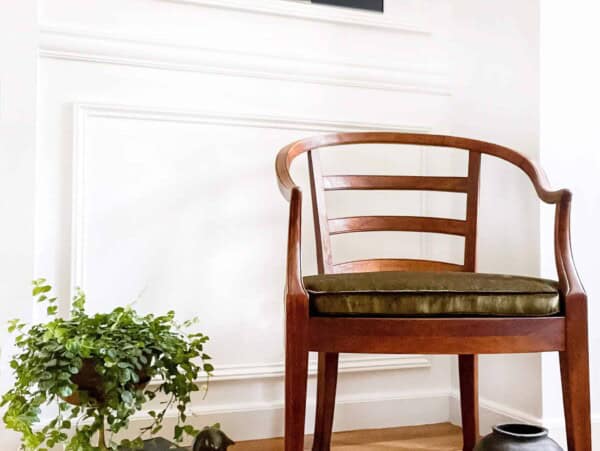
Is there anything better than adding charm to a bland corner of your home? This easy DIY box moulding set-by-step tutorial does exactly that – add a ton of charm! This wall detail sometimes referred to as picture frame moulding leveled up my space instantly, and without power tools. It was incredibly easy to do – anyone can do it, even beginners. Plus, it makes a big impact. Just look at the before and after below!
But you are probably wondering. What are box mouldings, and what do ya even need to do to install some of your own? Never fear. I gotcha covered. But first, let’s cover some of the basics. Need help with your floors instead? Consider my pine floors restoration tutorial.
What are box mouldings?
First things first. Box Moulding or picture frame molding are individual rectangular or square boxes that resemble picture frames commonly installed onto walls. These moldings divide the wall into separate sections and are often seen in a foyer, kitchen, dining room, and/or living room. They are added to liven up a space and create visual interest dating back to ancient roman times but commonly used in interiors in 18th century.
It’s common for homeowners to feel overwhelmed by the ocean of home interior design ideas that they can incorporate into their spaces. Most of us (if you are here) want a space to go beyond the ordinary without appearing overworked or fussy. Plus it can’t break the bank. I know I can relate, and this is why I really insist on trying to incorporate this deign element into a space that needs some oomph.
How to install box moldings on your own?
Installing box moldings on your own can be super easy. There are just a few things you will want to keep in mind.
Gather your tools to make your box moulding
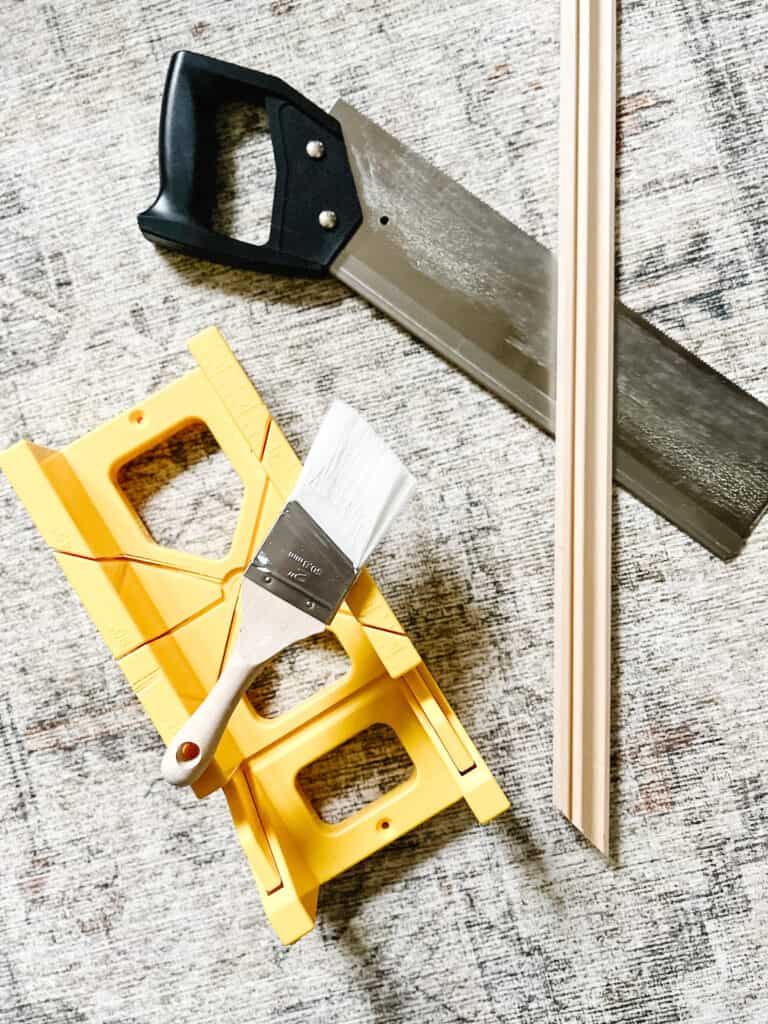
Firstly, you will have to get some tools and materials to start the process. Here’s a list:
- Box moulding I used these.
- Chair rail moulding (optional)
- Drop cloth
- Measuring tape
- Caulking gun
- Paintable caulk
- Dust mask
- Paint set with paintbrush and tray
- Finishing nails and and hammer or brad nail gun with brad nails
- Level or laser nail
- Miter Box and Saw or Miter Saw if you want to use power tools
- Safety glasses
- Sandpaper to smooth 220
- Wood filler
- Frog or painter’s tape
- Baby wipes to clean up caulk
Measure and Mark You Walls
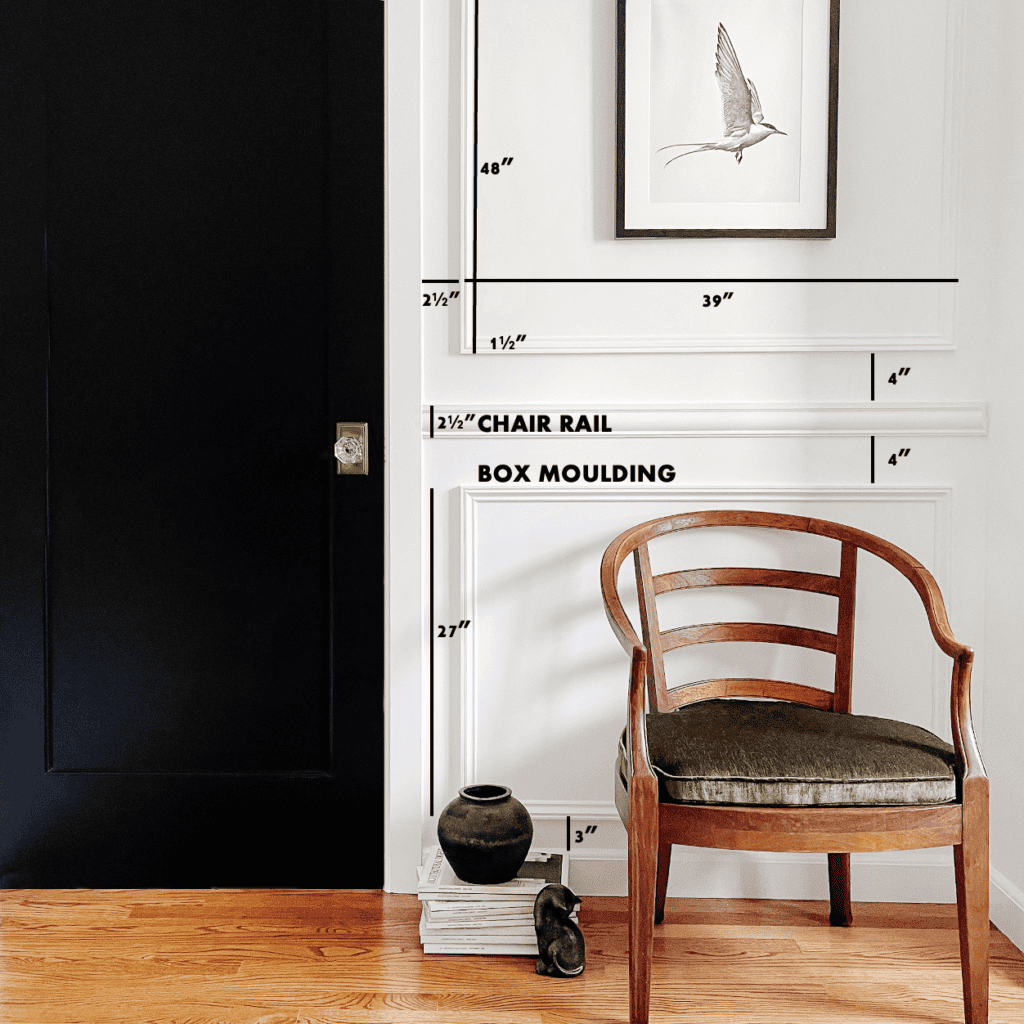
Measure and even draw up the box sizes with respect to your overall wall spaces using a pencil, level, and measuring tape. I have 8′ ceilings so I I divided my wall into two sections and literally drew on my walls with a pencil and front tape! Go for it. You can consider having a large center box paired with a couple of smaller boxes on both sides. In my case I did a large box up top, a chair railing to split the wall, and a bottom piece box. I suggest to not have all your boxes the same size – this creates some variation.
There is no right or wrong or best way. I liked having my top box just a bit bigger to create a feeling of height. Do what feels good. However, first things first – I do suggest that you draw the complete design plans on your wall to get a visual idea of how the final outcome would look like.
Get the measurements of all the boxes and write them down. Meanwhile, you should also locate the wall studs and mark them with a pencil.
Some general layout guidelines
Keep the distance between each repeating boxes both vertical and between the chair rail (4″)the same while differing the size of the overall box from from the top and bottom. The boxes to the left and right of the first box mouldings I placed on the wall are kept the same size for a uniform look.
For areas above doors and windows the width of the added trim is the same as the opening of the door – not smaller or wider.
I only have two boxes separated by one piece of 2 1/2″ tall chair rail. The chair rail runs at 1/3 of the wall height high, which just happened to be at my hip. I’m 5’9.” This felt right to me.
The spacing from my ceilings crown moulding to the top of me new box moulding is 3″. The same is true for the distance from the top of my baseboard to the bottom of my new box mouldings. I love the way this feels finished.
For any light switches I was careful to have them fall inside the new box moulding. I did not want to cut around them. This worked out well!
Purchase your molding
After you have drawn the boxes on your wall, add up the dimensions of each box and keep a buffer of 10 percent for waste. You will find standard wood moldings (something that looks great as a living room design) are available in lengths of 8, 10, and 12 feet. Calculate the lengths of moulding that will be ideal for your wall—something that will cover the width of the wall and height while keeping waste at a minimum. I got my box moulding time at Home Depot
Cut your box moulding
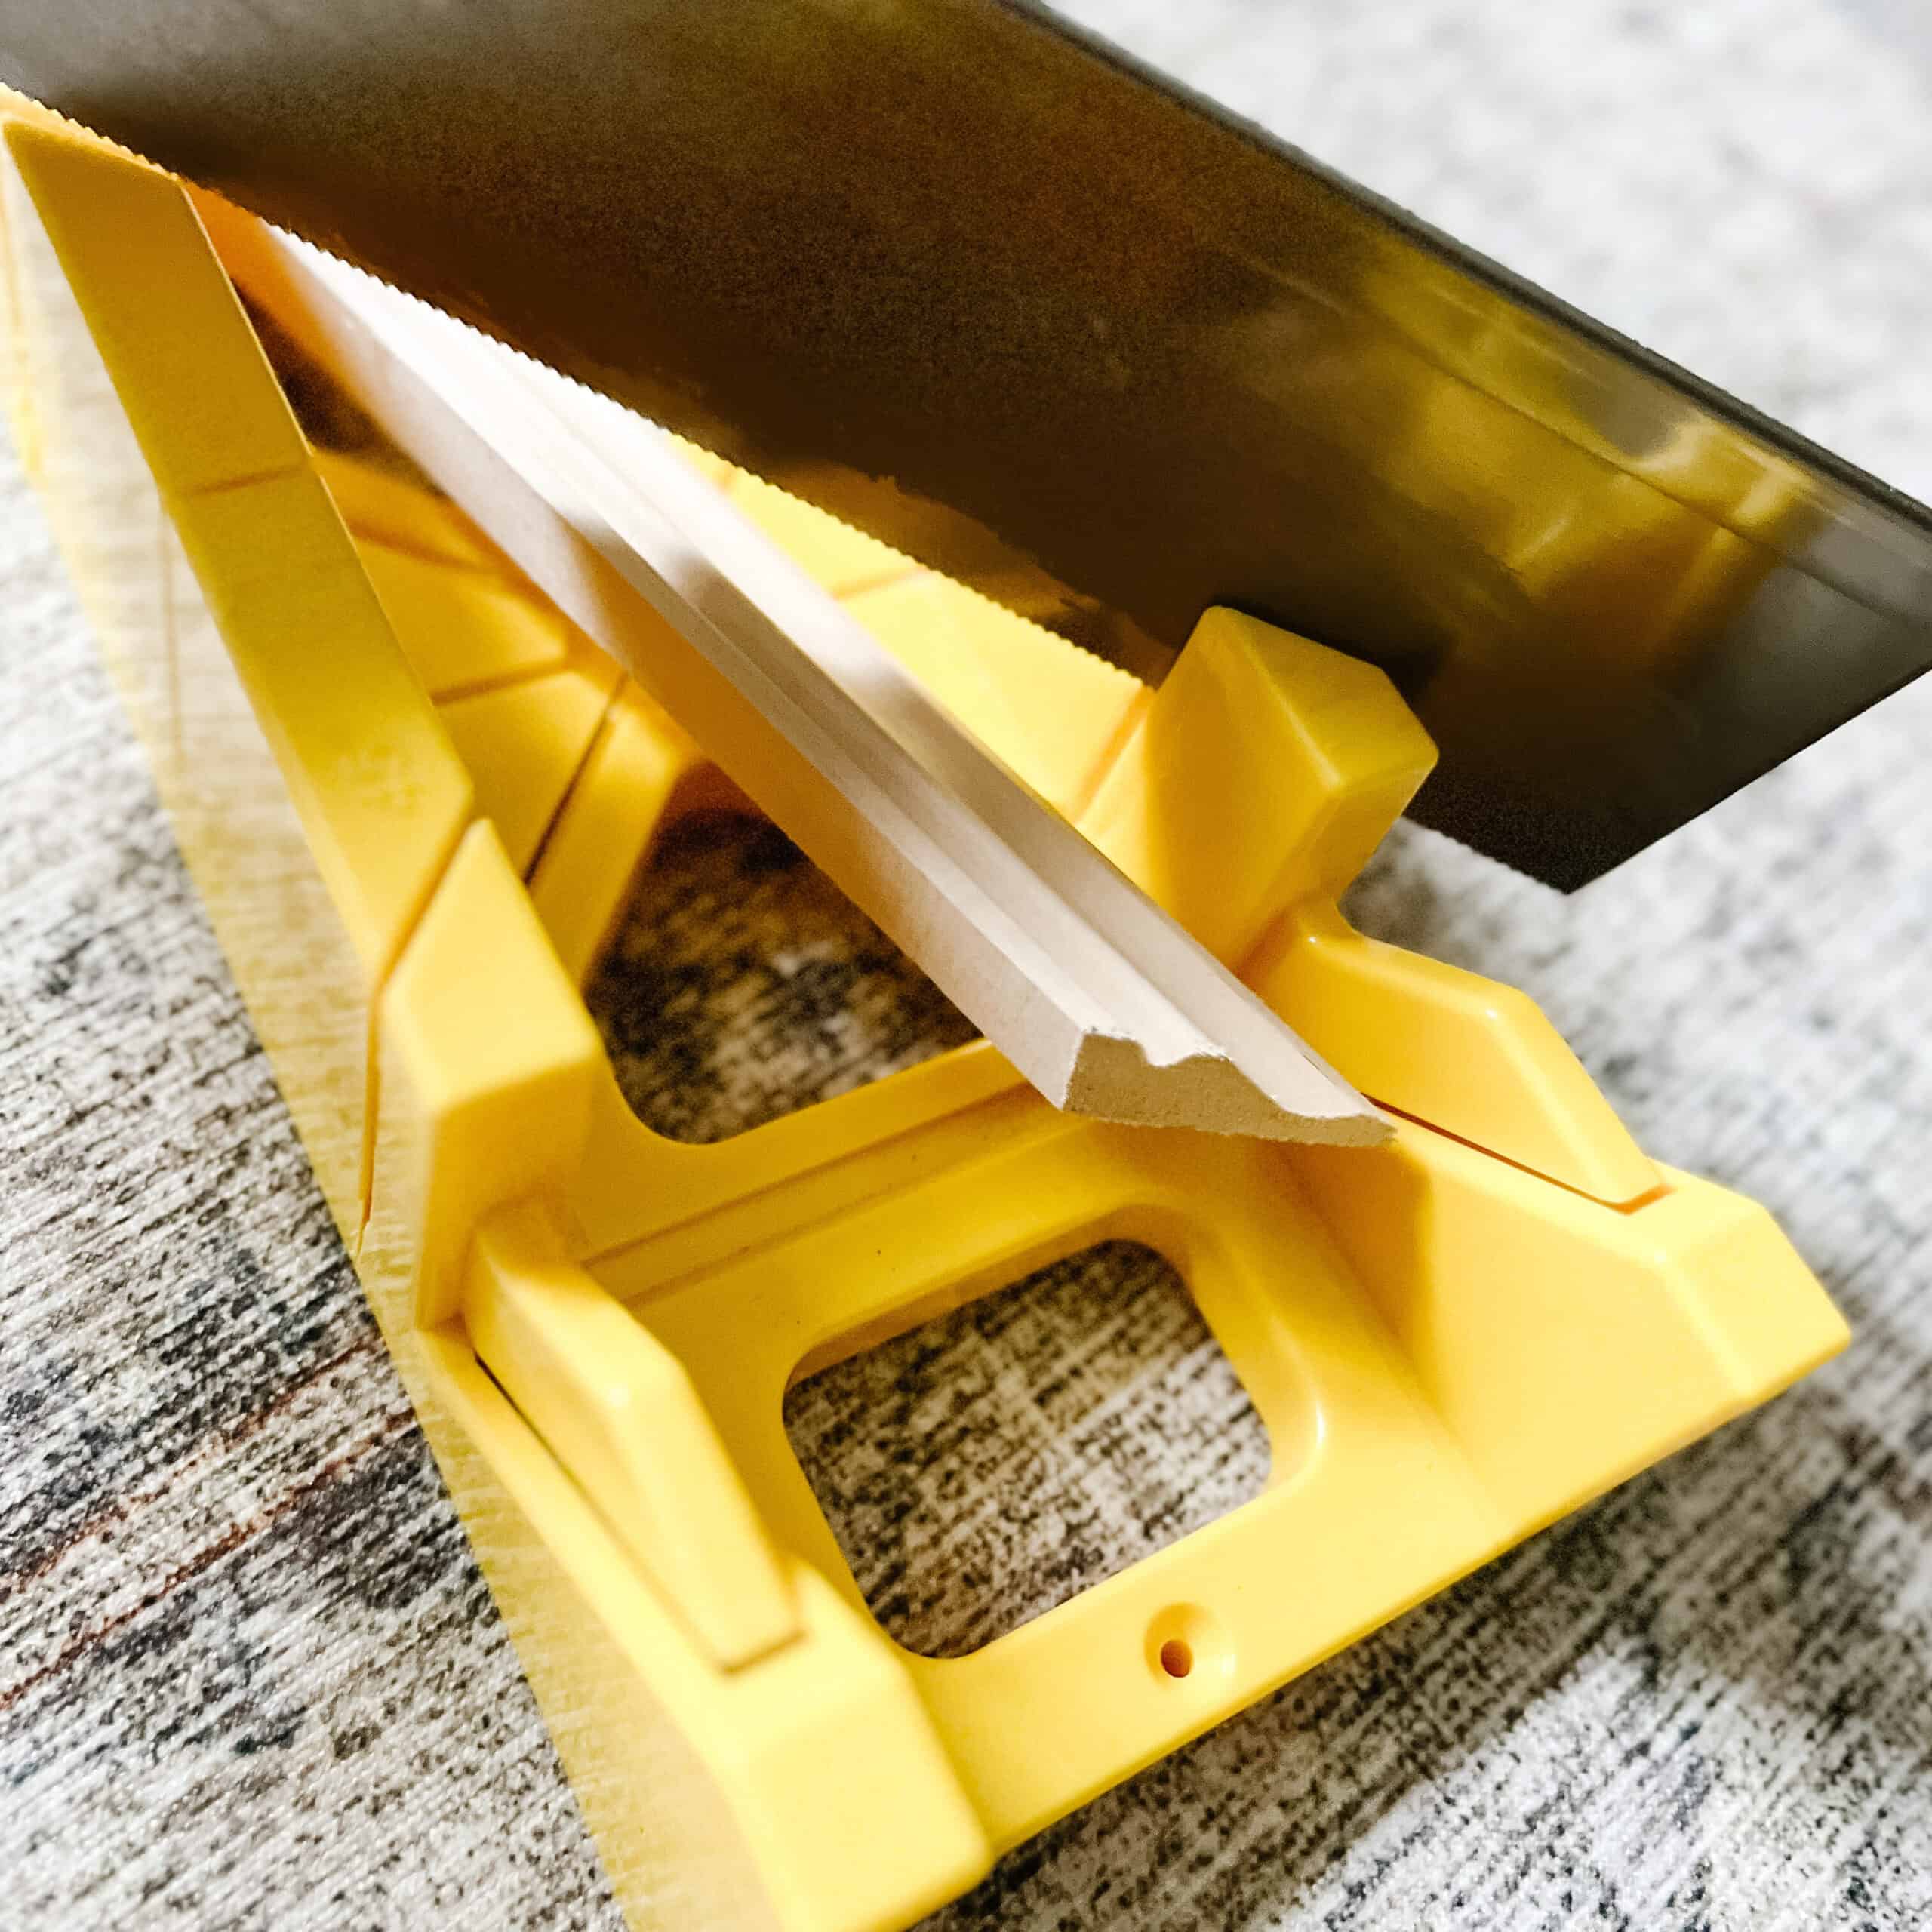
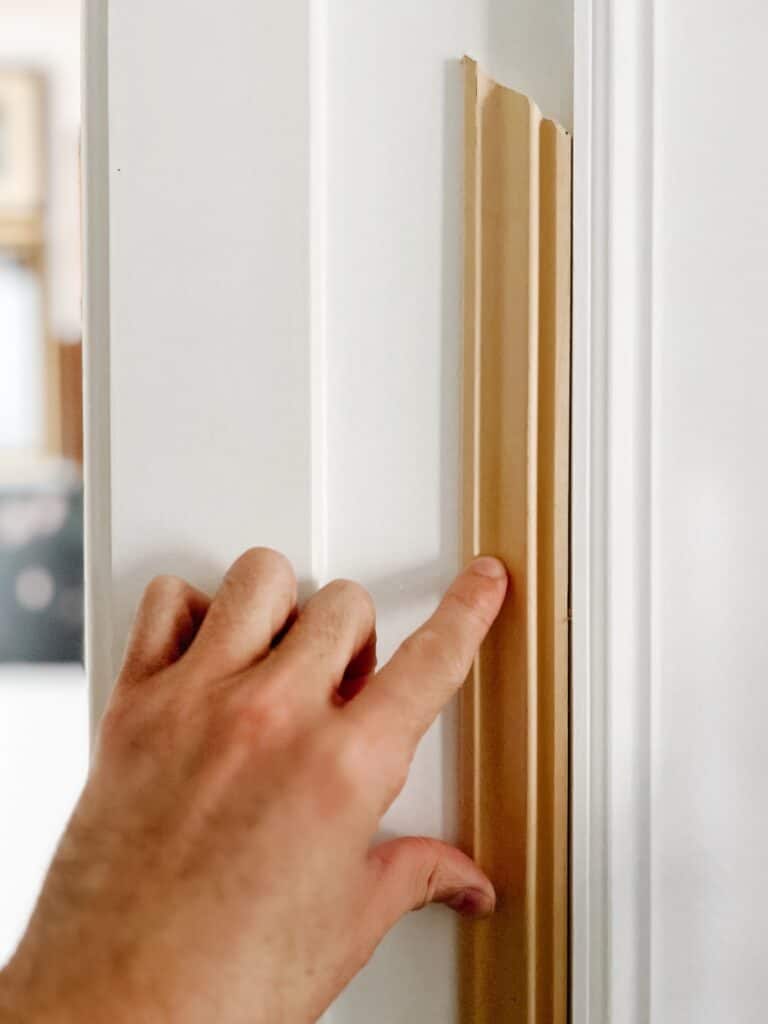
Once you buy your box molding, it’s time to cut them down according to the dimensions you need in Step 2. Grab the measurement of the distance between two interior corners and cut your box molding accordingly using a miter box and saw set by hand, or with my electric-powered mitre saw. Creating boxes will require each corner to be angled at 45 degrees. Also, do wear your safety glasses while cutting the molding lest some pieces enter your eyes. Also, you will want to sand down any rough cuts. Be sure to wear a mask – you don’t want to breathe in the dust.
One note on cuts, be sure to use your 45-degree cut angle setting on either your miter saw or box saw. You want each corner to line up easily. If you are making multiple cuts at once just be sure to line em up before nailing them to the wall. You don’t want to mix em up!
Nail em’ In

After cutting your wall molding, you need to secure them to the wall in your preferred design. I used my brad nailer. It’s super safe and easy to use, I promise. Plus it’s ridiculously fun. I like to lay out the design and stick each piece to the wall with frog tape first. This helps me see the overall look before committing. I am big on seeing the proportions. Don’t worry if things are a little loose. Just be sure to use your level and make sure your first install is even, flat, and secure.
I use two finishing nails or brad nails per molding, sometimes three if it’s large. Don’t forget to keep things evenly spaced. Then work from that piece and keep things level. Don’t trust your ceiling – she is a shady lady. If you can nail into a stud great – but honestly, mine are so light it didn’t matter.
Repeat and secure all box mouldings
Simply repeat until you are complete. You need to repeat the steps above for all the box moldings. Cut the moldings as per the size of the boxes and keep nailing them up. If you have boxes alternating between small and big, you should try to stick to them. Be sure to use your level along the way. If you are going to wrap molding around outside corner joints make sure you make a 90 degree angle miter cut to the molding wrap around the edge and comes together on the other side as needed. DM me if you have questions or need further assistance. Remember it’s okay to mess up! I did it many times. Once you have all of them in place, then proceed to the next step, which is…
Patch nail holes
Nail holes peeping out can be a turn-off. It just doesn’t look polished. To get a clean expensive look cover them, using wood putty. You can also use it to fill in any gaps around connecting corners. Once done, let it dry for some time, after which you can create a smooth surface by using sandpaper. Also, you need to caulk it to fill gaps between the wall and the molding. Just be sure to use painter’s caulk. You will want to paint in the end to get a seamless look.
Prime and paint
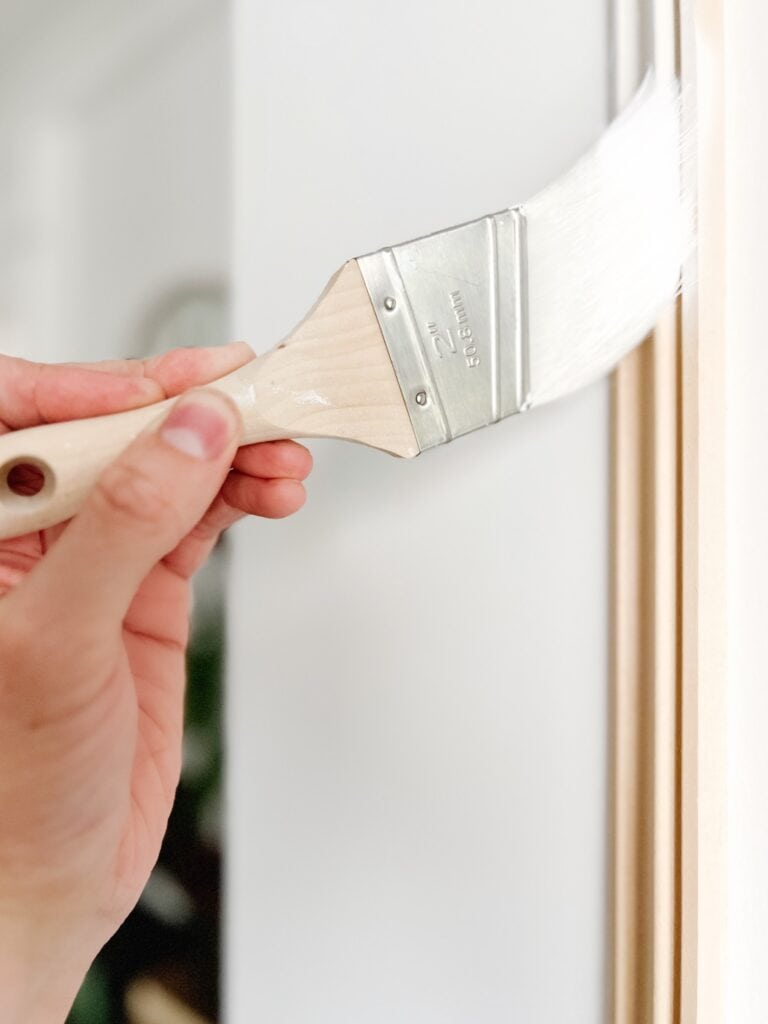
Finally, you have entered the final stage of the box trim molding installation process. After filling holes and gaps, it’s time to apply a primer, especially if you are using wood moldings. Be sure to sand your moldings lightly to help the paint adhere. If your box molding already has a primer on the surface, then you don’t have to carry out this step but do overfill your nail holes and sand those down.
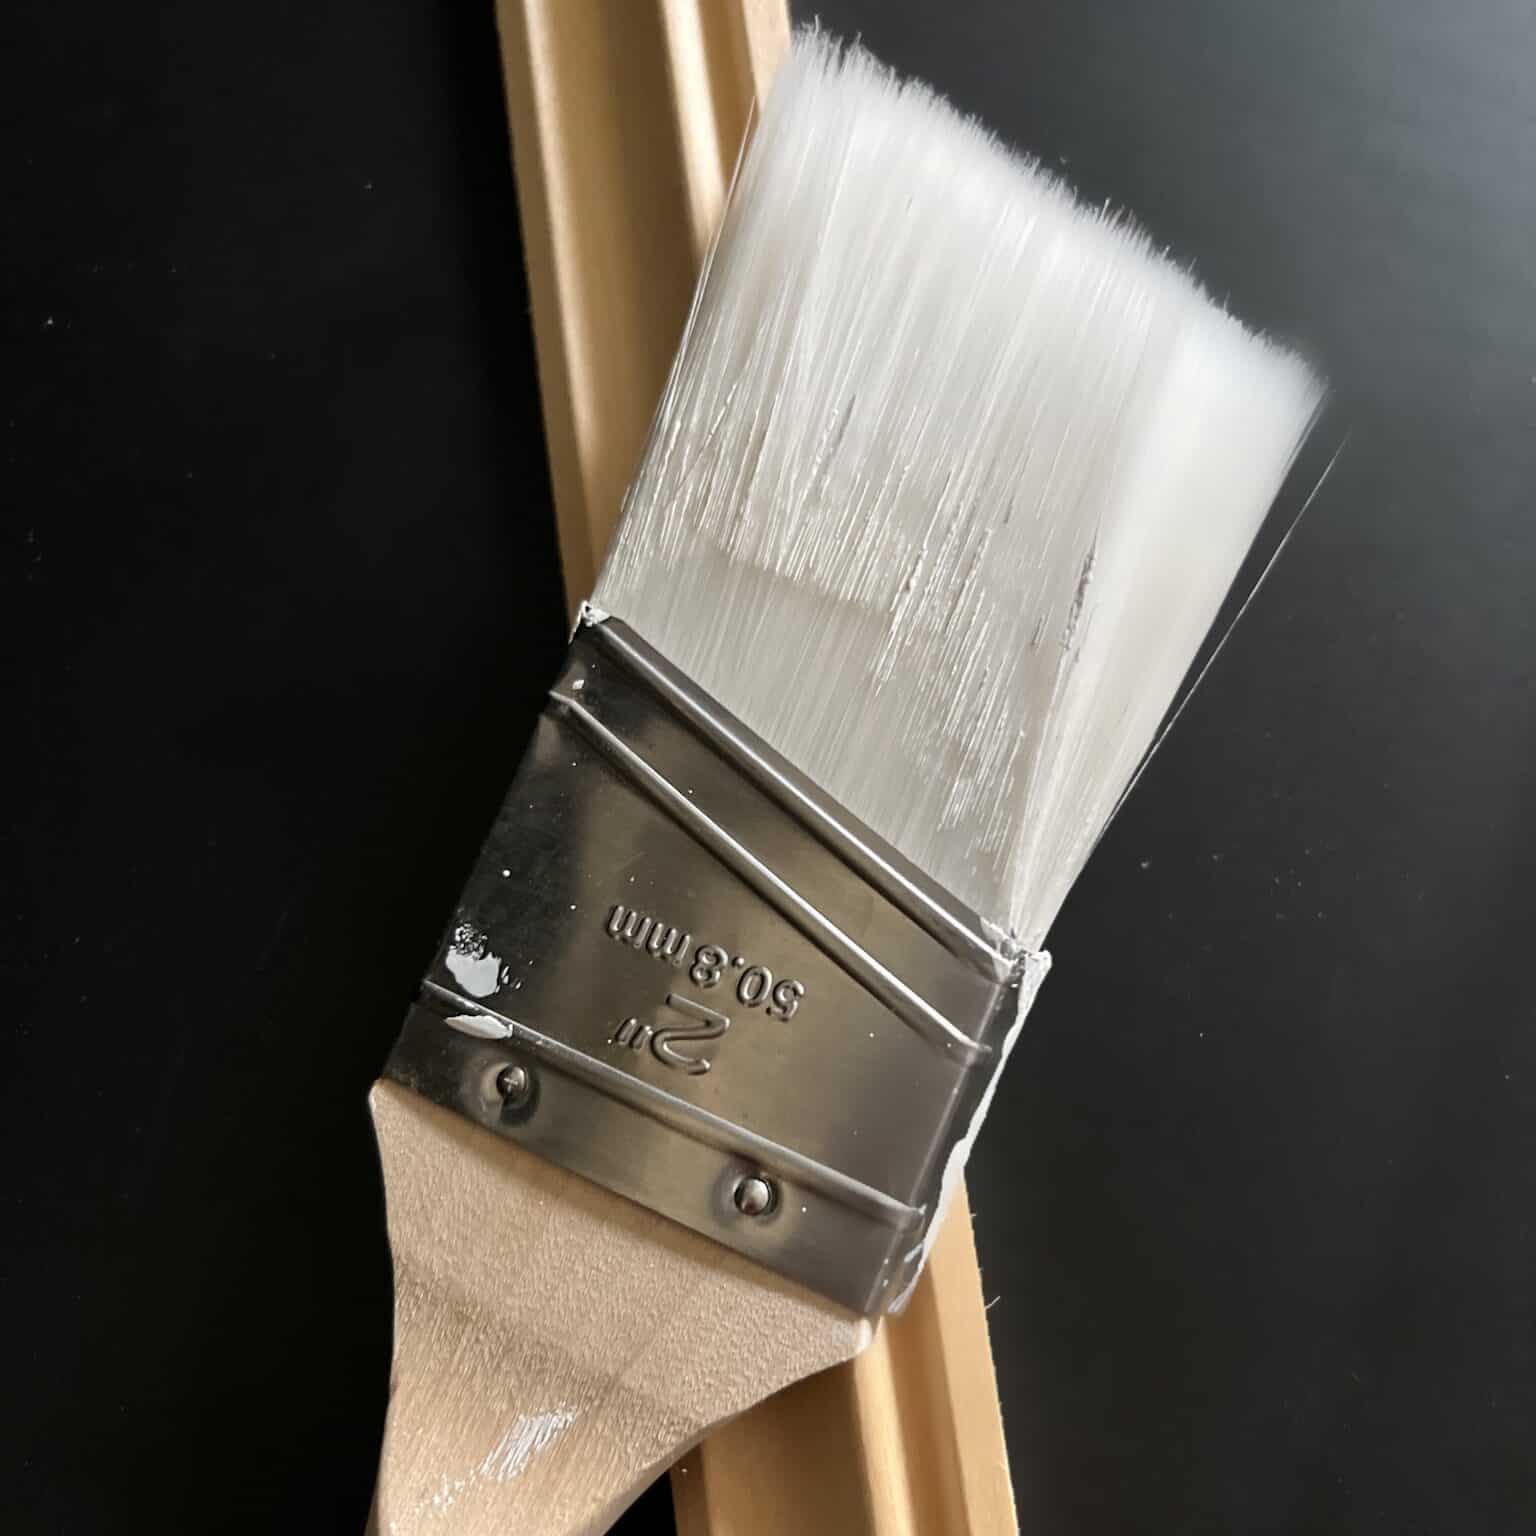
Using your paintbrush, paint the molding with the color of your choice. Ideally, you should go for a color that complements your overall home interior design. I chose to have mine match my entire wall color – Chantilly Lace White by Benjamin Moore. Note that I used a matte finish so that my small wall mouldings would be the same color and finish as my wall color. Two coats should be more than enough. Watch for pooling in corners.
Once you have applied your coats of paint, your box molding is done. You should have a high-end look! So easy right? I know that these steps may seem daunting at first, but it’s really quite doable. I suggest this DIY for first-timers all the time. Plus. the impact is huge. Plus, they look great in almost any room! I promise you will love the end result.
Give it a try. I promise you can do it! xoxox


Brad nail guns are breat for thin MOULDING.