So, you’ve painted your front door and your home looks amazing from the outside: what’s next? Well, if you’re tired of looking at the plain wall in your hallway then you’ll love what I have in store. Today, we’ll be learning how to complete your own hallway panelling DIY project!

There are plenty of youtube tutorials on DIY panelling you can watch, as well as wall panelling kits to help you get that perfect panelled look you keep seeing plastered all over social media.
However, if you just want to learn everything you’ll need to know in one place, then I have exactly what you’re looking for just below. Let’s get started!

How to Prepare
Proper planning is vital for your hallway panelling DIY project. Actually, that statement is fairly accurate for any type of project, but especially so for DIY paneling, DIY wallpaper, or anything else that’s highly visible in your home.
You should start brainstorming right away! Figure out what type of wall panels you’ll want, the dado rail you’ll be using, and the color(s) of paint you’ll need. If you have a few different ideas, making a quick mockup could help you settle on a design.

Pin this article
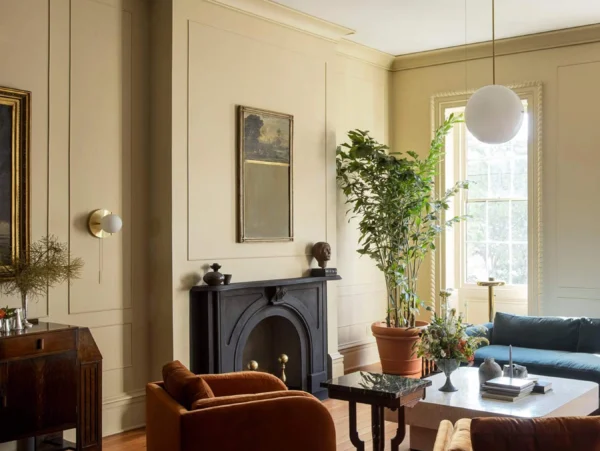
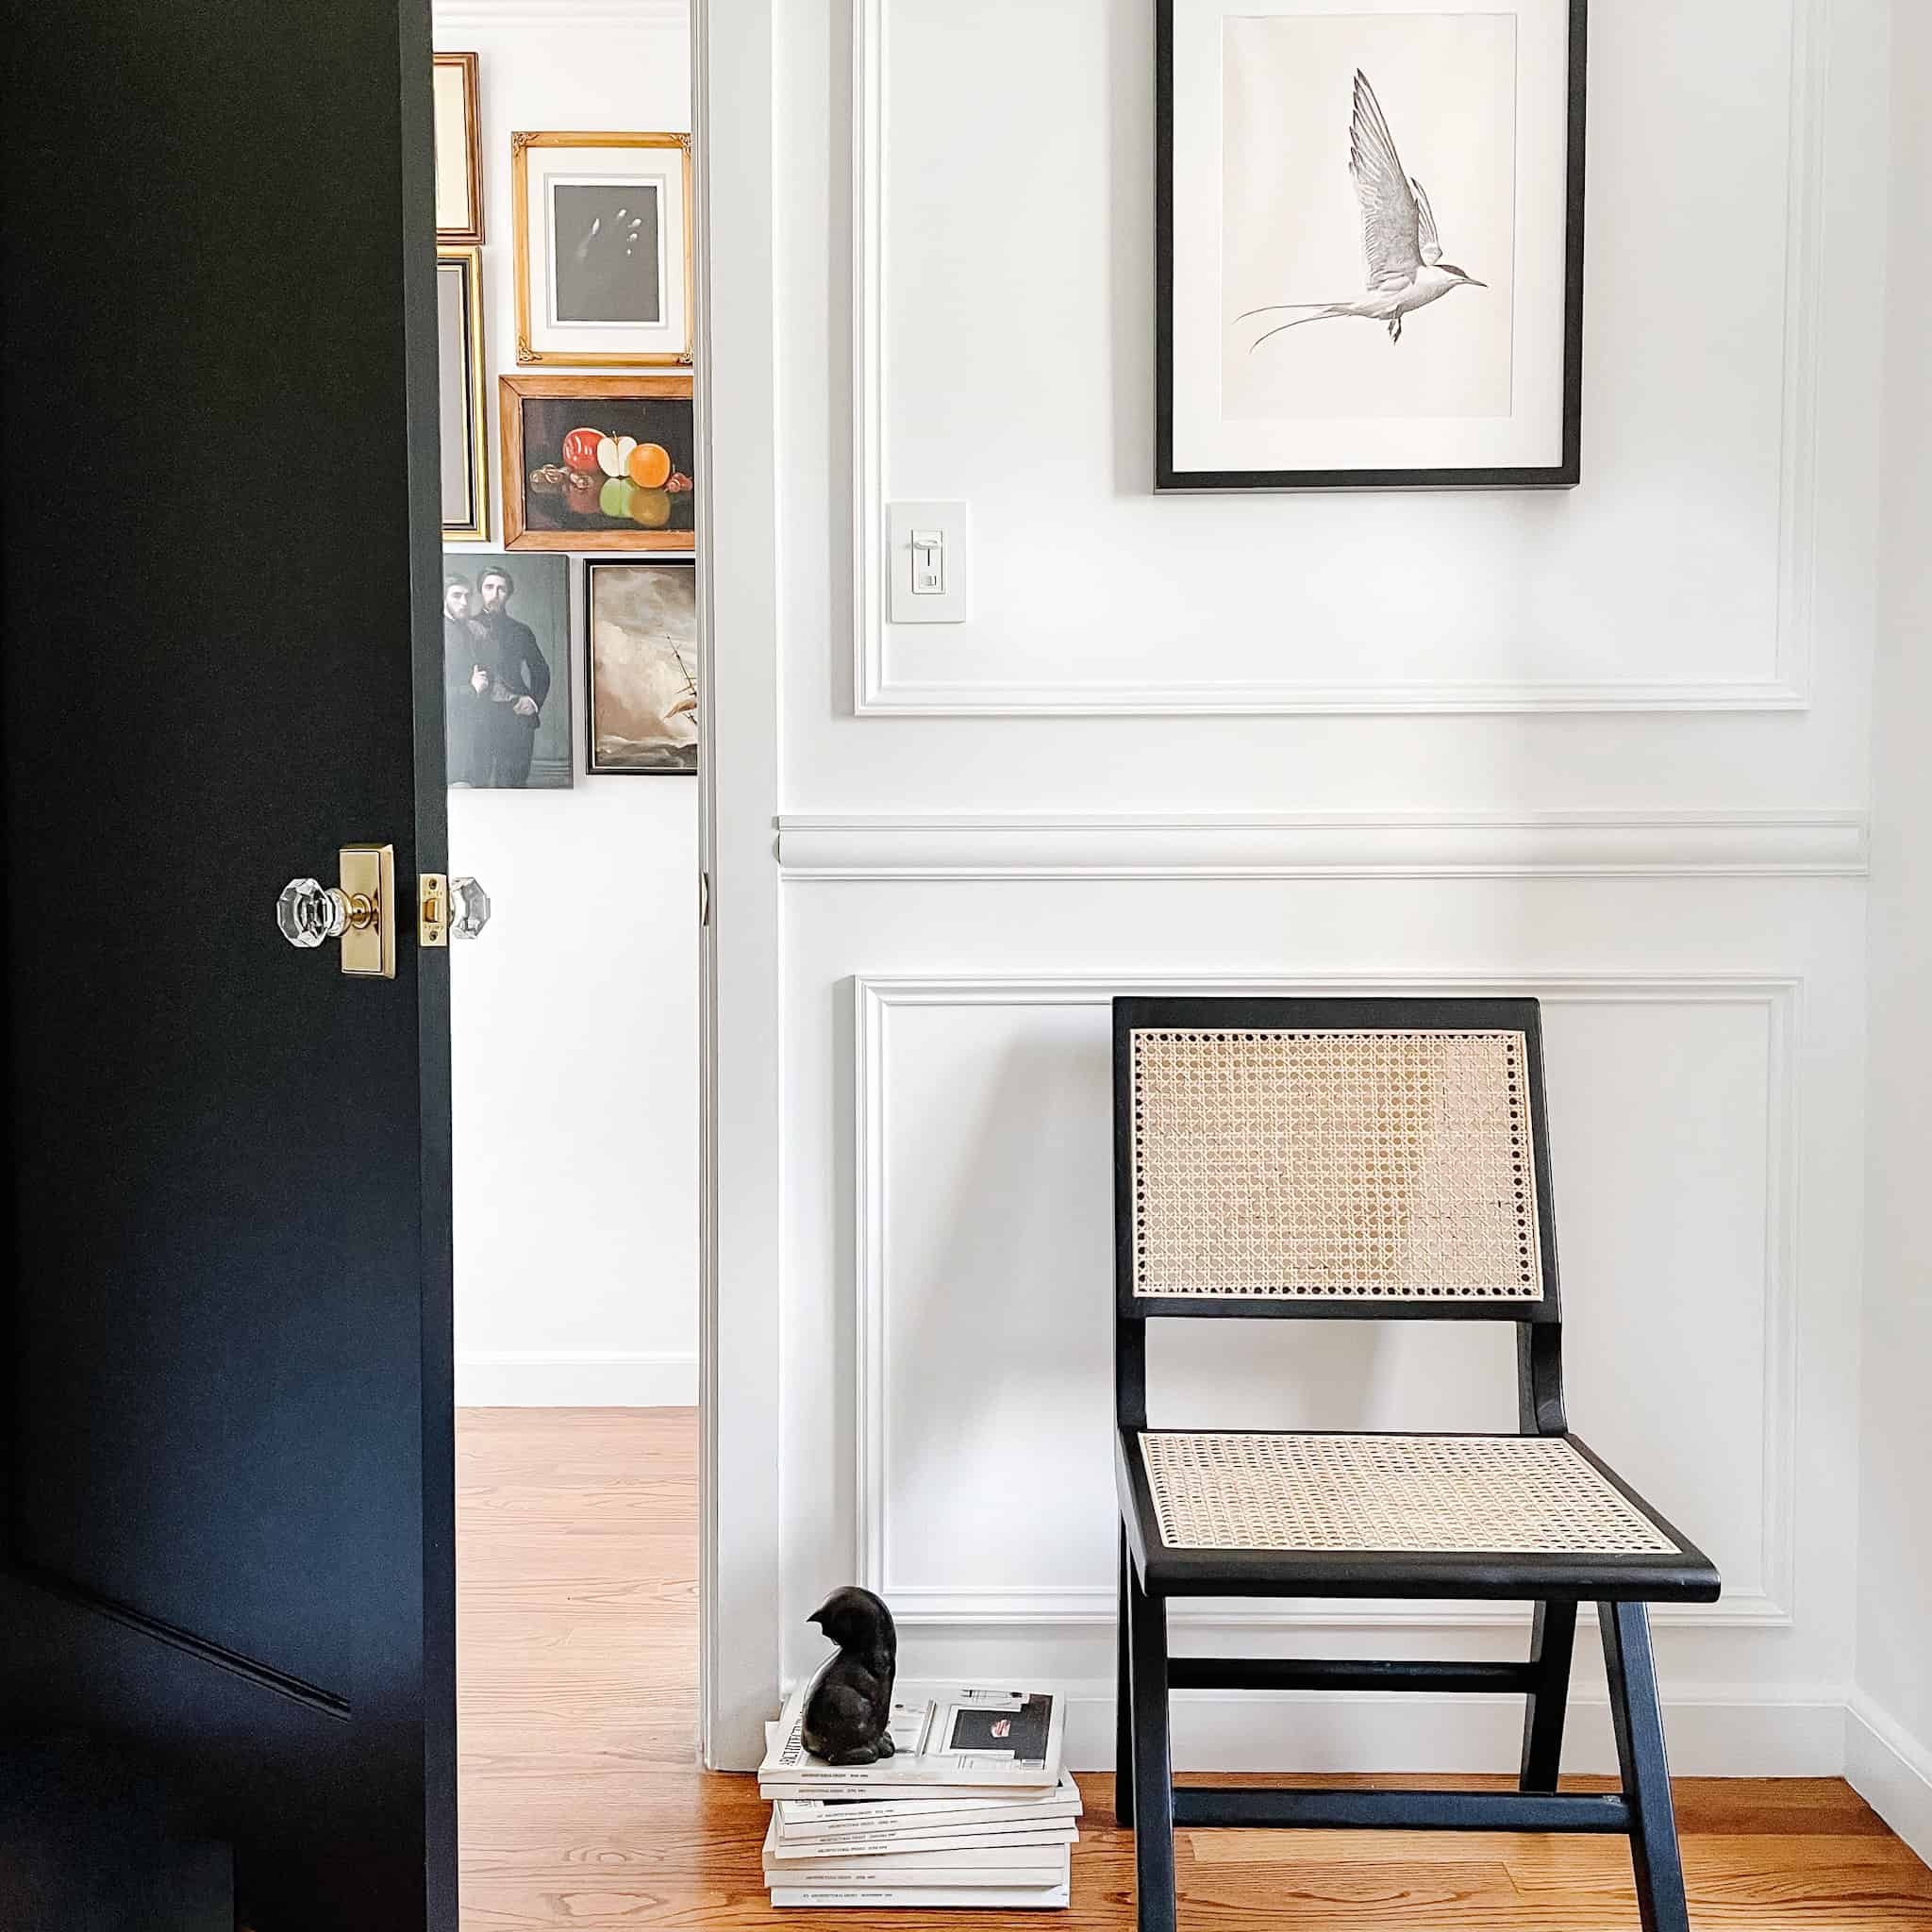
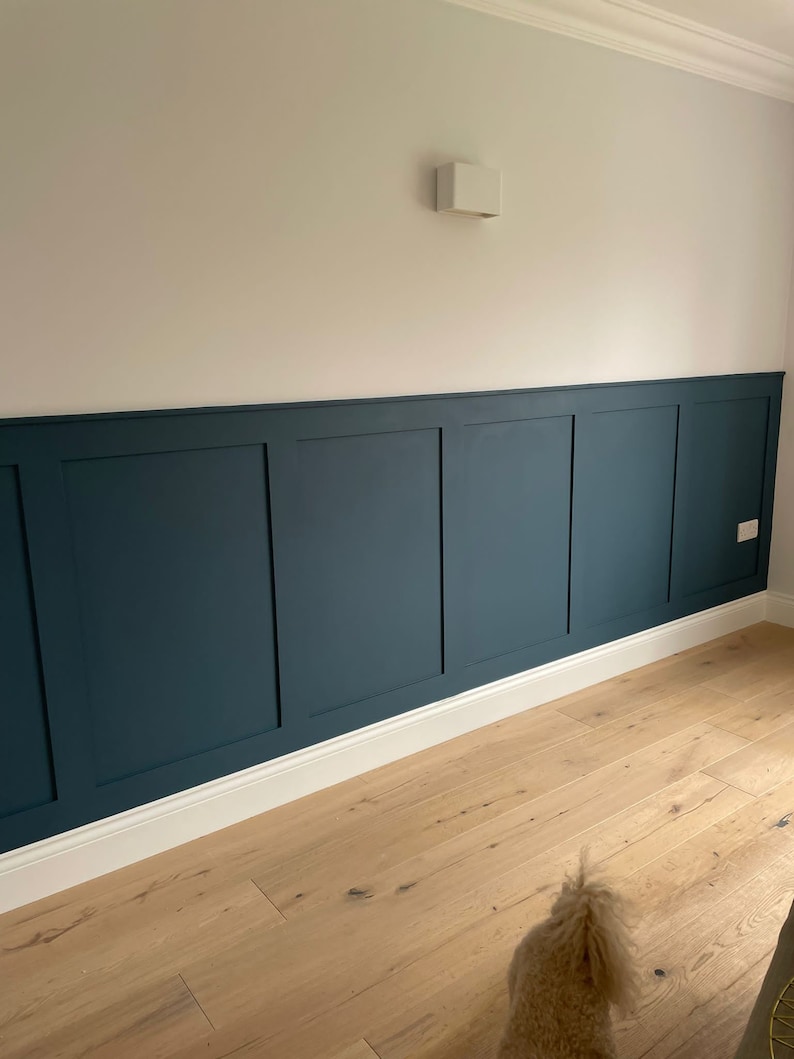
Pin It NowAs long as you match your paneling to the overall aesthetic of the space, wall paneling looks amazing in both a traditional home as well as a more modern one. Best of all, your options aren’t limited strictly to the hallway either.
Some of your hallway ideas might also look amazing when extended up a stairway. In fact, many people put paneling on their staircases so it’s not a bad idea! Just remember that you may need to scale your panels to different sizes, depending on the size of your wall.
How to Measure

Once you’ve decided what layout you want for your hallway panelling DIY, it’s time to start measuring! To do so, you’ll need to grab a tape measure and a pencil, then head over to the wall you’ll be paneling.
Start putting marks on the wall with your pencil, marking down the DIY wall panelling layout and noting the measurements. Write your notes on both the wall and on your phone (or a notepad). You’ll use these later on for reference when it’s time to get supplies.

If your area has anything in it already then you’ll need to work around these obstructions. Things like blinds or drapes hanging from a window can be moved temporarily while you work, but base panels, electrical outlets, or ethernet wall jacks might require a bit more planning.
I think writing down all of these measurements is the hardest part of the entire project, simply because there’s so much to keep track of! Still, getting measurements accurate is important, especially when you’re working in small spaces.
Once you’ve checked and confirmed all of the measurements, you can start making a shopping list in preparation for a trip to your local home improvement store.
Sourcing Materials For a hallway panelling DIY
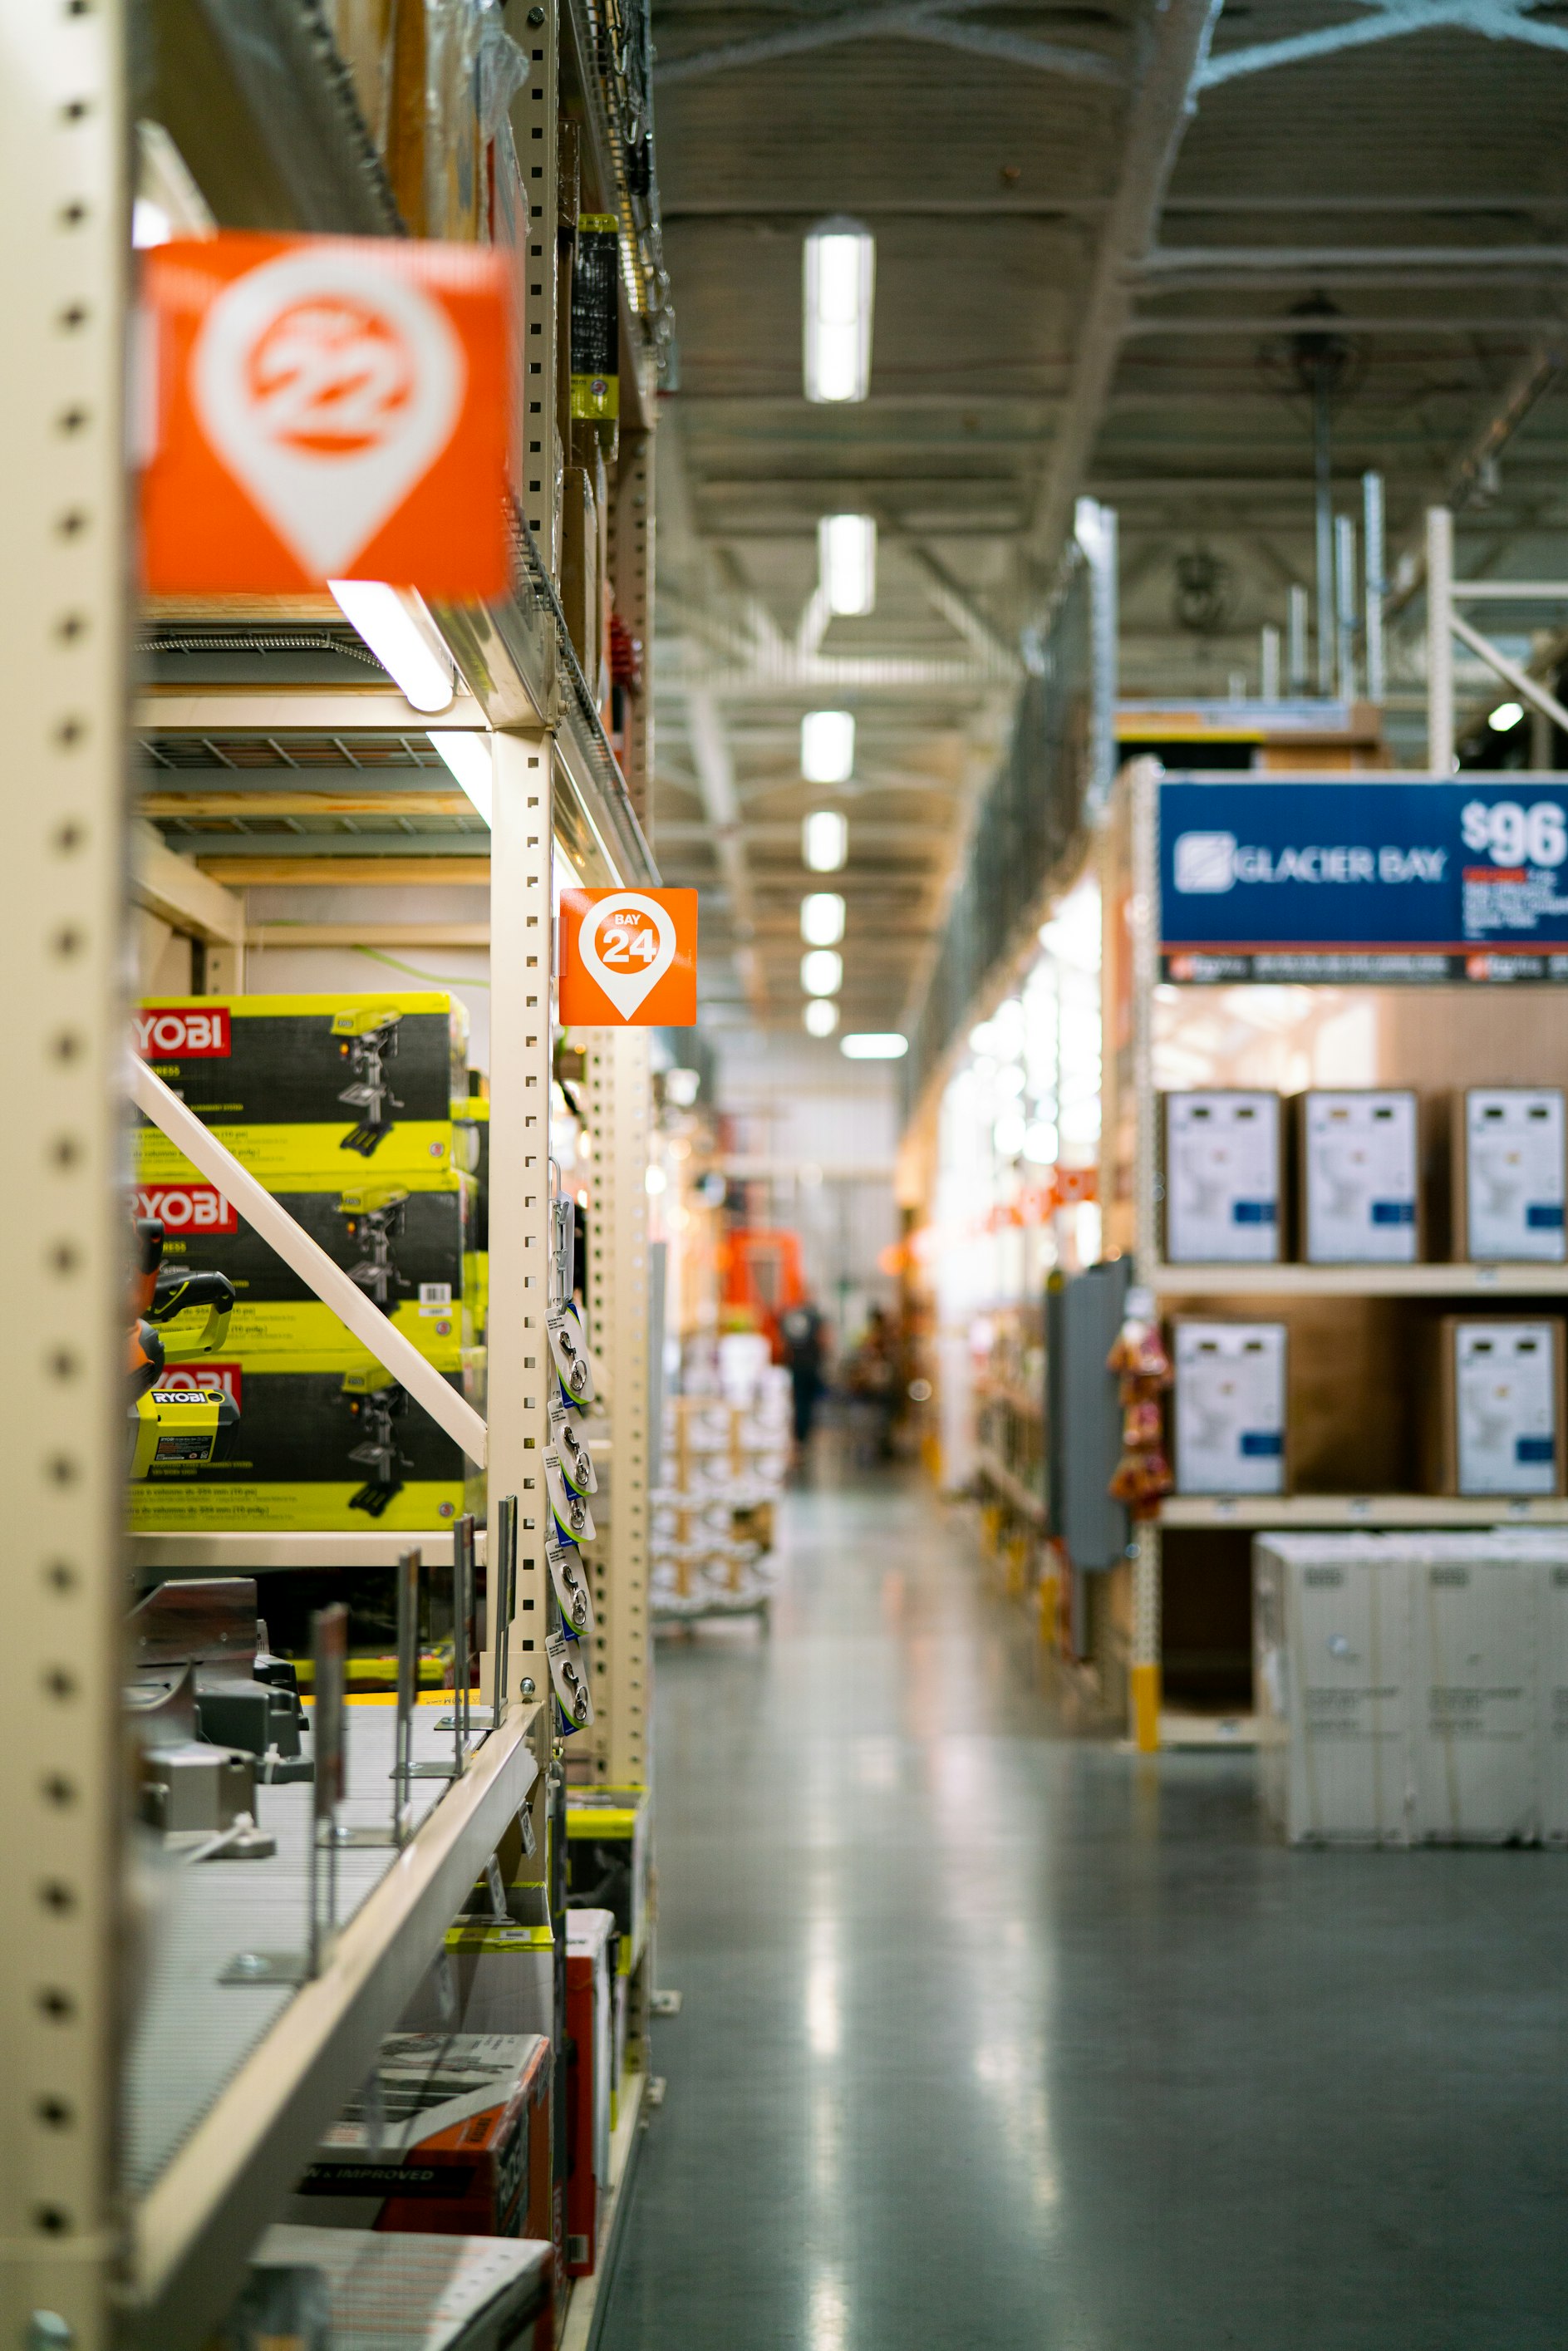
With the measurements in hand, you’ll know basically how much material you’ll need to buy. Depending on the scope of your hallway panelling DIY project, you might be able to get by with just MDF board as the main material for your project. However, this isn’t always the case, so begin making your shopping list accordingly.

You’ll likely need more for your DIY wall paneling project than just MDF board. I’ve provided a complete list below but a few of the additional things you’ll need are wood filler, a mitre box, sandpaper, a saw, and adhesive. Still, check the complete list below before you go shopping!
Fortunately, you may already have a few of these things on hand already, especially if you’ve completed a few different easy DIY upgrades in the past. You can easily track the total cost as you expand your list.
If you still have some room in the budget, consider adding some complementary decor items to your list to really give the hallway n upgrade!
The Wall Panelling DIY Process Step by Step

Alright, so now you know the general preliminary steps that this hallway panelling DIY project requires. Like most DIY jobs, most of the prep just involves establishing a plan for your project. However, did you notice that I haven’t actually told you everything that you’ll need yet?
There’s a good reason for that. It’s hard to remember things as you read! To help make sure you buy everything you’ll need when you actually head out to the store, I’ve arranged this simple list for you to complete your shopping list.
What You’ll Need

- MDF board*
- Dado rail
- Decorative molding*
- Measuring tape
- Mitre box
- Saw
- Hammer (or a nail gun)
- Nails
- Panel pins
- Decorator’s caulk
- Caulking gun
- Instant grab adhesive
- Wood filler
- Primer
- Paint
- Paint rollers
- Painter’s tape
- Laser level (a spirit level will also work!)
- Metal square*
- Sanding sponge
- Eye protection
- A pencil
* Optional, depends on the specifics of your project
Preparing the Space for a Hallway Panelling DIY

If you’re planning on mounting the panels directly to your wall then you’ll want to prep the surface before you get started. After all, a blank canvas is the easiest to work with for new builds!
Fortunately, prepping the surface of your wall isn’t very hard to do. Sanding paint marks and filling in old cracks are two of the best ways to ensure you won’t run into any issues later on. You’ll also want to prime the wall to prep for painting and may need to remove the existing trim.
On the other hand, if you’re planning on using MDF board as a backing for your panelling, you can skip most of the wall prep as you’ll only need to remove the trim. Once removed, mount the MDF board directly to the wall.
You’ll want to use both nails and adhesive for this. Use the level to make sure your board is level down the entire wall before securing it in place.
Installing the Panels

Now that you have the backing prepped for your hallway panelling DIY project, it’s time to start adding your panels! My top tip here is to double-check all of your measurements to make sure everything will fit as expected before you start making any cuts.
Tip
It’s a good idea to write the new measurements on the wall itself, along with placement markings. Failing to do so is a great way to turn a semi-short project into a long and frustrating one!
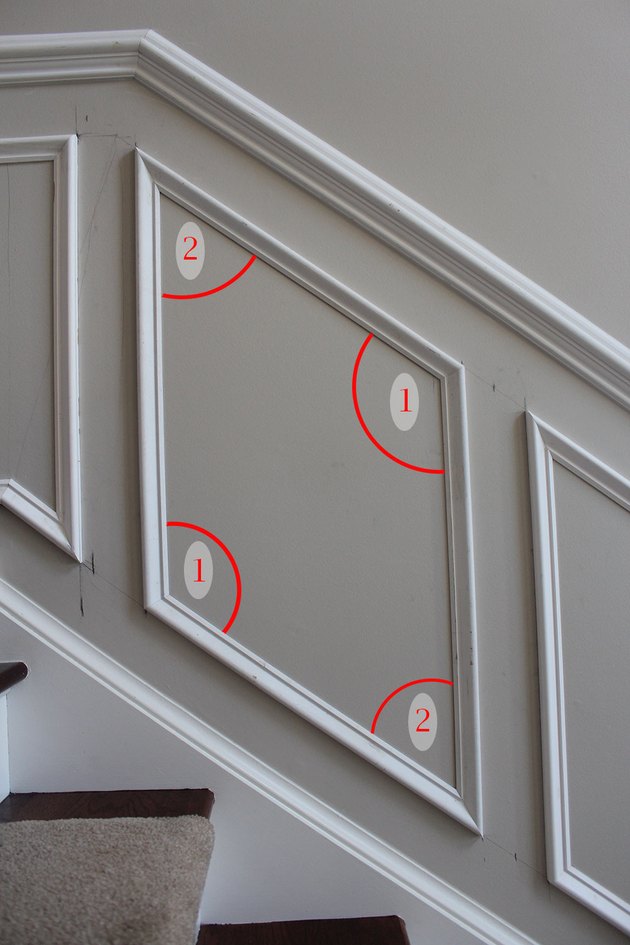
Once you have everything remeasured and written down, you can start cutting the paneling with the saw and miter box. It’s a good idea to dry fit the pieces before installing them. You can double-check the angles with your square.

Mount them on the wall using the nails and/or your instant grab adhesive, making sure that they’re level. It’s hard to eye panels correctly, whether they’re horizontal or vertical panels, so always check using an actual level!
Focus primarily on getting the angles right, and don’t worry too much if there are any tiny gaps. You can fill these in with decorator’s caulk later on.
Continue this process onto the next panels until you’ve mounted your entire panel layout, as well as any trim you’re replacing. Then, complete it by mounting the dado rail on top. With this out of the way, you can move on to the finishing touches!
Finishing Touches
With all of your panels mounted, it’s time to add the finishing touches to perfect your wall! First, you’ll want to fill in any of the aforementioned “tiny gaps” with decorator’s caulk. Add wood filler to any nail holes, then sand any uneven or rough surfaces.
Next, place painter’s tape where appropriate. Apply primer to the surfaces you’re going to be painting if you haven’t already. After that’s dried, you can start painting! Pay close attention to the different angles, making sure you get full coverage for consistent end results.

Subscribe
Sign up for our weekly newsletter
With the paneling mounted, the surfaces painted, and the trim back in place, your hallway panelling DIY project is complete! Or, at least, it could be. That’s the best thing about home DIY projects. You can always turn a smaller project into something more!
If your hallway needs a bit more light then installing wall scones above your panels could be a great way to brighten the space while showing off your new work. On the other hand, if the space above your paneling now looks to plan, there’s always the option of turning it into a gallery wall.
Really, the options are endless, so just get creative with it!
Finals Thought on Hallway Panelling DIY

See guys, that wasn’t too bad! It might be a bit time-consuming and take some hard work, but—in the end—I think the final result and a vastly improved room look are well worth it.
Whether you’re looking to reinforce the traditional style of your home or upgrade your interior walls to a more modern look, taking on a hallway panelling DIY project can help you reach your home decor goals in no time.
So, are you planning on giving it a shot? If so, I’d love to hear about it. Leave a comment below or reach out to me on Instagram for more home decor projects & ideas!
Frequently Asked Questions
You certainly can! In fact, doing your own hallway panelling DIY project can be much cheaper than paying someone else to do it. This gives you two benefits: lower costs and complete control of the project!
I recommend using MDF—medium-density fibreboard—for all of your paneling projects. This material is usually cheaper than other alternatives like plywood. Being a processed material, the surface of MDF is extremely consistent and very smooth. This makes it the perfect option for any paneling project!
At a bare minimum, you will need MDR paneling, a level, wood adhesive, caulking, a saw, sandpaper, and a tape measure. However, you’ll likely also want a hammer, nails, primer, paint, and a place to write down your measurements. I recommend using your phone since it can also double as a calculator!
Generally, you’ll want your hallway wall paneling to extend up between 26 to 32 inches from the floor. Most people aim to have the panelling reach up ⅓ of the wall. However, you can always switch things up and do ⅔ of coverage—or even the entire wall—if you want to.
This really comes down to personal preference. Using both is ideal if you want to be 100% sure that your panelling is secure. However, using glue by itself will provide enough adhesion in most situations. Using only nails will make it easier to remove later on though, which may be preferable if you’re looking for more renter-friendly DIY options.