
You guys know I love doing DIY projects. Whether I’m knee-deep in cabin renovations or making improvements like my Instafamous hallway paneling DIY at home base, I can’t sit still for too long – it’s sort of a blessing and a curse, I suppose. At least I’m never bored; my home has benefited from all that effort. I mean, look at my bedroom if you aren’t convinced.

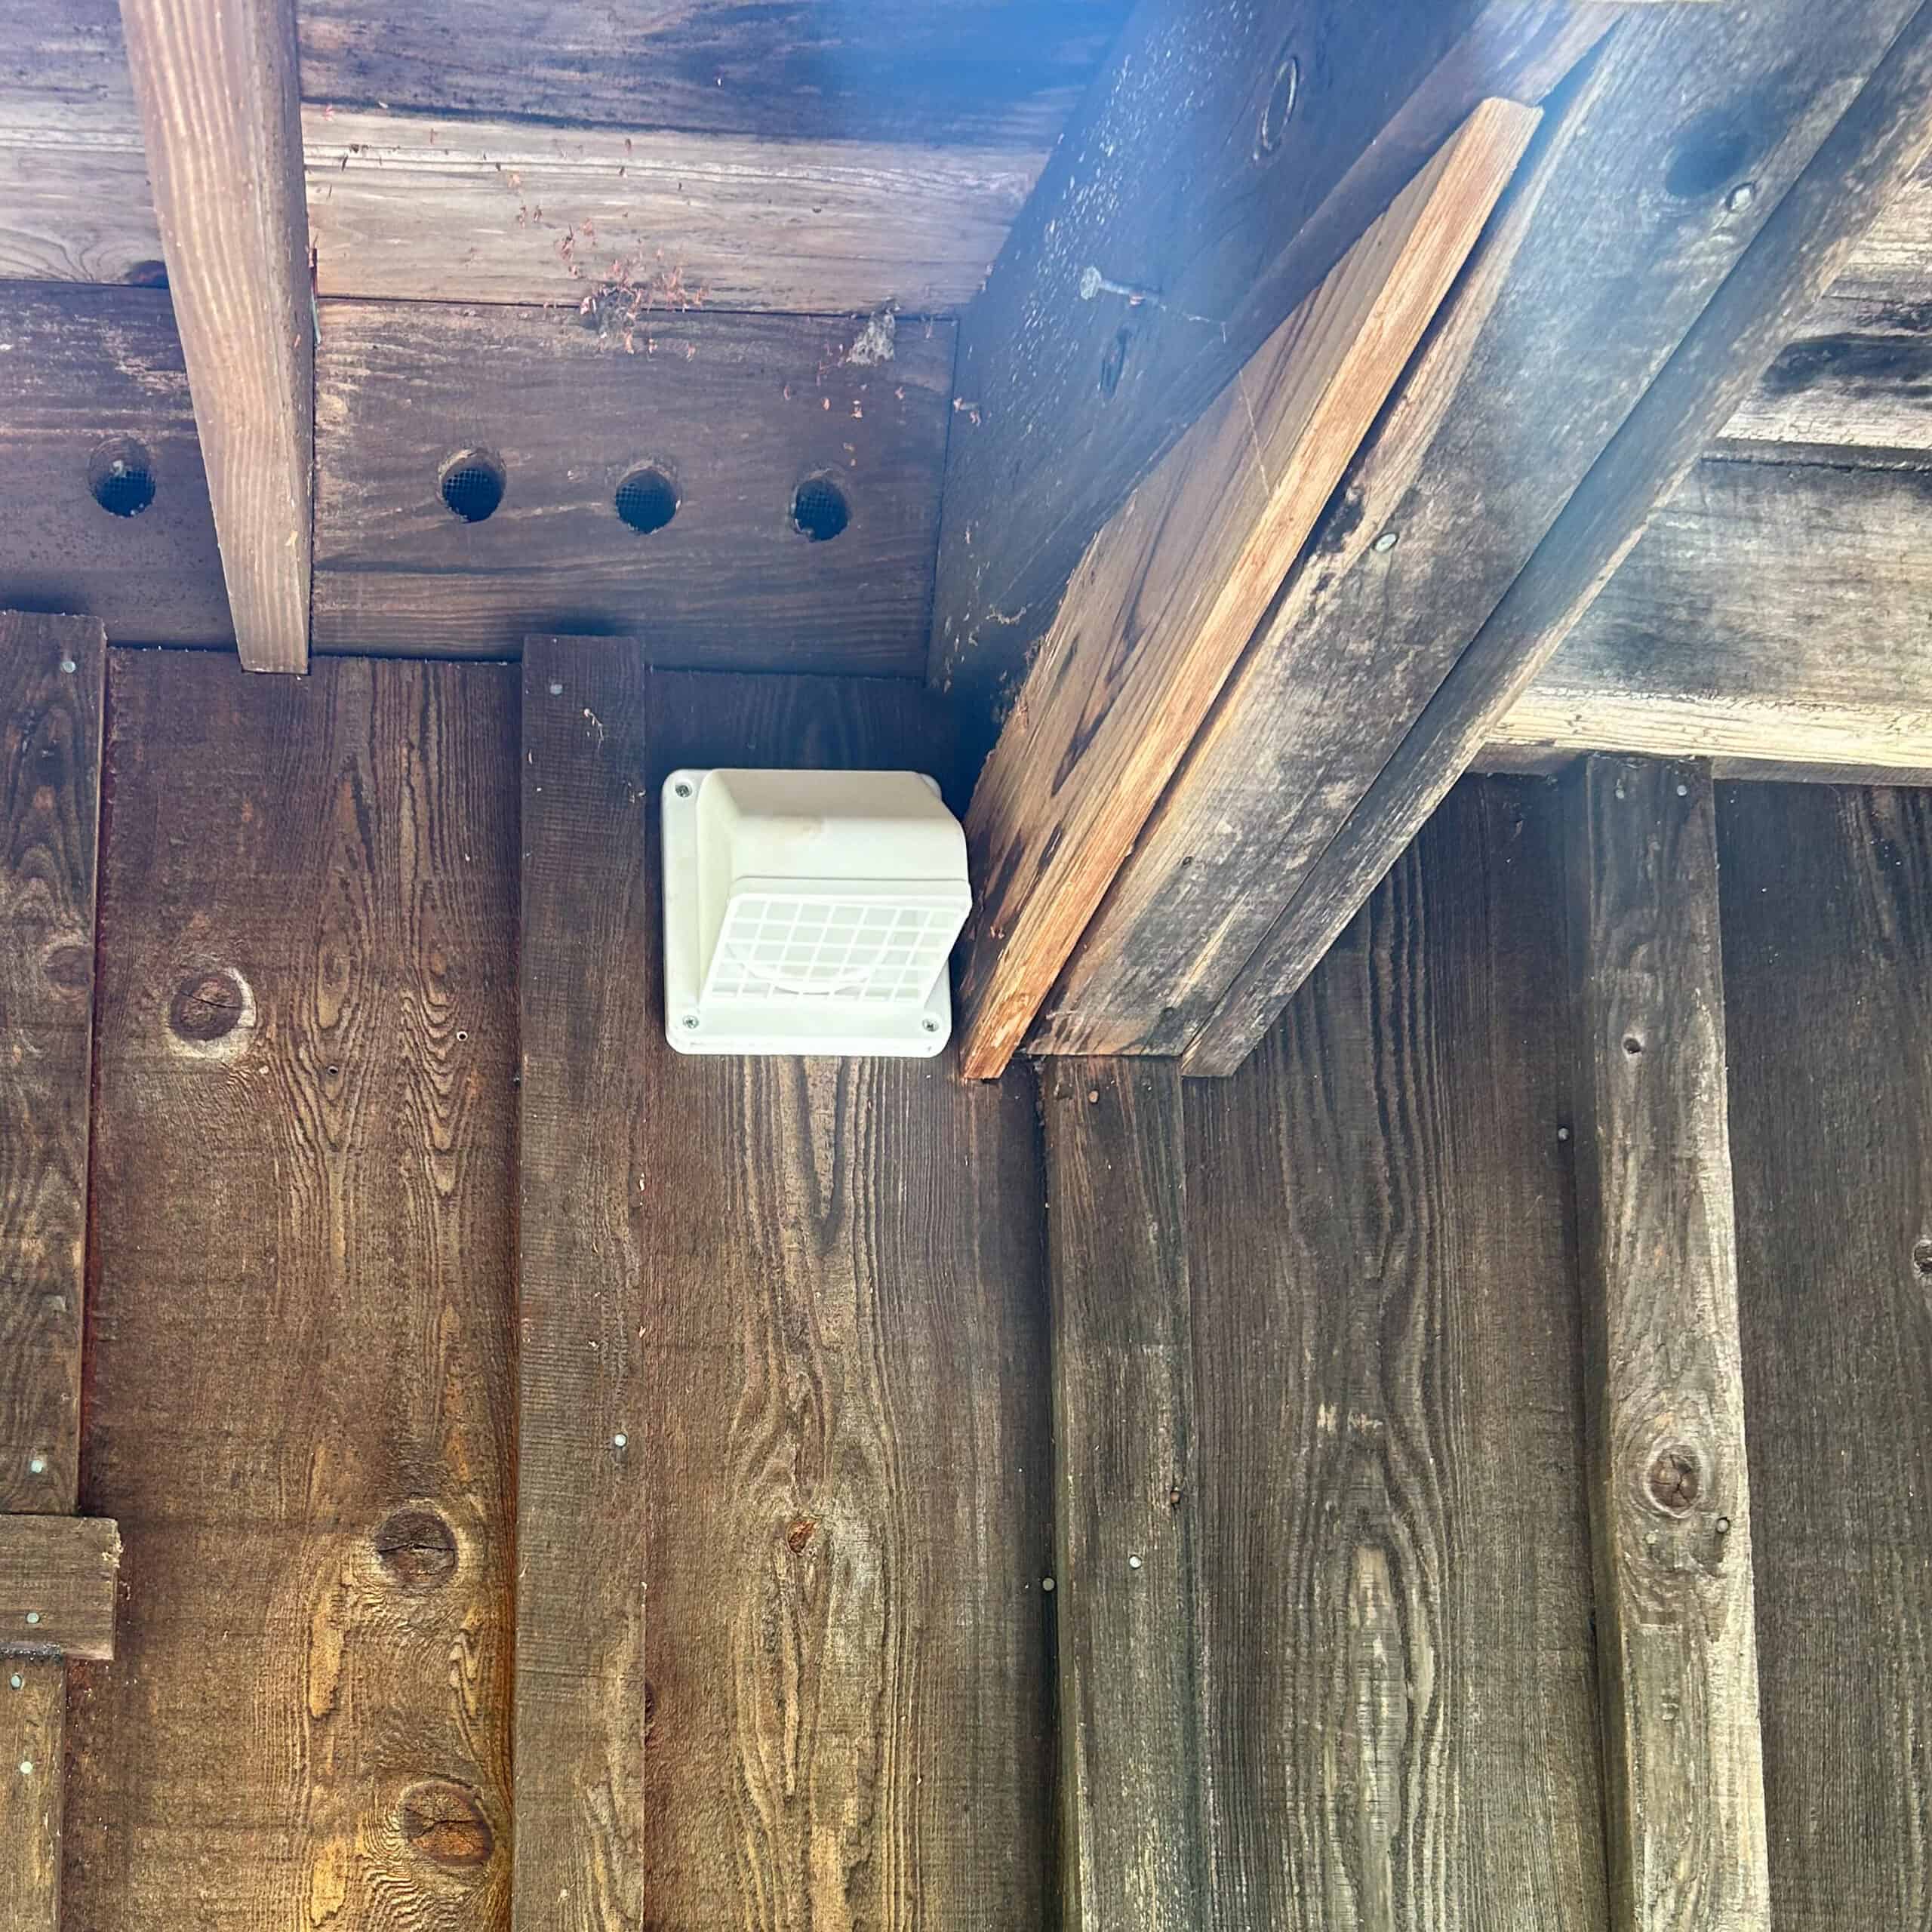
That said, one of the more recent projects I’ve taken on was adding a new bathroom exhaust fan at the cabin. I couldn’t believe our redwood-planked “oasis spa” didn’t have a vent, as proper ventilation is beyond critical to prevent harmful moisture buildup.
This Post May Contain Affiliate Links. Please Read Our Privacy and Disclosure Policy.

So, needless to say, I didn’t waste any time finding the perfect bathroom vent that wouldn’t ruin the vibe. There are many things to consider when adding a bathroom exhaust fan. Like all projects, there are some important considerations you’ll want to keep in mind. Be sure to vent to the outside properly.
But overall, the project is pretty straightforward – even for beginners.
This post covers everything I learned about the process, including some pro tips and mistakes to avoid. It also discusses when upgrading might be necessary and the step-by-step process of installing one for the very first time.
Let’s get started.
Why You Need a Bathroom Exhaust Fan
First things first: why do you need a fan in your bathroom? Simply put, moisture is bad. Lowering the moisture levels in your bathroom (ideally between 30% and 50% humidity) can help you prevent mold and moisture buildup that can increase the rate of decay of your wood. We run a dehumidifier in the cabin year-round, keeping us within this range.
Your bath or shower system releases a lot of moisture into the air. This moist air can easily cause mold in your bathroom, especially in older homes with aging or non-existing fan systems. It can also cause structural damage. Adding a bathroom exhaust fan allows you to overcome these potential issues, hopefully preventing themage the walls or causing structural damage before they damage.
Also, bathrooms aren’t exactly known for smelling pleasant. Having an exhaust fan helps with this a lot. In fact, they can even help improve the overall air quality. As such, it’s just a good idea to fit your bathroom with an exhaust fan. Okay, you want to add an exhaust fan. Now what?
Picking the Right Fan for the Job
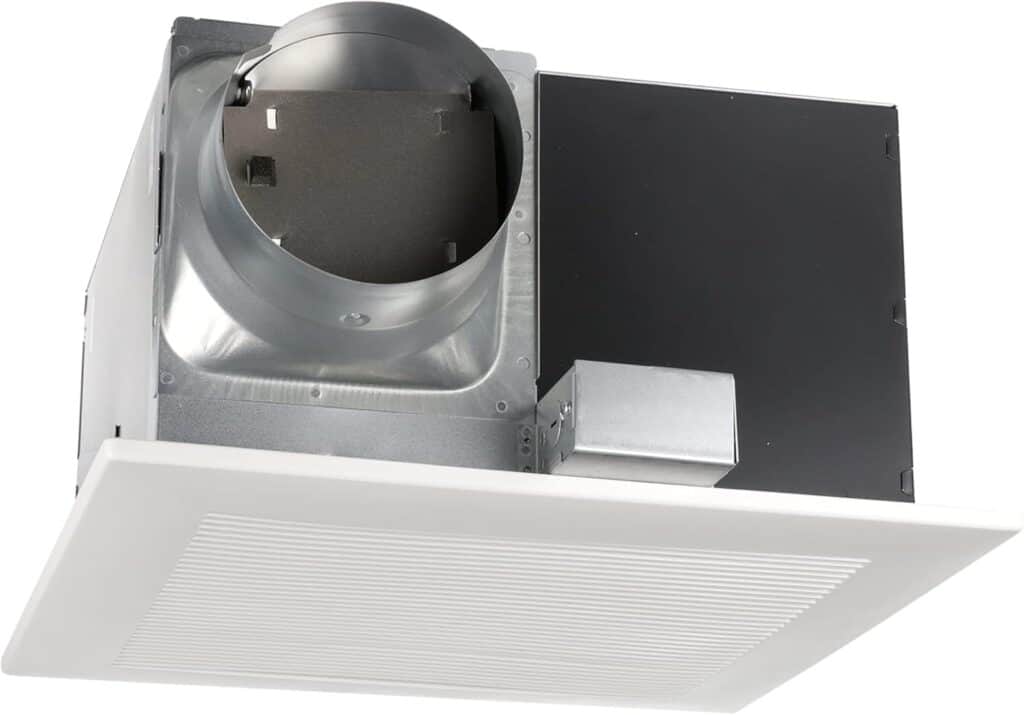
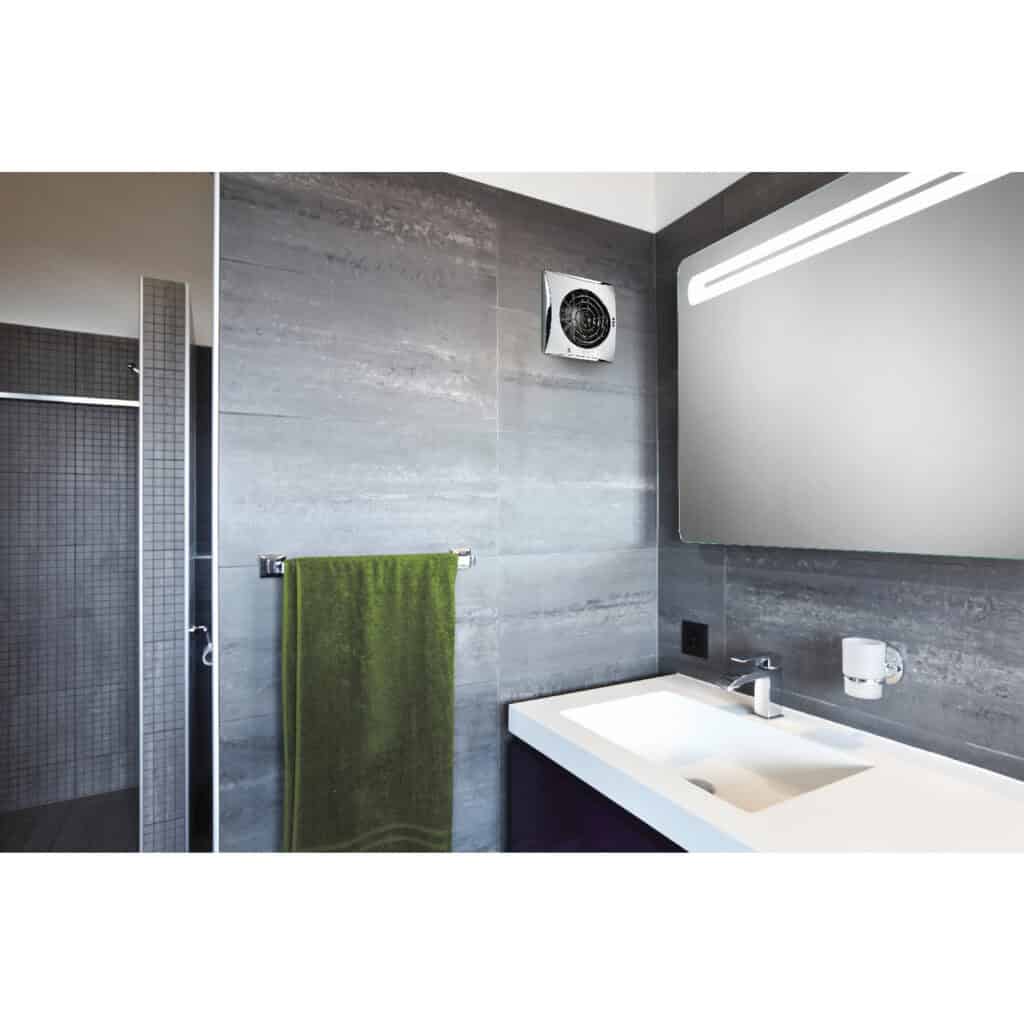
Having a fan that compliments your overall bathroom design is definitely something to think about; we liked this affordable bathroom exhaust fan, but the CFM rating is the most critical factor to think about. CFM, or Cubic Feet per Minute, is a rating that tells you how much air a fan can move. You need the right size fan for your space. The higher the rating, the quicker a fan can remove excess moisture from your bathroom.

Small bathrooms around 50 square feet generally need a fan rating of 50 CFM, whereas larger bathrooms need a rating of 100 CFM. Calculating the CFM (cubic feet per minute) you need for adequate ventilation is easier than you might think! Multiply the length of your bathroom by its width to get the square footage, which equals the recommended CFM. You can use the graph above as a cheat sheet when in doubt in the US.
Pro tip: Fan noise is measured in “sones.” Quieter fans have a rating of two, while louder fans have a higher rating. Remember this when learning how to add a bathroom exhaust fan! I suggest staying under three sones for the ideal noise-to-effectiveness ratio.
Replacing vs Placing a Bathroom Exhaust Fan

You won’t need to complete an entire new bathroom fan installation if you’re lucky. If you have a pre-existing fan installed, things will go by much quicker, as you’ll only need to replace it. We weren’t so lucky at the cabin, but we did when we renovated our primary bathroom in San Francisco. So, needless to say, we know the ins and outs of both scenarios.
A pre-existing exhaust saves you the trouble of installing wiring, ductwork, insulation, and a vent cap. It also eliminates the need for any drywall work, as you won’t be cutting into your ceiling if there’s already a fan installed.
For those who already have fans, unhook and install your new fan. I go over those steps below. Unless your current fan system is just woefully inadequate, you should be able to get a much better moisture-removal setup going with minimal effort. Here’s what to consider when upgrading.
Mounting Styles to Consider
If you’re installing a new fan system, you’ll first need to determine which type of fan you want. There are two mounting styles to consider.
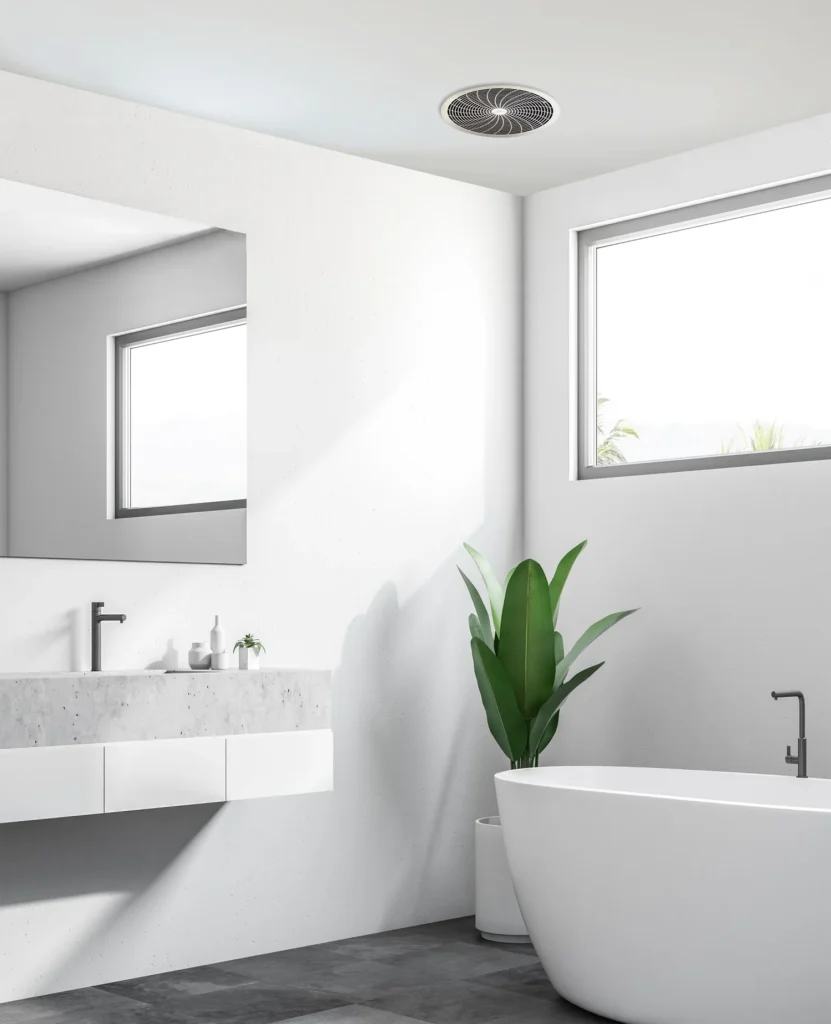
A wall-mounted exhaust fan mounts to an external wall, pulling air through the wall ducts to the outdoors. A ceiling-mounted exhaust fan mounts to the ceiling, pulling air up, through the ducts, and out the roof. Our cabin has a wall-mounted design, while our exhaust in San Francisco is ceiling-mounted—honestly, both work great. I decided based on what the space allowed for, nothing more or less.
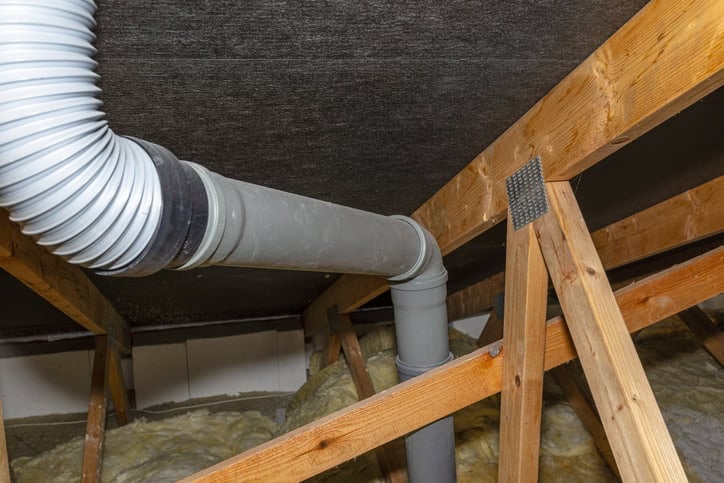
Routing the Exhaust
The mounting system you end up using will determine where you’ll need to install the exterior vent. Wall-mounted systems will vent to an exterior wall, whereas ceiling mounted systems will need to have ducts leading to a vent on the roof.
If you want to install a ceiling or wall-mounted option that requires ducting by yourself, here’s what you’ll need to do.
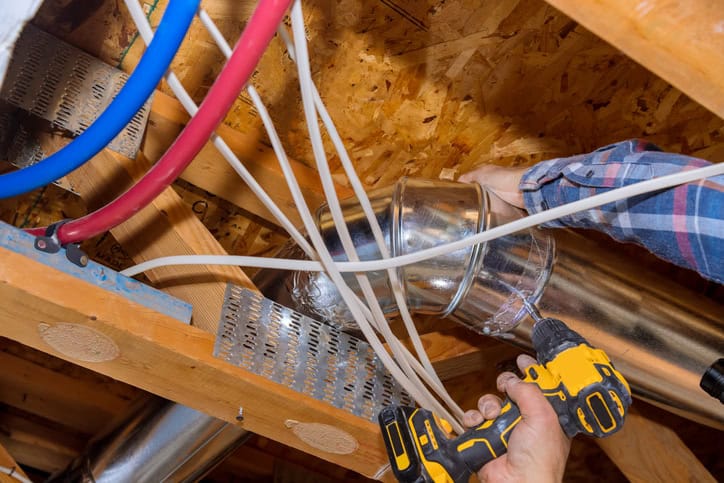
Installing an Attic Duct
- Attach some flexible duct to your fan by first pulling back the insulation and then using HVAC tape to secure the connection.
- Bring the other end of your flexible duct over the spot where it will protrude out of your room. Cut to length.
- Drill a hole through your roof using a small drill bit. Leave the drill poking out so you can easily find it from the outside. Then, use a 5-inch hole saw to cut back into the roof.
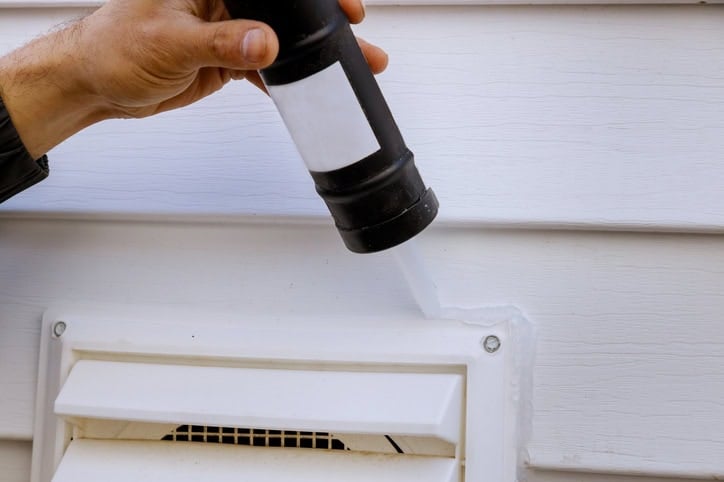
- Place and trace your roof vent cap. Cut the shingles to size, ever so slightly on the inside of your traces.
- Attach your duct connector to your roof vent cap, then apply roof cement to the edges of the hole you cut. Place the roof vent cap, sliding it under the shingles. Use roof cement on all nail holes and where the shingles overlap the roof cap.
- Lastly, attach the duct to your duct connector using HVAC tape, then cover the connection with insulation.
Wiring Requirements
Like ductwork, electrical work is another thing I might recommend going to a professional for. Really, it depends on your skillset and how much work will be required. If you’re learning how to add a bathroom exhaust fan but already have the proper wiring in place then fixing the electrical connections isn’t very hard.
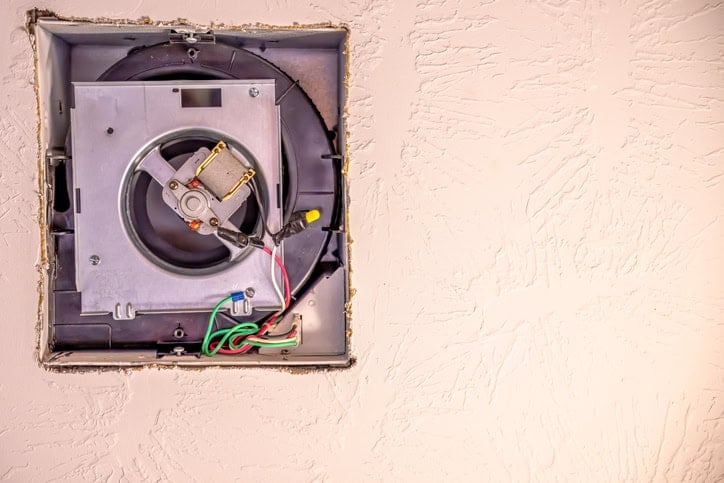
After you turn off the circuit breaker to the fan, you’ll ensure the power is off using a circuit tester. From there, you’ll remove the motor from the housing, then remove the housing before disconnecting the house wires and electrical wires.
If you have an existing light switch that you can use, then hooking up your new fan should be easy. However, if you don’t have an existing switch or your new fan comes with a light (and the old one lacked one), you might want to get professional help with the electrical wiring.
How to Add a Bathroom Exhaust Fan

Alright, now that you have a fairly good idea of what this process entails, let’s move into what you’re actually here for, the installation guide! Please bear in mind that I’ve written this with the idea that you have an existing fan with ductwork and proper wiring. If not, get those installed then pick up from there with your new exhaust fan.
If you’re already doing some bathroom upgrades, why stop with a fan? Check out this post on my shower makeover for inspiration!
List of Tools

Like all DIY updates, it’s much easier to streamline a project if you have all of the necessary materials on hand. Here’s what you’ll want to gather up when learning how to add a bathroom exhaust fan.
What You’ll Need:
- Bathroom fan model
- Cable clamp connector
- Circuit tester
- Duct tape
- Drill
- Drill bits
- Drywall screws
- Jab saw
- Ladder
- Measuring tape
- Paint
- Screwdriver
- Spackling compound
- Wire connectors
- Roofing Cement
- Roofing Nails
- Screws
- Spackling Compound Patch Kit
- Wire Connectors
How to Add a Bathroom Exhaust Fan with Attic Access
You won’t always have attic access when trying to manage your exhaust air. However, we’ll just assume that you do have access for this first guide. If you don’t, you can skip ahead to the second section.
Step 1: Make Sure the Housing Fits
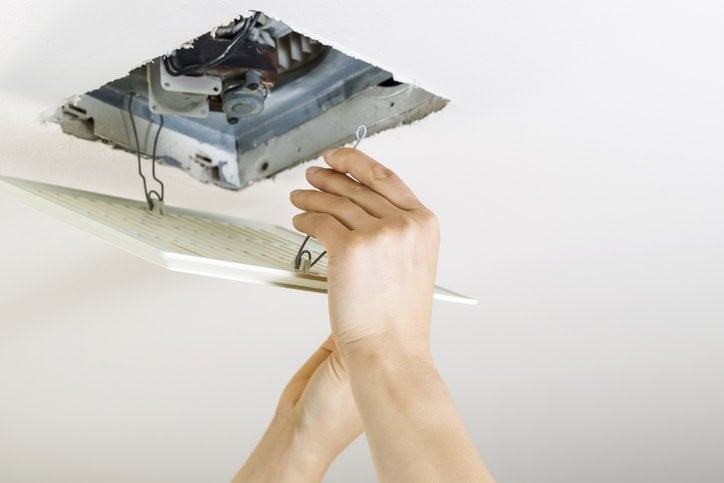
This part is pretty simple. Just hold the housing of the new fan up to the ceiling hole (after you’ve removed the old fan. You may need to make the hole a bit bigger using your saw if the current hole isn’t large enough.
Step 2: Attach the Duct Connector to the Fan Housing

This should just slide in, so don’t force anything. If it’s giving you resistance, line it up and try again.
Step 3: Head Up to the Attic

You’ll next need to secure the housing brackets to your ceiling joists. Insert the brackets into the housing slots first. Then attach the brackets to the joists using screws or nails. Personally, I recommend screws, but either will work. With that out of the way, double-check to ensure the housing is even with the ceiling.
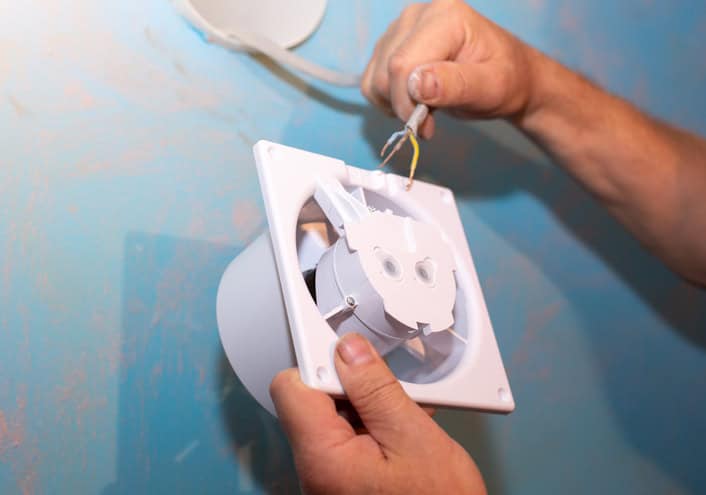
Step 4: Connect the Wiring

You’ll need to remove the wire covering, then the knockout plug from the housing using a screwdriver. From there, place your cable clamp on the wiring hole cover, pull the house wires through the clamp, and tighten the screws to secure the wires. Connect the wires using your wire connectors, matching them by color.

Step 5: Secure the Wires
Push the wires neatly into the housing before screwing the wiring cover back onto the housing.
Step 6: Connect the Duct

Connect the duct, securing it in place with HVAC tape. Once secured, turn on the fan to ensure that it works.
Step 7: Finish Up
Now that you’ve ensured it works, place the fan in the housing and secure it with screws. Lastly, replace the fan cover and touch up any areas you may have cut/damaged. Use spackling compound, and paint it to match your ceiling if required.
How to Add a Bathroom Exhaust Fan Without Attic Access
Although ideal, you won’t always have attic or crawl space access when learning how to add a bathroom exhaust fan. No worries, though, as I’ve got you covered in the section below!
Step 1: Size Your Ceiling Hole

As before, you’ll want to ensure that your housing matches the current size of your ceiling hole. If not, use a saw to cut it up to size. If the hole is too big already, attach a piece of lumber to the inside of the hole, against the joist. From there, cut and attach drywall with the correctly sized hole. You can make this look pretty later on with spackling compound and a bit of paint.
Step 2: Attach the Duct
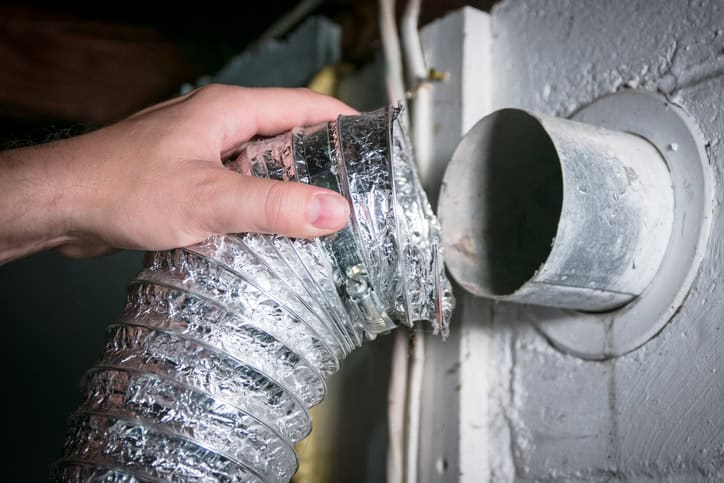
Attach the duct connector to the duct using HVAC tape. Follow the manufacturer’s instructions for a perfect install. This will help you line up everything correctly. From there, use a screw to secure the duct connector against the edge of the hole. This will line it up with the housing fan’s exhaust.
As always, double-check before securing anything.
Step 3: Onto the Wiring
You’ll next need to take the wire cover off the housing. After that, remove the knockout plug with your screwdriver. Put a cable clamp on the wiring cover hole, then pull your house wires through.
Tighten the screws to secure the wires, then connect the clamps, matching color to color.
Step 4: Replace Your Wiring
Once all of the wires have been connected, push the wires back into the housing and screw the wiring cover back on.
Step 5: Finishing Touches
Line up and insert the fan into your ceiling hole. Screw the fan in place to support it, then turn it on to test it. Assuming everything works as intended, you can install the fan grille and call it a day!
As before, feel free to do any required touch-ups with spackling compound and paint.
Final Thoughts

Making your bathroom look great is essential, as is making it functional. Learning how to add a bathroom exhaust fan will help you achieve part of your home upgrade goals. Are you feeling even more motivated by this post? Consider upgrading to a brass vent like I did, and get more small home interior design tips here. Bath fans might not be the most engaging topic around, but trust me, you’ll be glad you have one installed properly.

Until next time, y’all, have a great week!
FAQs About How to Add a Bathroom Exhaust Fan

Can you add an exhaust fan to a bathroom?
Yes, you can and you should! This will help combat excessive moisture buildup, which can lead to a number of problems down the road.
Do bathroom exhaust fans need to be vented outside?
Yes. Exhaust fans will need to be vented outside so that the moisture has somewhere to go. You used to be allowed to vent them into the attic, but that is no longer the case.
Can you install a bathroom exhaust fan without a duct?
Either a ductless or a recirculating fan can be installed in your bathroom. However, since these lack venting, they aren’t capable of removing moisture from the air.
How much does it cost to install an exhaust fan in a bathroom?
Quotes will vary, depending on location, company, permits, and the size of the job. Larger bathrooms that require more work will cost more, whereas simple jobs will cost less. Generally, you can expect to pay at least $336 for a simple fan install.
Do ductless bathroom exhaust fans work?
You can install a fan that lacks exhaust in your bathroom. However, you will still need something to serve as a vent. I wouldn’t recommend this option unless you can leave your bathroom window open, as simply circulating air won’t reduce humidity. If venting isn’t an option, consider a dehumidifier.
What to do if the bathroom doesn’t have an exhaust fan?
If your bathroom doesn’t have an exhaust fan and installing one isn’t feasible then I would recommend opening your windows while showering and using a dehumidifier after each use.


