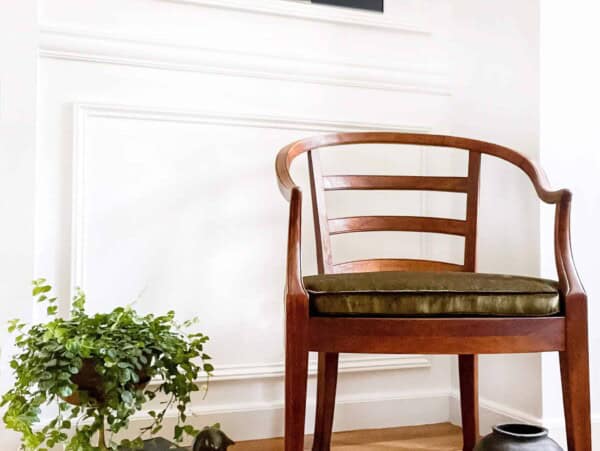
As most of ya know, sourcing beautiful pieces of furniture and engaging wall art is only half the battle when you want to create an inviting and beautiful space. Other important elements like your front doors look, and in this case, perfect paint makes a big impact on a home’s design. Plus a freshly painted door without brush marks will make a grand gesture to all who enter. Want to know how to paint a front door without brush marks?
To do that, I did a simple DIY paint job on my brand new Dutch Door from my friends at @thehomedepot.
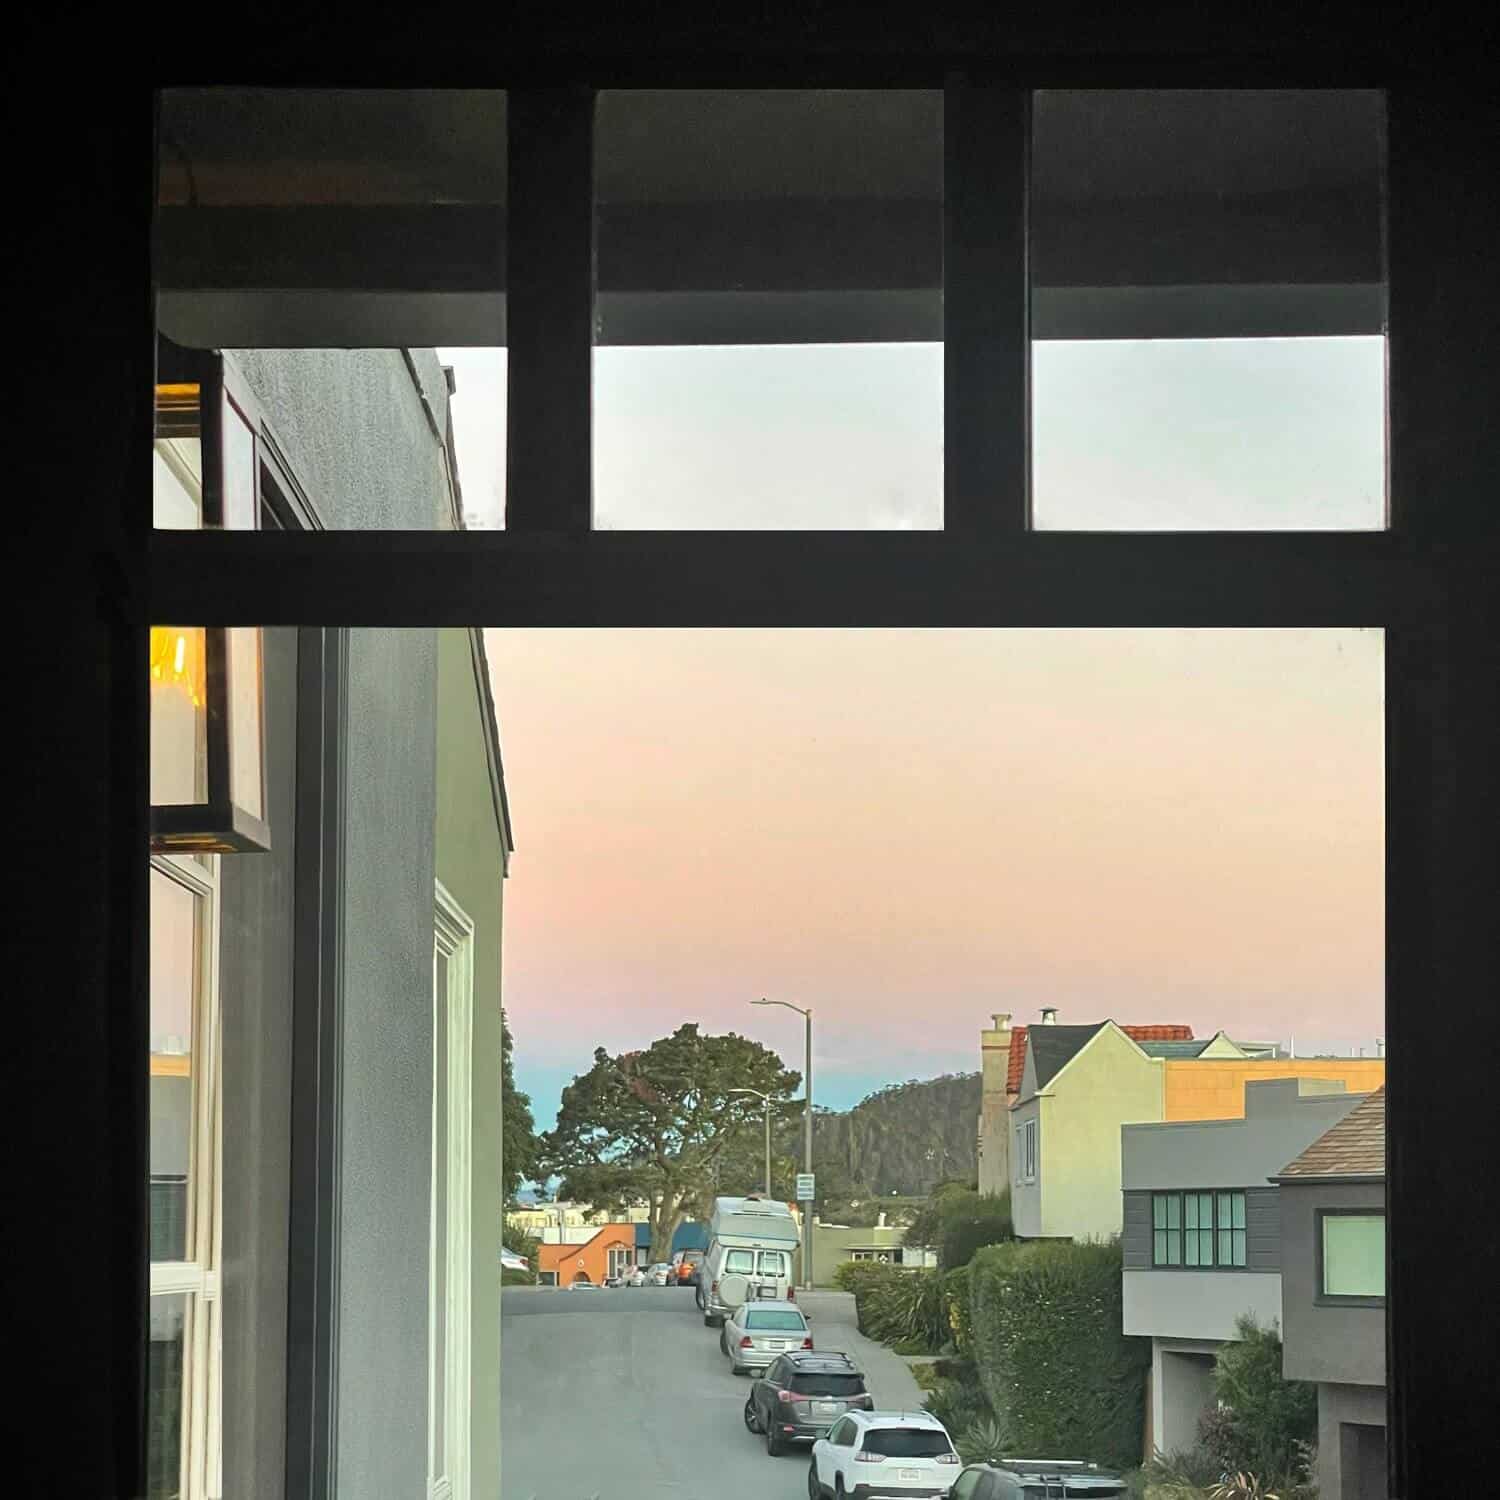
I just knew I had to have a dutch doo (painted black) instead of a traditional front door. The thing is, we have an incredible view looking out into our street and gazing up at Twin Peaks from my couch. Literally, I can sit on my couch and stare up onto a world-famous peak. It’s icing on the cake that I can open up the top and let all that fresh San Francisco Bay air into my living room. There’s just no way I can keep that view and fresh air blocked any longer. Once I decided to swap out for a dutch door – I had to decide on what color I wanted it to be.
Here’s the thing my friends. Painting your front door black or any other color really is super affordable, easy to do, and fast. Even better? A fresh coat of door paint or upgrading to a dutch design can result in a big bold statement that you can feel good about in an instant.
Who doesn’t love that? Also, painting a door will change the entire vibe of your entryway if you are ready for change. But if ya’ want to know how to paint your front door without brush marks there are a few things to keep in mind. But either way, if you’re thinking about giving your door a makeover anytime soon or need to touch it up – just go for it! Here’s how I got sleek brush mark free:
Table of Contents
PICK THE RIGHT PAINT FOR AN EXTERIOR DOOR
First things first. You absolutely have to get the right exterior door paint in the proper finish and color before considering anything else. This is the best paint for an exterior door. More on why below.
CHOOSE A BOLD STATEMENT COLOR
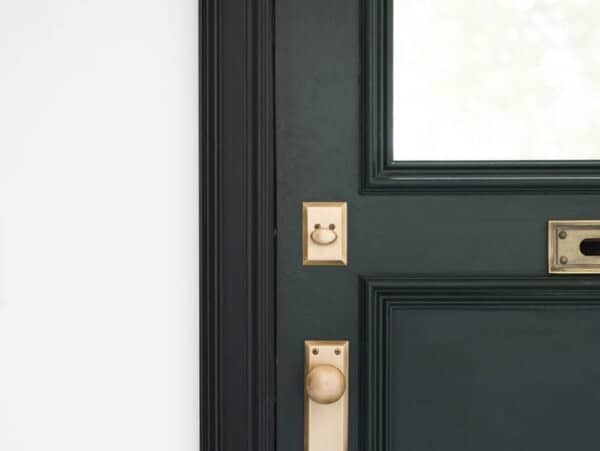
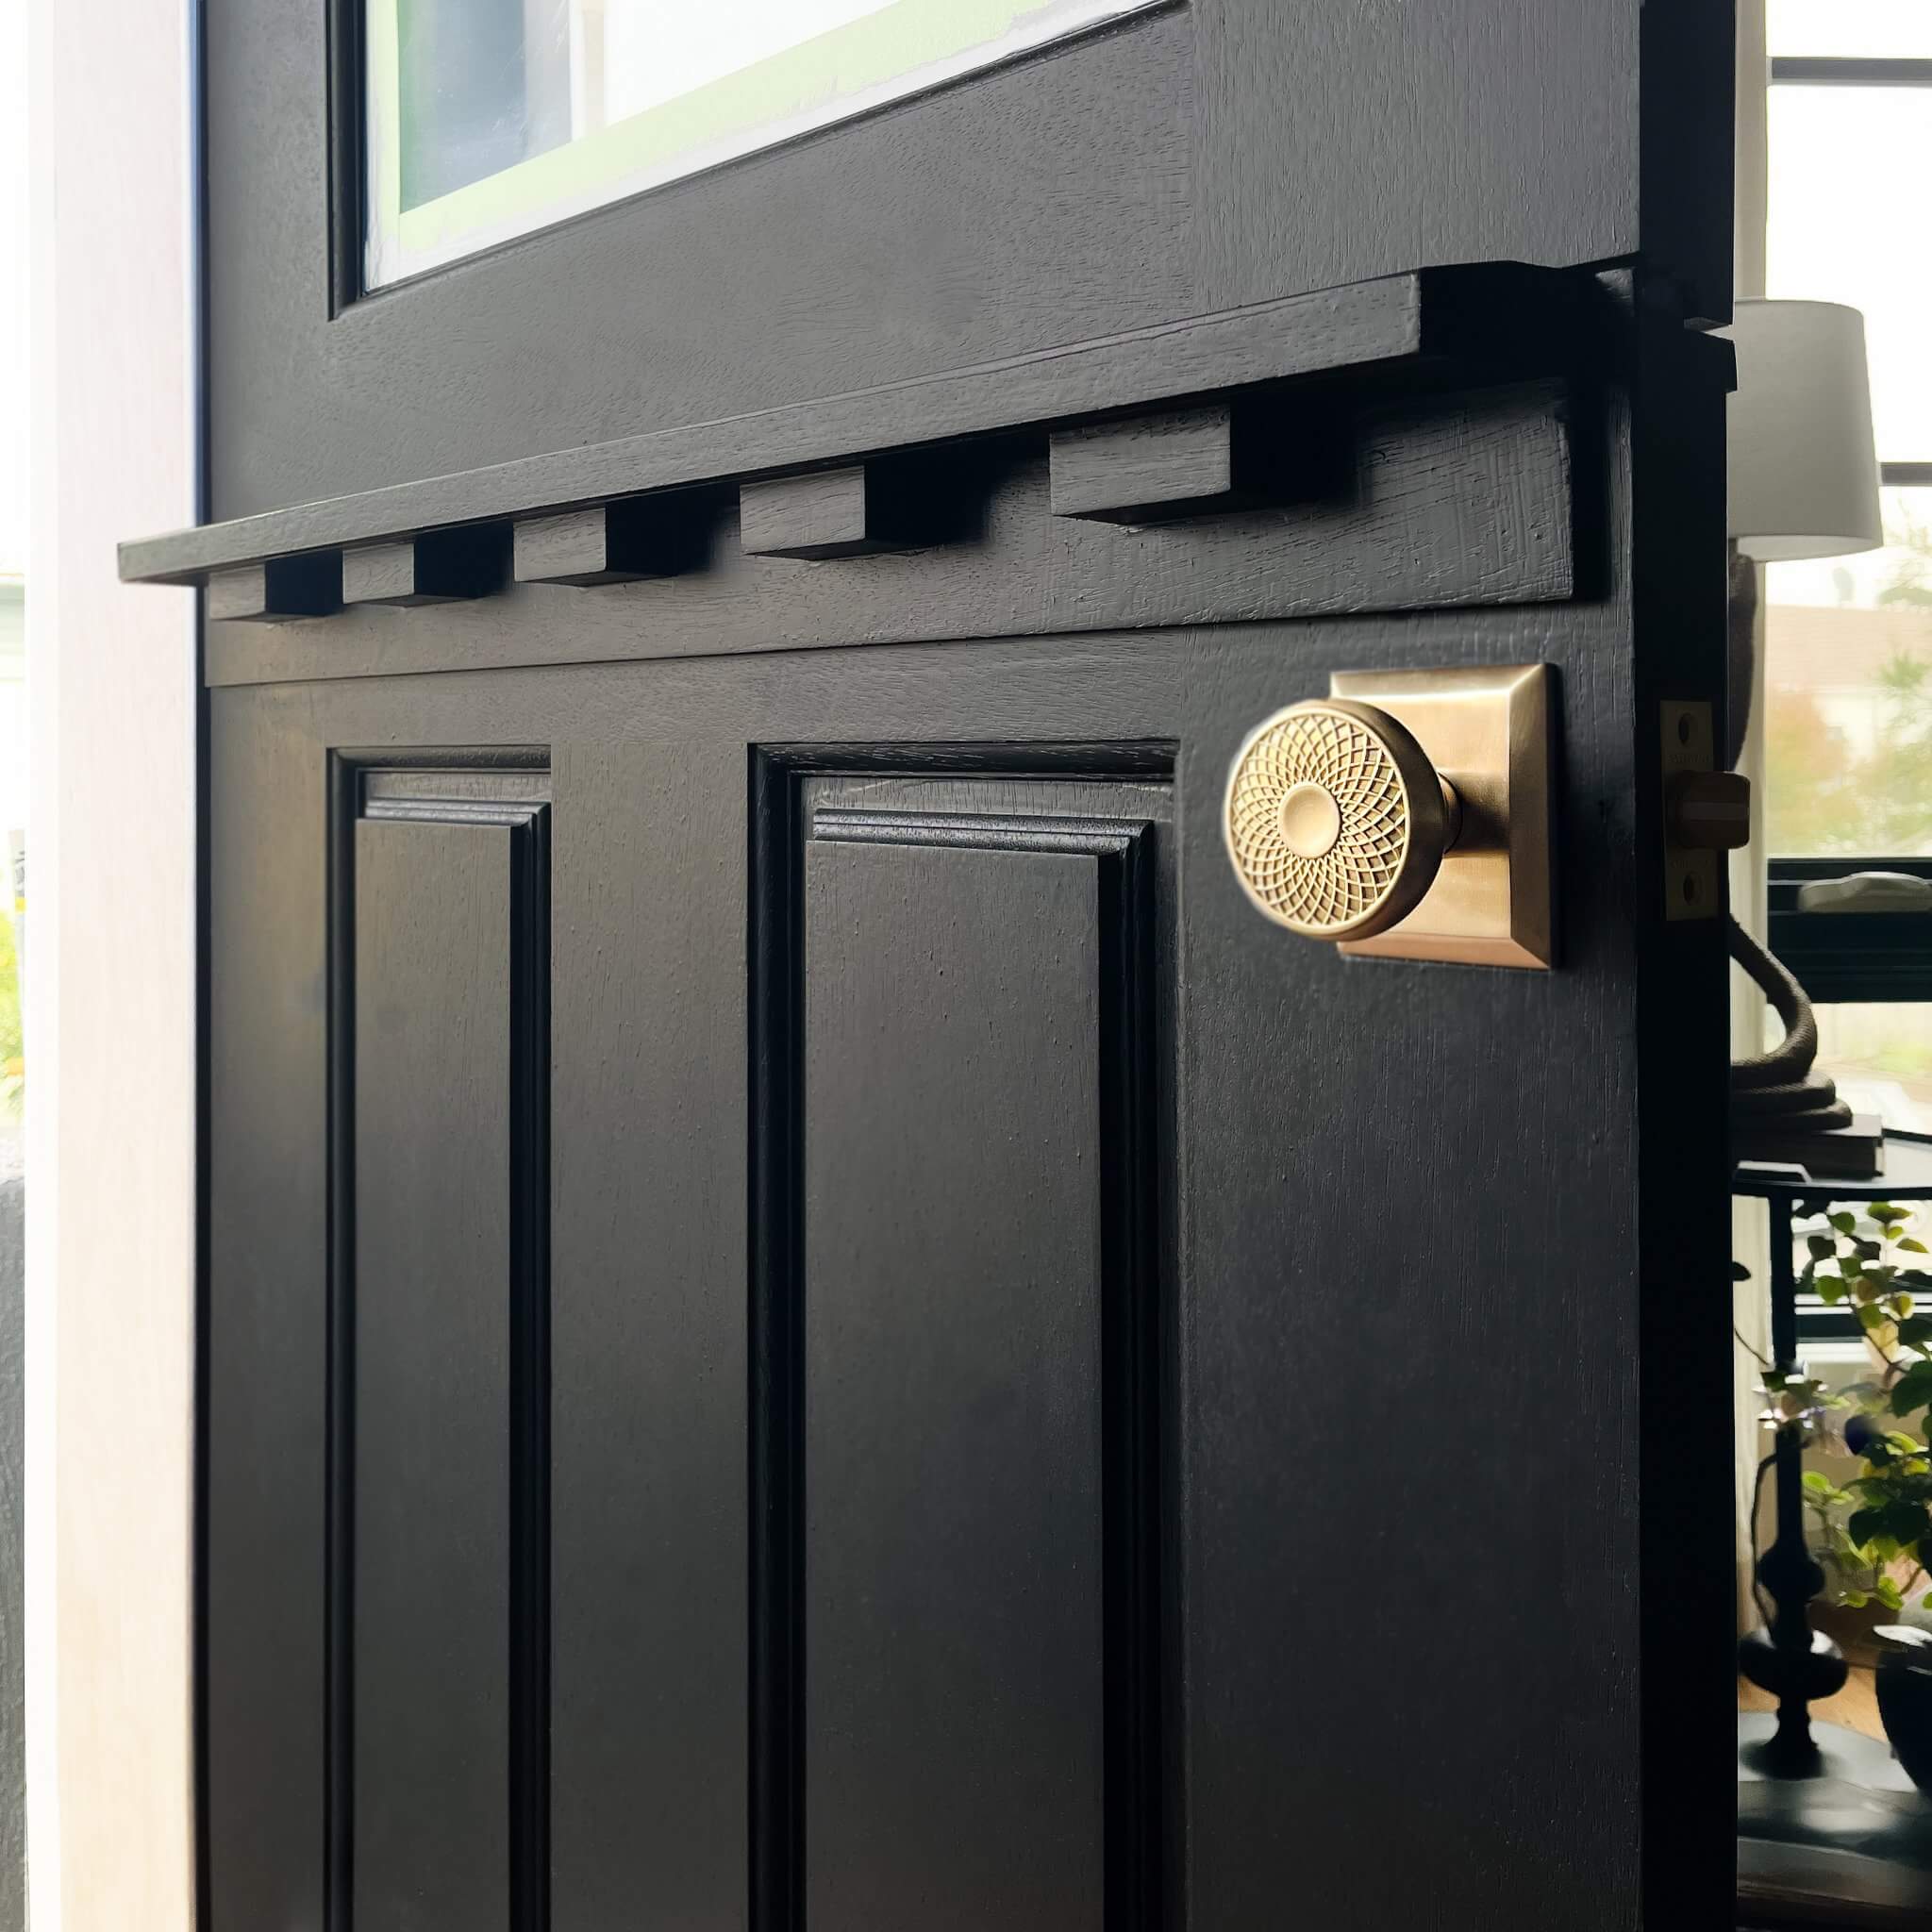
Second, pick your color. Bright colors can be great for a front door – red, yellow, even pink! Yes, pink. But, when I got my new Dutch door, I thought long and hard about what color I wanted it to be. Y’all know making a decision is never an easy process! I mean, the color has to look great, but it also has to be exterior door ready to combat dings, be easy to clean, and be rain/fog/mildew resistant. In the end, I stayed true to my design aesthetic and chose my all-time favorite paint – Tricorn Black from Sherwin-Williams. To me, it’s the perfect – true black paint while being modern and sleek. It goes well with pretty much anything. In fact, all the doors in my home are this color. I love it so so so much – yes that much. Just be sure to pick the right sheen. For my front door, we went satin. I don’t love shiny. I prefer matte, but for a front door, you do need a bit of a sheen to keep it easy to clean. So, Tricorn Black in a Satin finish it is.
SELECT THE RIGHT TYPE FINISH
Wait, we aren’t done. I know. Hang in there. Before we dive in. We have to get the right type of paint. Or all else will fail. All paints are not created equal. It’s especially important to select the right paint for a front door. Remember, this needs to resist mold, be easy to clean, and be able to take a beating (or scratch from Echo). Let me spare you the hassle of hours of research – I already did it! The best option if you want to go Tricorn black IMHO is:
- Color + Finish: Sherwin Williams – Tricorn Black 6258 Exterior paint in a Satin finish
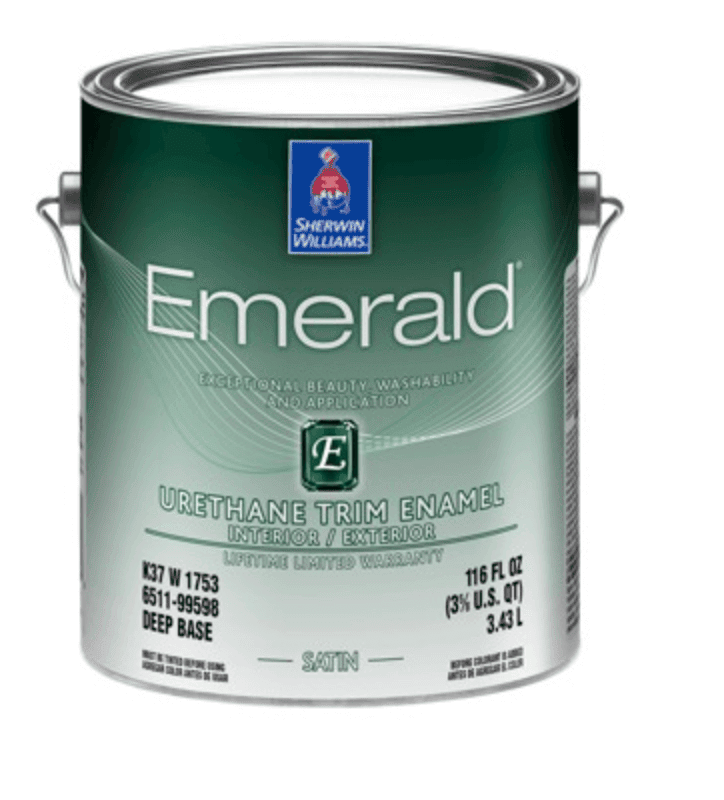
- Paint type: Sherwin Williams Emerald Urethane Trim (and door) Enamel
The Emerald Urethane in Tricorn Black – is really great if you are going to use a foam roller and brush – it won’t dry too quickly, and is a beautiful long-lasting solution.
CAN THIS PAINTWORK FOR CABINETS AND TRIM?

Yes, Emerald is also self-priming (Yay!) and will give cabinets, doors, and trim a smooth, luxurious finish. l. This water-based enamel resists yellowing compared to traditional oil-based coatings and creates a hard durable finish that withstands the wear and tear of frequently cleaned and used areas and can work both on interiors and exteriors. What’s not to love? As if that wasn’t enough it’s also quite forgiving on brush strokes and lines as it settles flat. It’s just the best. Now that we got our paint – the hard part is over. Let’s gather the rest of our supplies.
HERE ARE ALL THE MATERIALS YOU’LL NEED:
- All in one Paint + primer
- Drill/Screwdriver
- Sander with 220 or 80 grit (if you have paint build-up) sandpaper
- Sawhorses (If you want to remove first which can be easier to avoid drips)
- Painter’s tape
- 2” angled paintbrush
- 4” roller
- Face mask
- Dropcloth – lay down under your sawhorses
- Hand Paint Bucket
Once you’ve gathered up all the necessary materials, you’re good to go! Just follow these simple and easy steps to get a few perfect coats of paint:
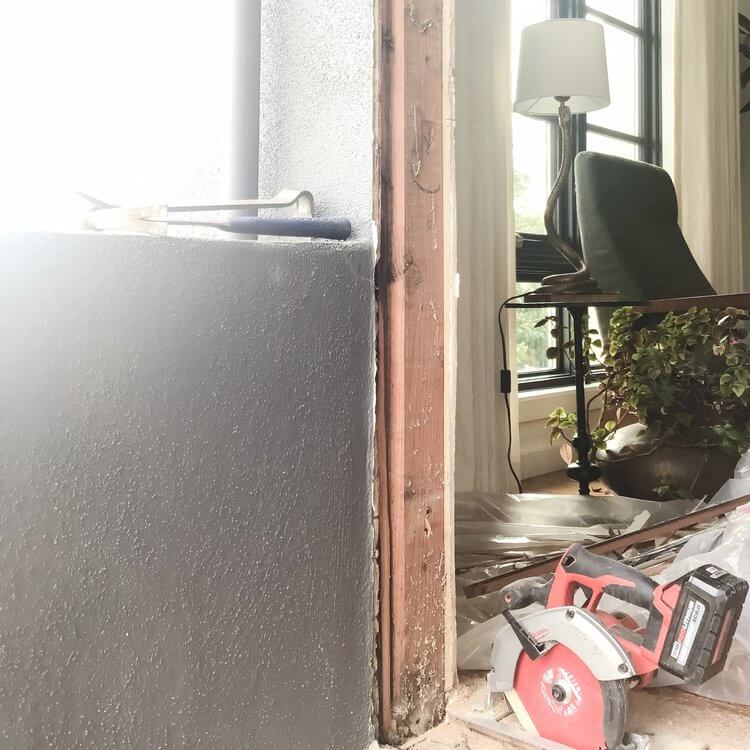
PREP, PREP, PREP
I can’t stress this enough. Most of the work when it comes to painting a door comes with prep. It pays off big to take some time and really make sure you are set up for success.
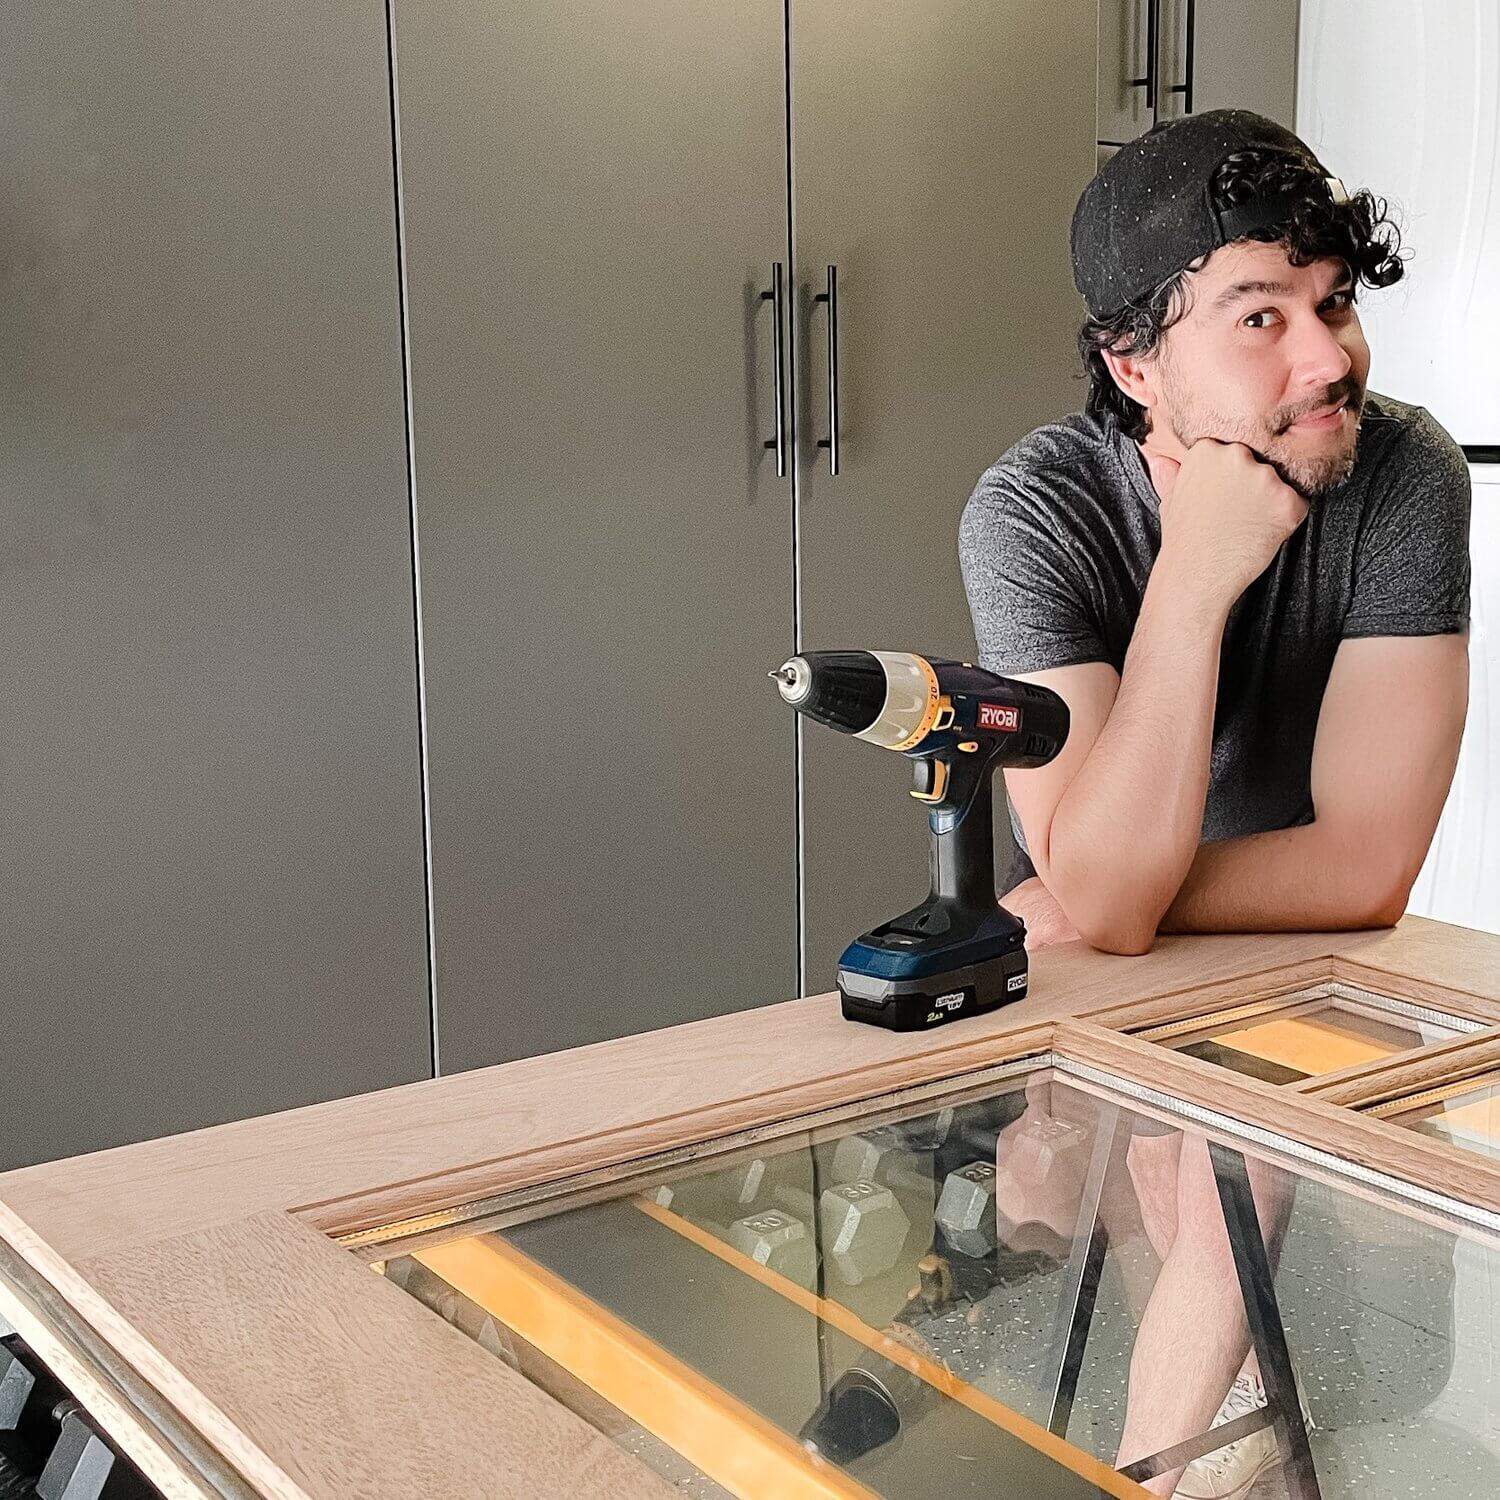
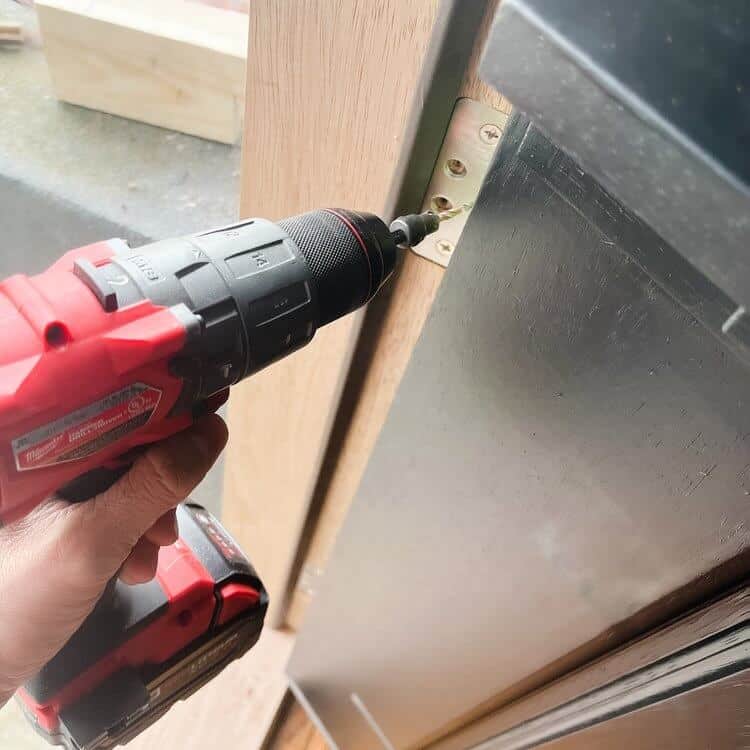
If you ordered a dutch door like I did you will want to remove it from the shipping frame. Simply remove the screws from the exterior shipping frame with a drill. There are three screws for each hinge. Remove them all and make sure nothing was damaged during the shipping process.
If you door is already pre-hung simply remove the three screws per hinge. I like to remove two per hinge so that one screw is left in each and then ask for help – by having one person hold the door while I remove the final screws. Once done place on sawhorses.
Finally, if you are prepping an already hung door, you can skip this step.
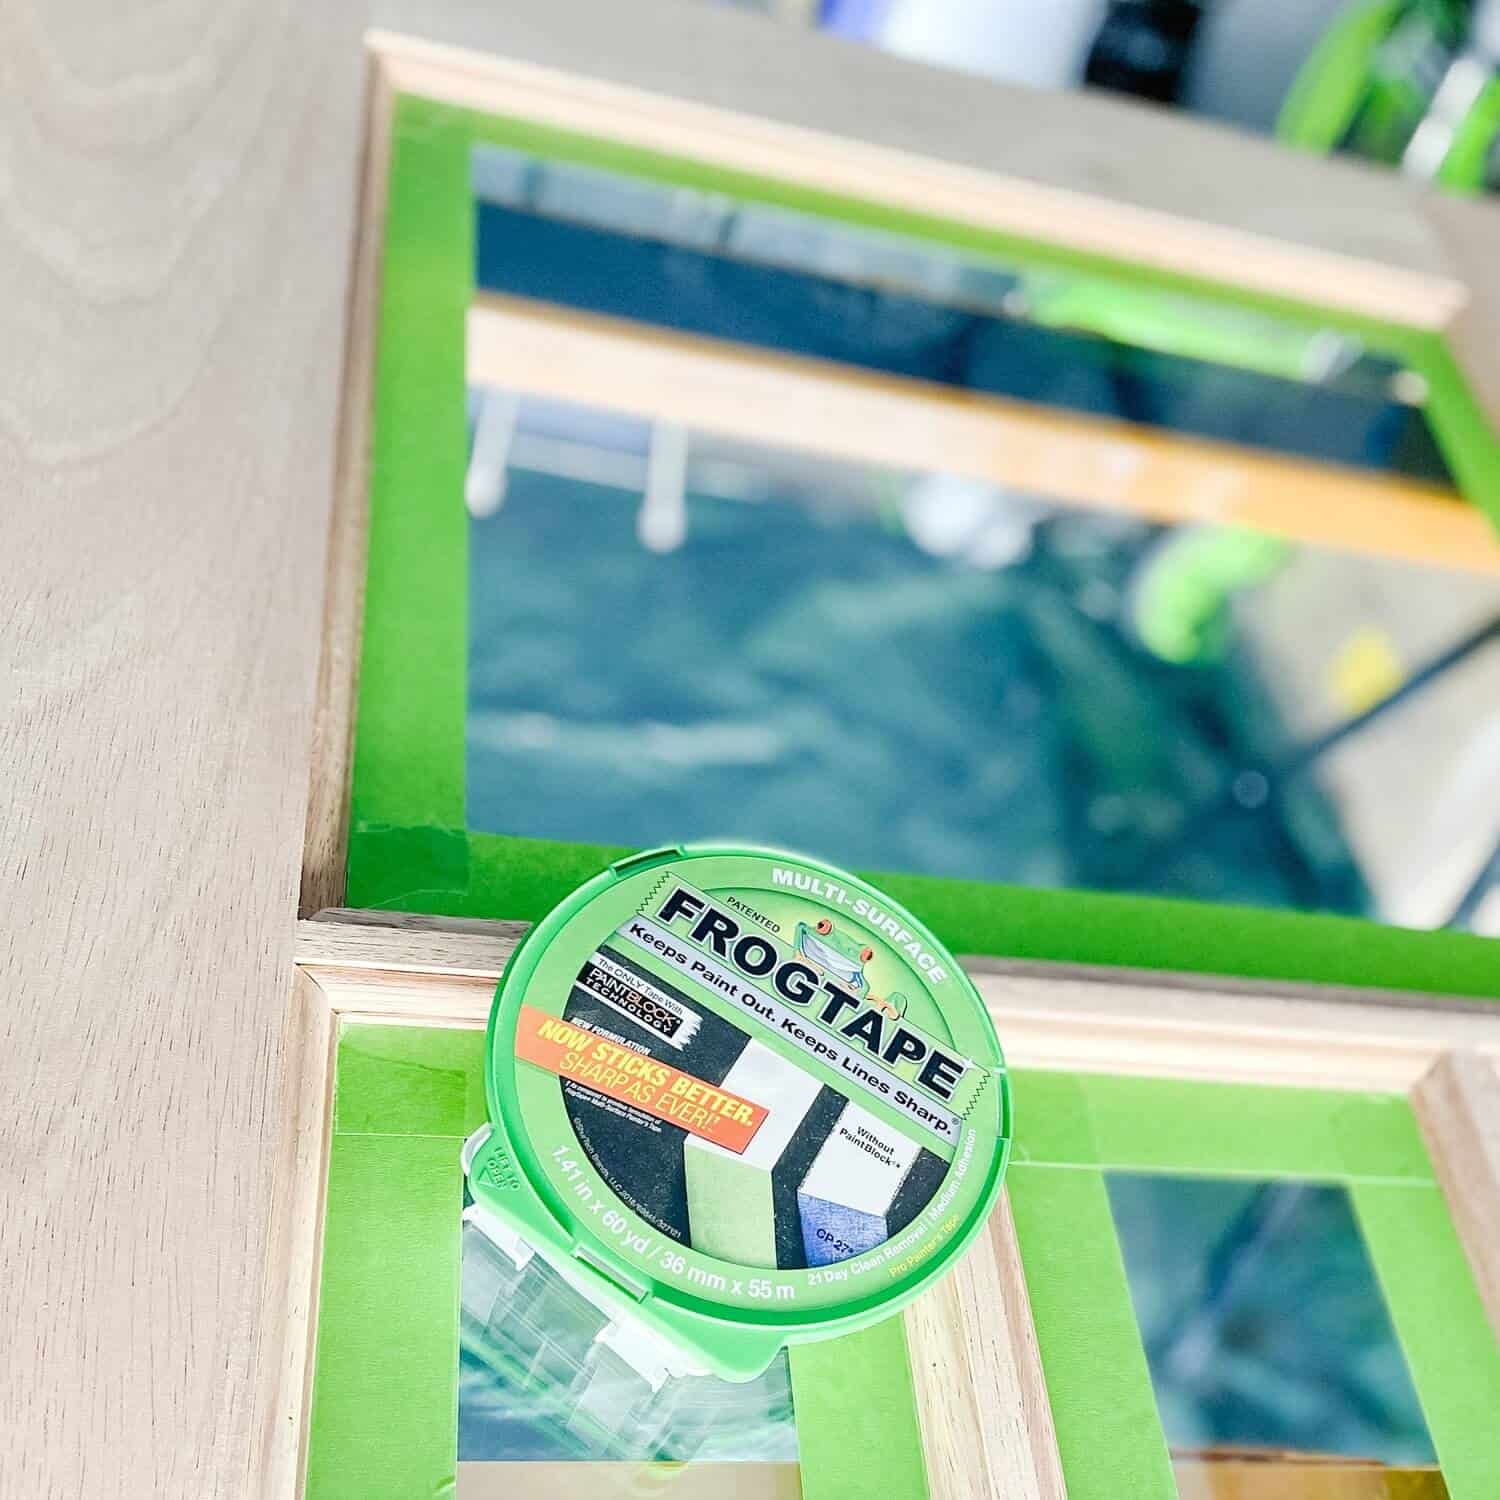
TAPE IT OFF
Next, simply cover up any glass panes as well as the hardware (such as the hinges and bolt slider) using painter’s tape to protect them from paint drips and splatters. You may also remove the hardware if it’ll make the job easier for you, but you can get away with not removing it if you want. If you drip onto the glass – don’t worry. Just wipe it up quickly with a rag.
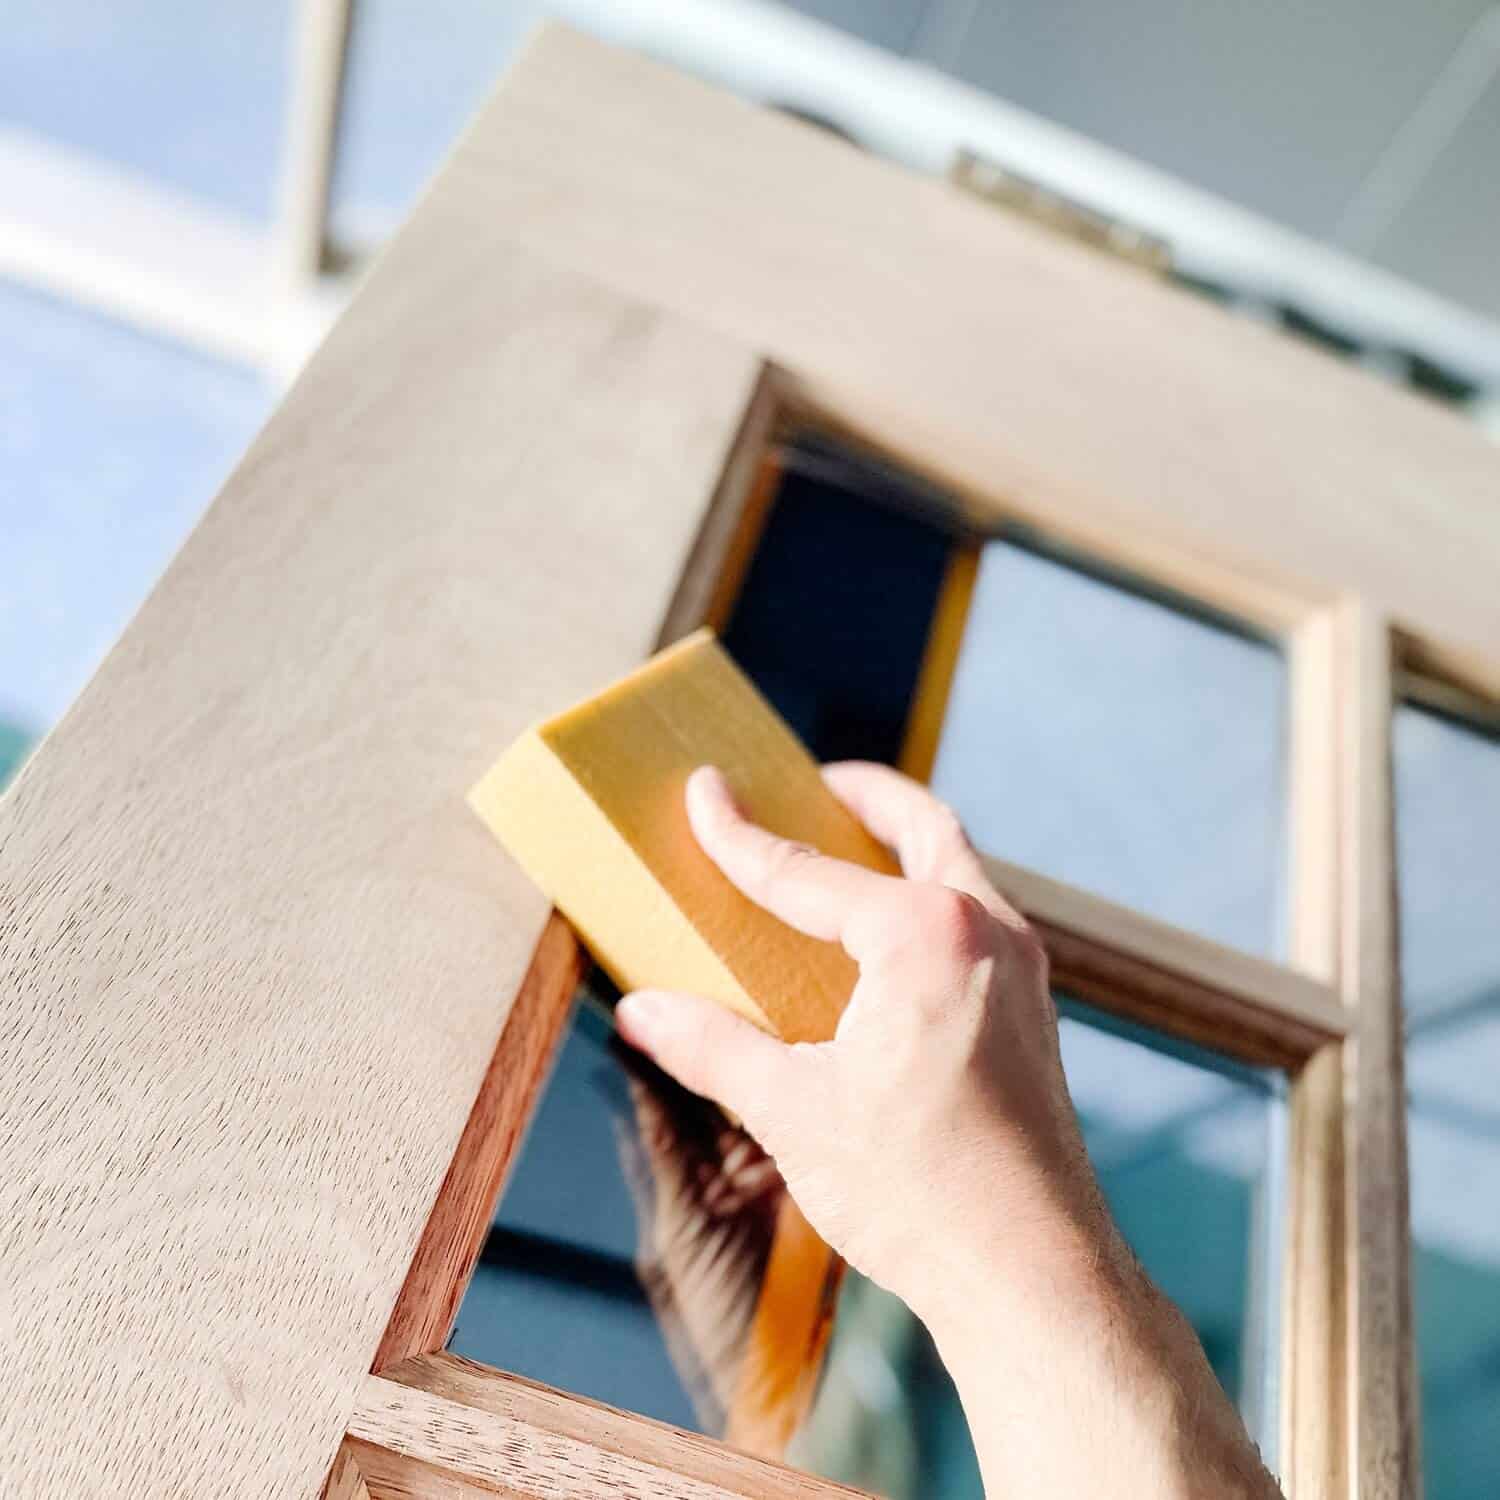
SAND
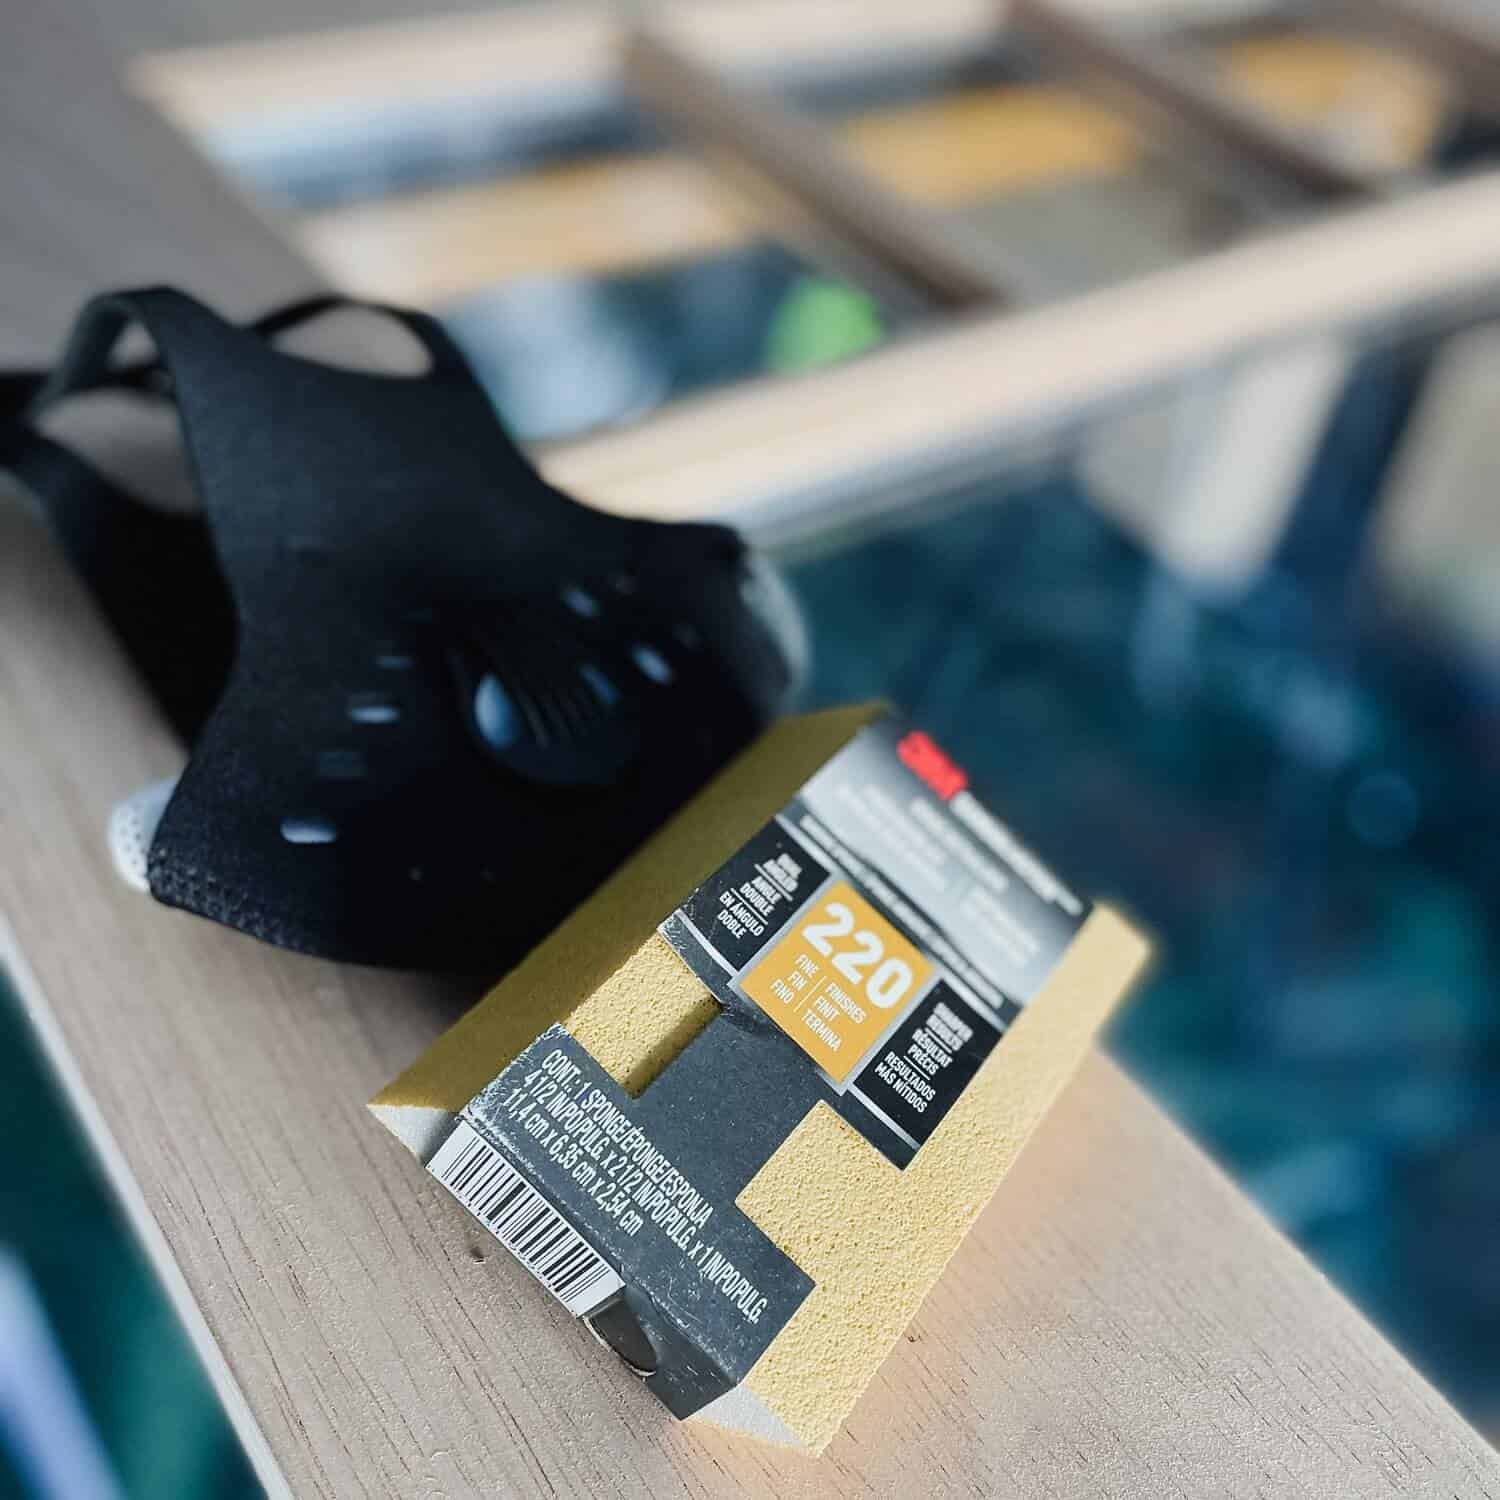
To ensure that the paint goes on smoothly and evenly, start the priming process by sanding the entire door. Lay it out on sawhorses and use a sanding sponge or orbital sander with 220 grit paper, making sure to go in the direction of the grain. If you are preparing your door and it’s still on the hinges – no worries! Do the same step. Be sure to get into the grooves and the edges too. Once finished, remove the dust residue using a simple cloth. I like to follow up with my dustbuster too. Be sure the entire surface is clean to avoid lumps before applying our all-in-one paint and primer of choice.
SCRAPE + PATCH
Note: If you are painting a door that has already been painted you are going to want to consider a scraper and a rougher 80 grit sandpaper. My door was new and unfinished. So this step was not necessary – but, if you have an older door be sure to sand with an orbital sander and scrape as much of the original paint off as you can to get a smooth flat, and even surface.
Using a razor blade, scrape off all the mess that was leftover from the previous paint job can make quick work of paint on glass panes. If you have pre-existing nail holes and dings – be sure to fill them with wood filler and sand back down to a smooth finish.
PAINT

Okay, now for the fun part. Using the 2” angel paintbrush, start painting in confident brush strokes in the recessed grooves around each paneled surface. Do this first before working your way down in the panels. This is important to get a streak free smooth look. I store my paint in this hand bucket for ease of maneuvering. Plus, I can load my brush with enough paint to get the desired look and smooth finish. Be liberal with paint, for a door you want a nice thick coat.
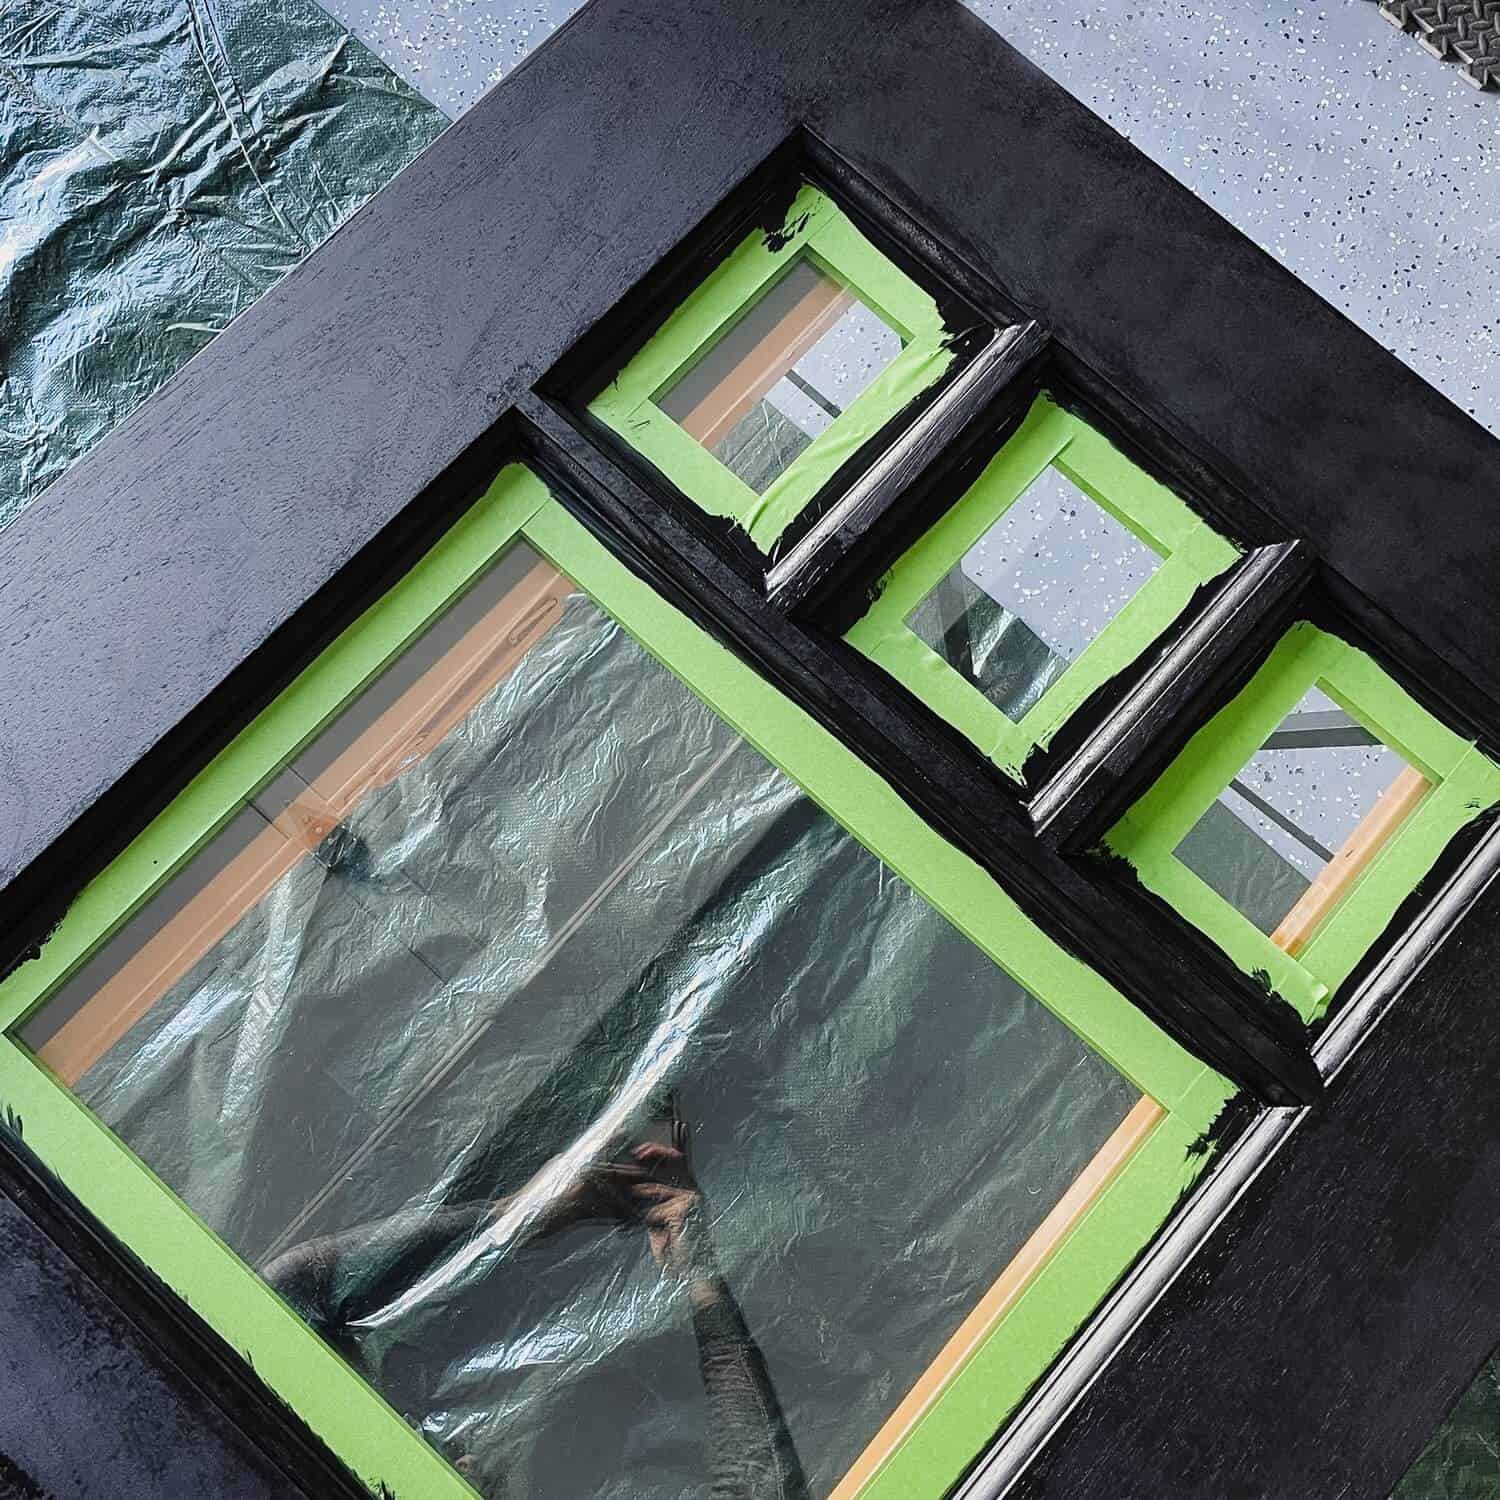
Next, Use the 4“ mini foam roller to get the larger flat surface areas. Using this foam roller will ensure you get a finished door without brush marker.
Once you have painted all the grooves and the panels are done move on to the rail and then stiles. Be sure to paint the edges and sides of each door too. I like to do that first so paint doesn’t pool over the sides. Better to have the edges bleed than the front or back of the door.
It’s ideal to use even pressure when painting for the best-looking result. Using this mini roller will help you achieve that streak-free look. If you get pooling in the corners that’s okay. Simply run a brush over it, but don’t fuss too much – there is a leveling agent that will flatten out a bit – you just don’t want big obvious areas where paint is pooling up.
If you are using the paint I listed above, you will want to do two coats. I did three however, just to be safe. Be generous with this paint when you apply, and make sure you mix it well. There is a strong cure coat that you want to mix in well and coat heavily. Let each side dry 24 hours before applying the second coat. Longer if you can. I like to get a good strong cure before applying again.
NOW YOU KNOW HOW TO PAINT A DOOR WITHOUT BRUSH MARKS
Guys! that’s it. Painless, right? Once you’re done painting, give it a good 24-48 hours to give to full cure before putting it to use. If you can’t let it cure overnight for safety reasons because you painted on the frame and not on a sawhorse, please allow a good 6-8 hours on a warm day. That will work! Plan accordingly ok? I don’t want ya without locked doors overnight.
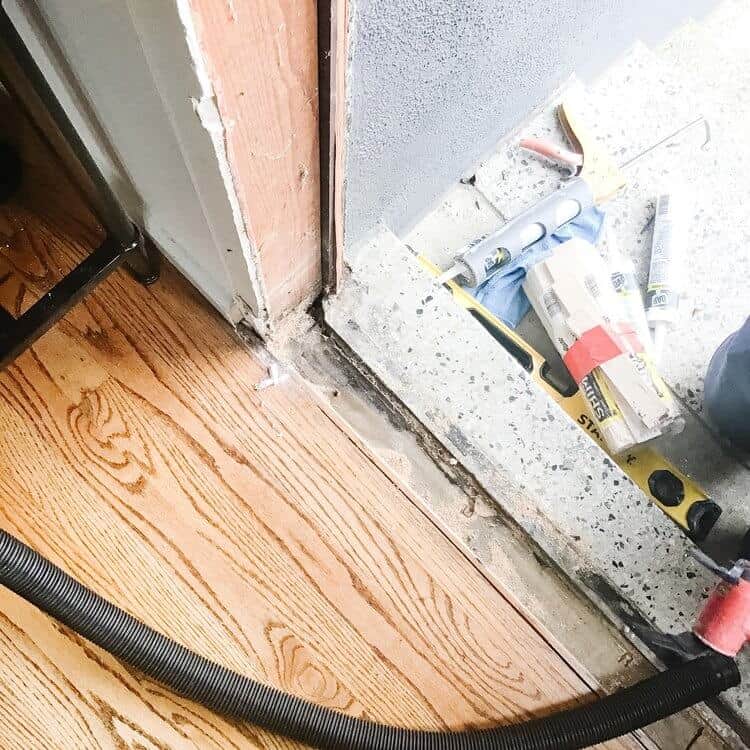
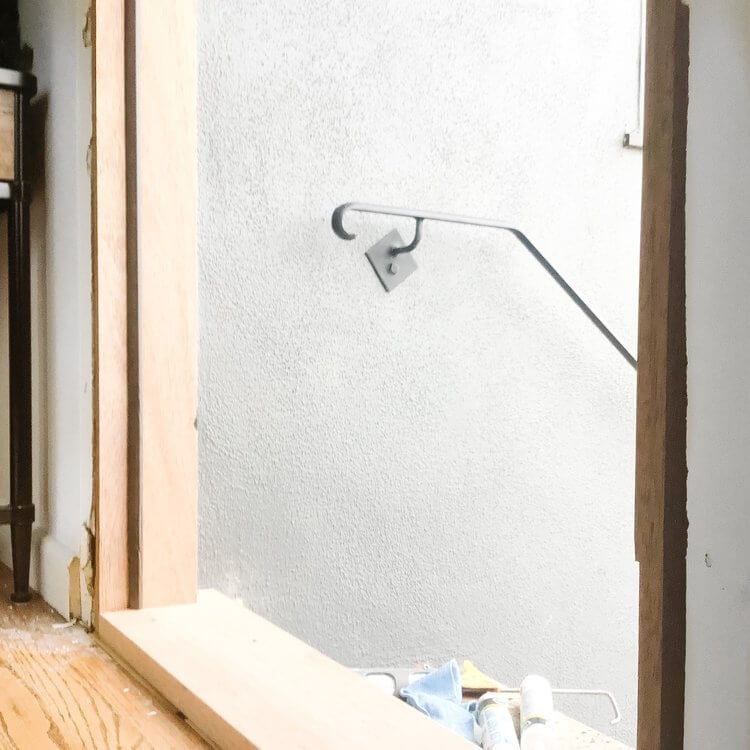
After the paint is good and dry, simply hang it per the specifications of your door. Or if you are like me with the help of Home Depot, I got my dutch door installed as part of my purchase. See the process below:
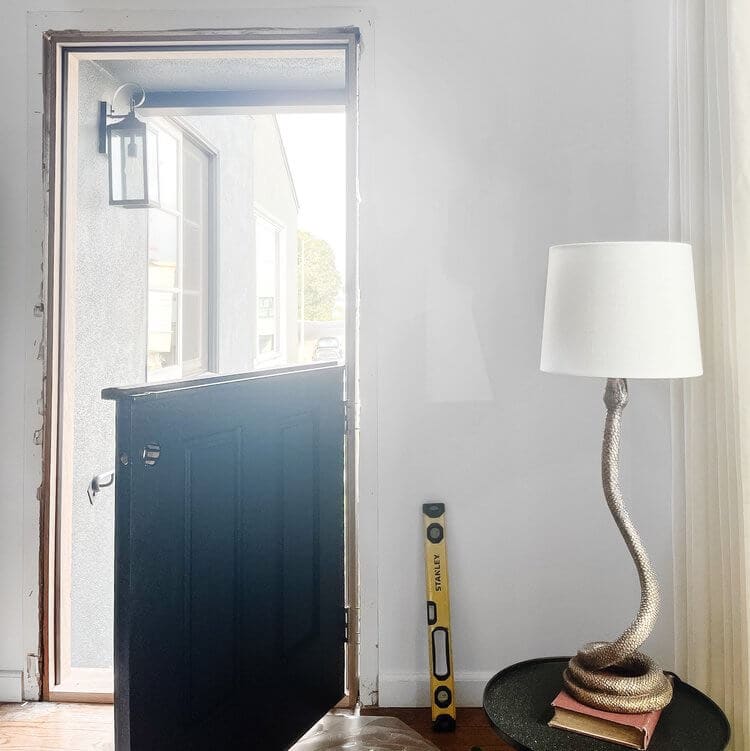
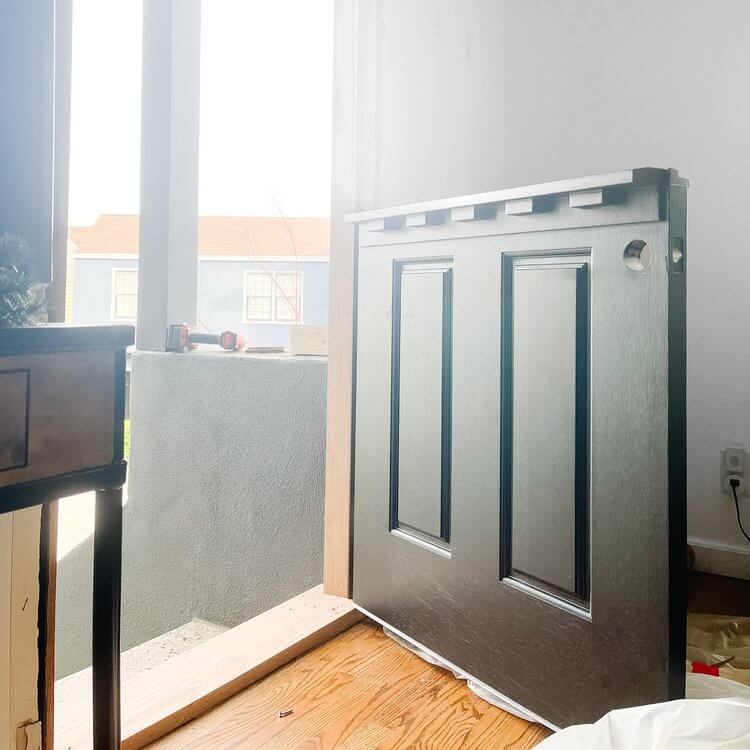


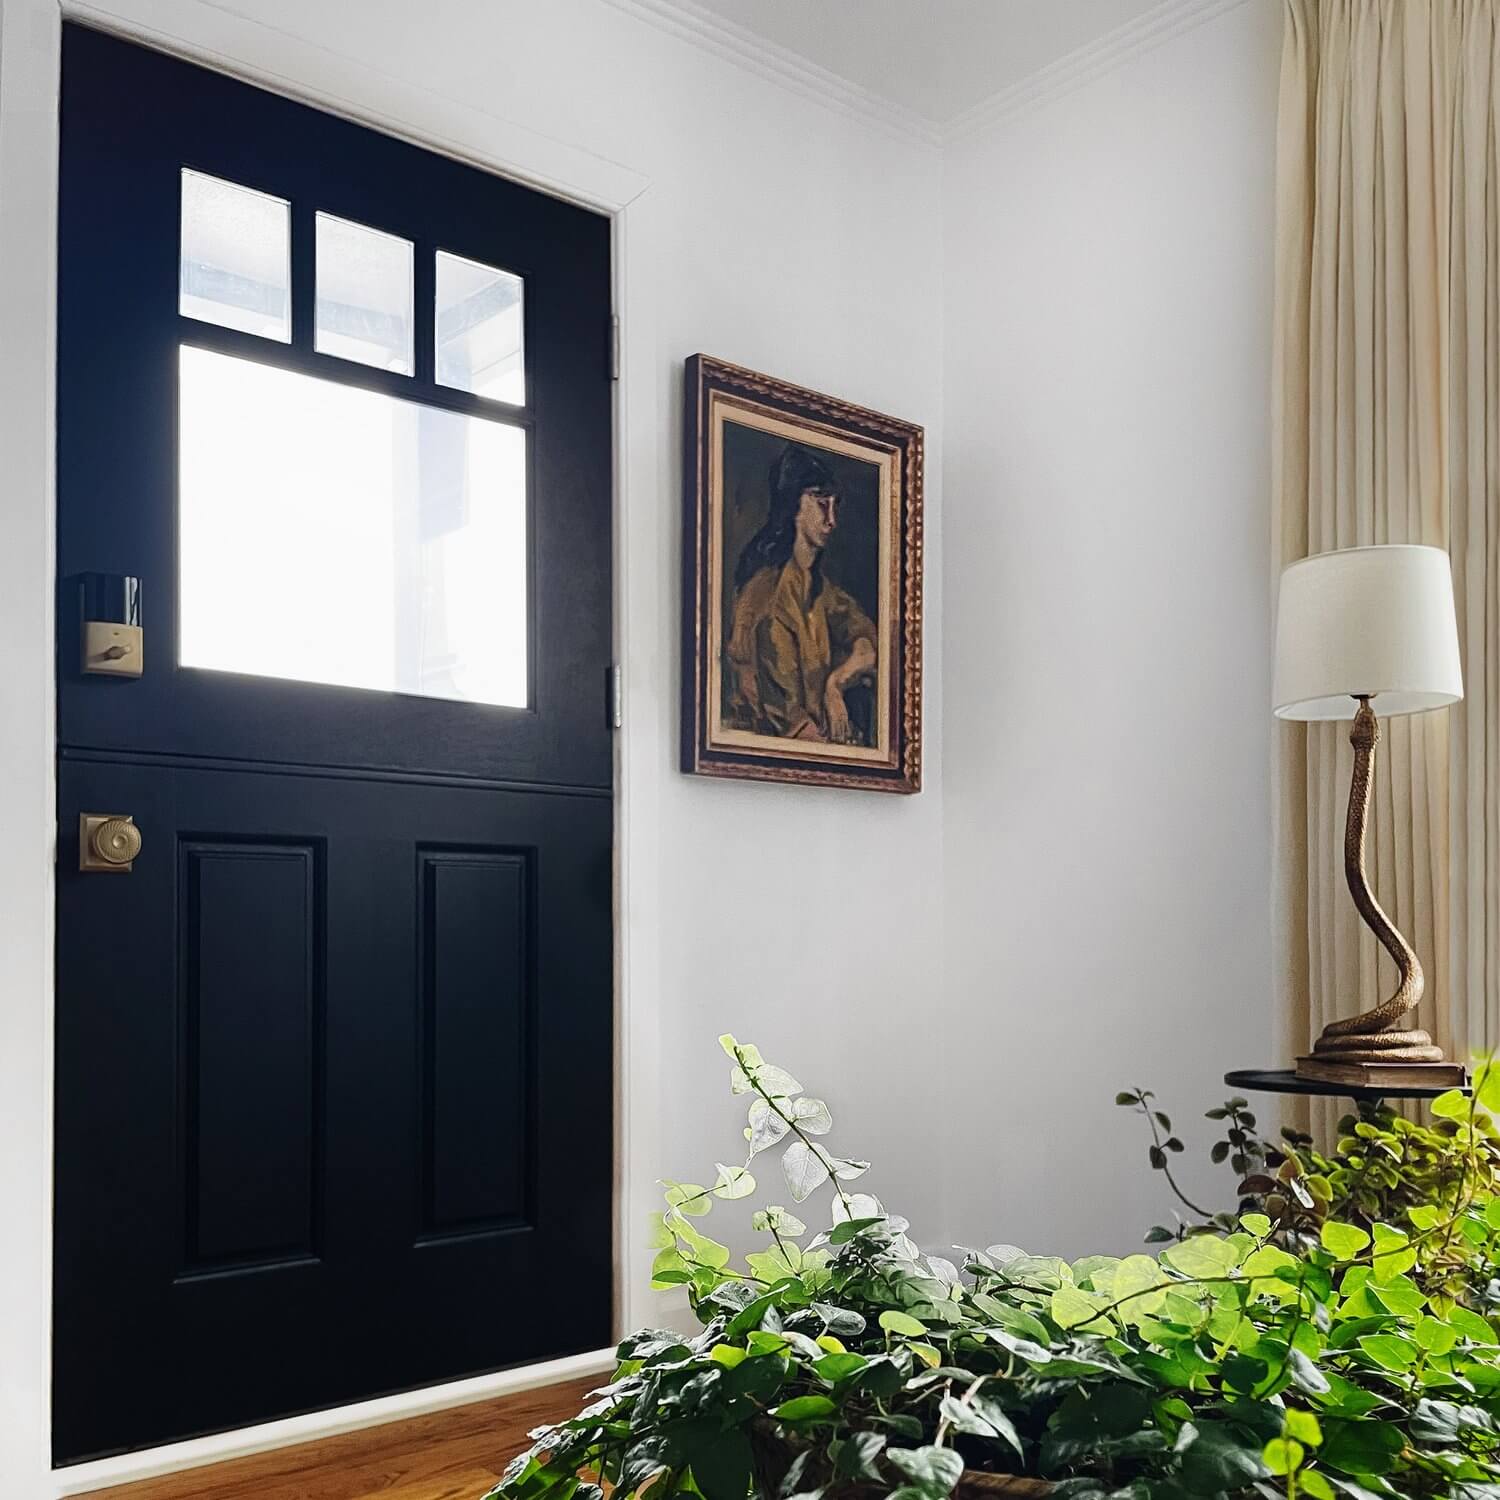
Guys, I gotta say I am in love with the mood of my freshly painted and installed black dutch door. The natural light, fresh air, cool view, and elevated look make my heart sing. I just love peering out into the neighborhood now.
In the end, swapping out and painting my front door has made all the difference in my entryway – for the better. Plus it is mark free and a total showstopper. I am over the moon that I have a new look, that lets lots of light in, and provides a view of Twin Peaks.
I can’t wait for more sunny days so I can sit on the couch and peer out as the sun sets over the city. To this day, I still catch myself just staring at it on a sunny day in awe. It’s especially sweet knowing I did it by myself and the paint looks so good. If I can do it. You can too! xo