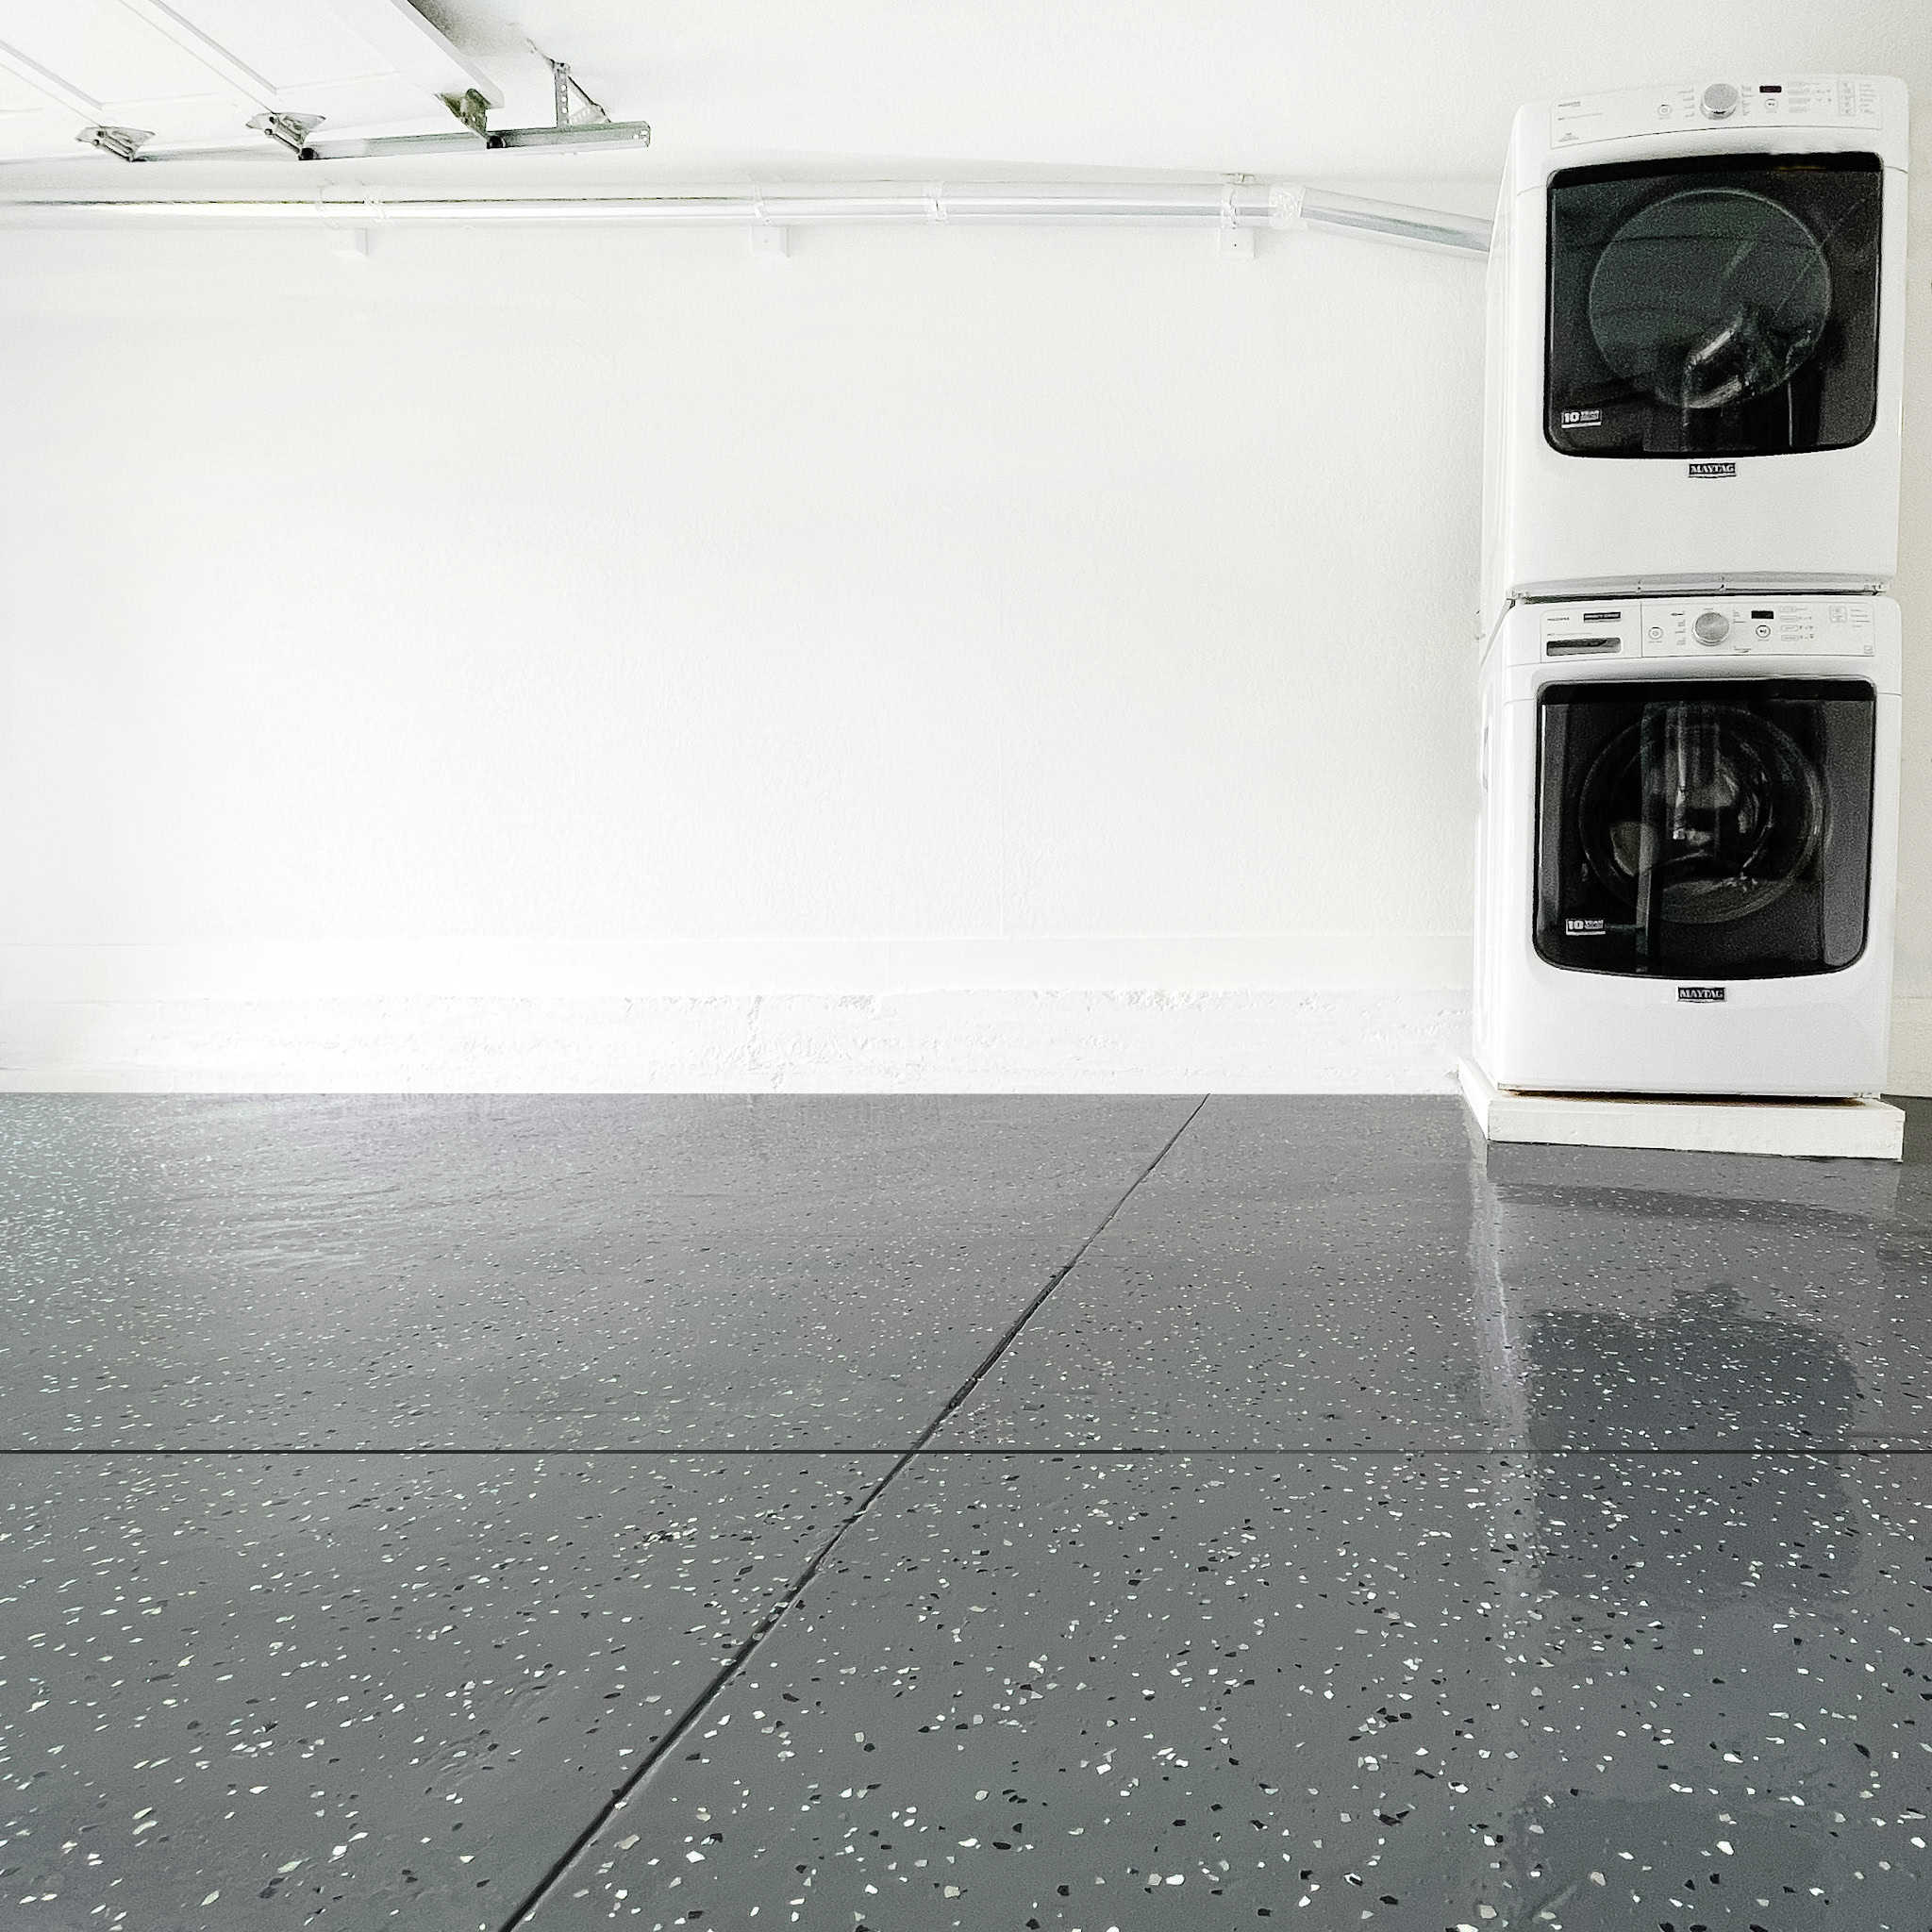
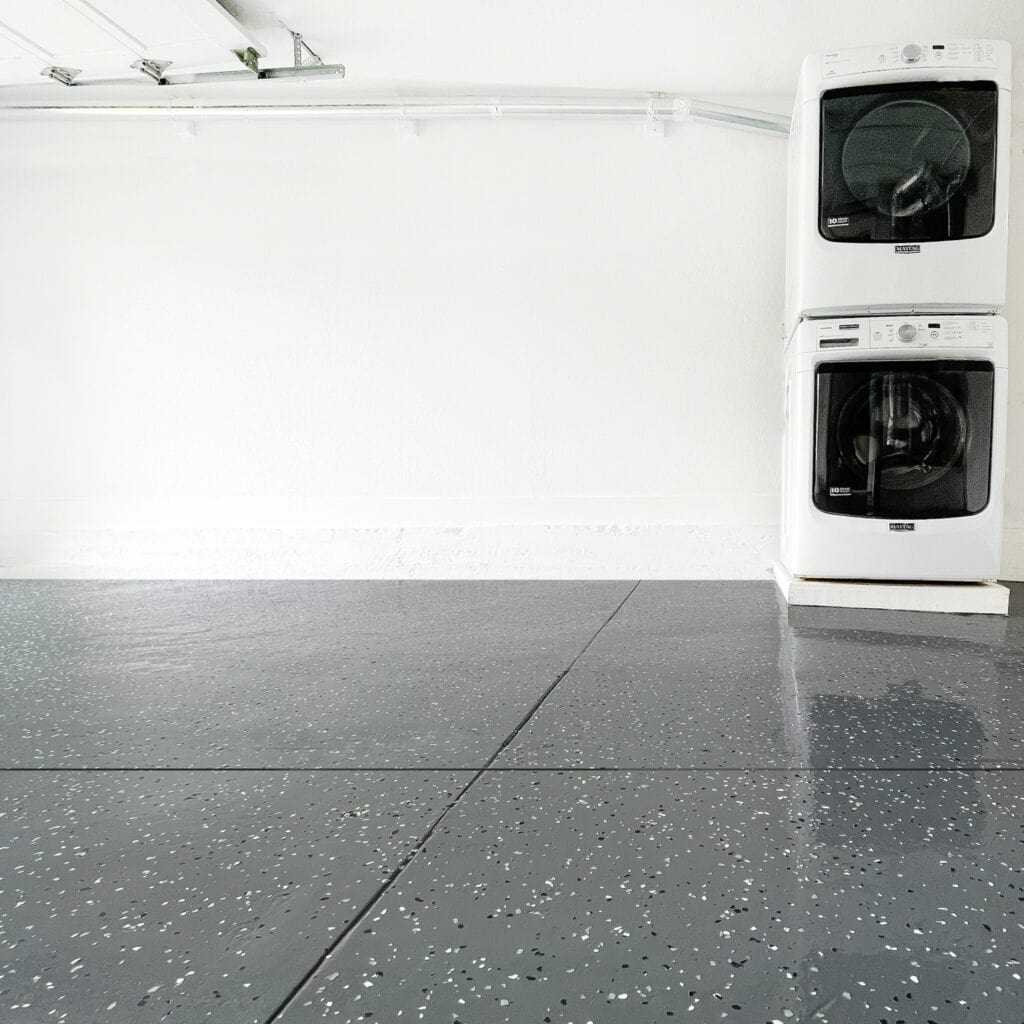
Have you ever done an epoxy garage floor cost DIY? I hadn’t either, but now I ask myself why I didn’t do it sooner. The before and after are amazing. My grade was so depressing with the dingy, dinged floors before applying this epoxy. I kinda want to hang it out in the garage now – like all the time. Wild, I know! I’m bringing you another fun home improvement project. This epoxy garage floor cost DIY project is a bit more time-consuming than most projects I show you guys, but trust me – it’s a task worth taking on. Curious how it went. Find out how it went in real time over on my Instagram page.
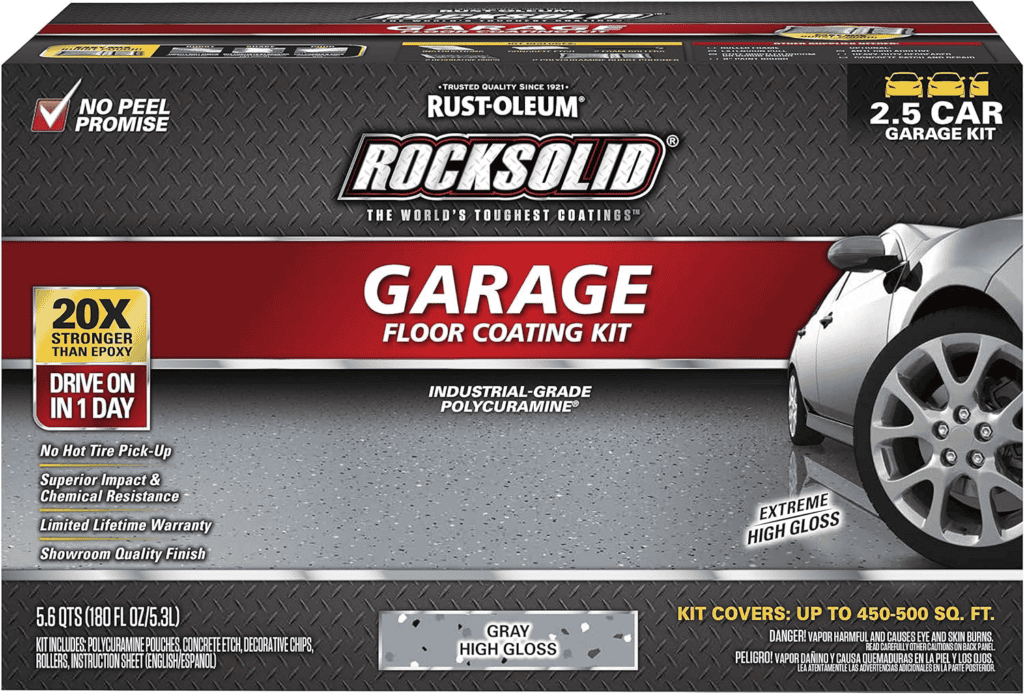
The process is similar to the floor epoxy process used in industrial settings, just with easy-to-obtain items and a bit more effort. The results look absolutely fantastic, though, and you’re sure to enjoy being in your garage much more once you’re done. I know I do.
Well, enough chit-chat. Let’s get right into it!
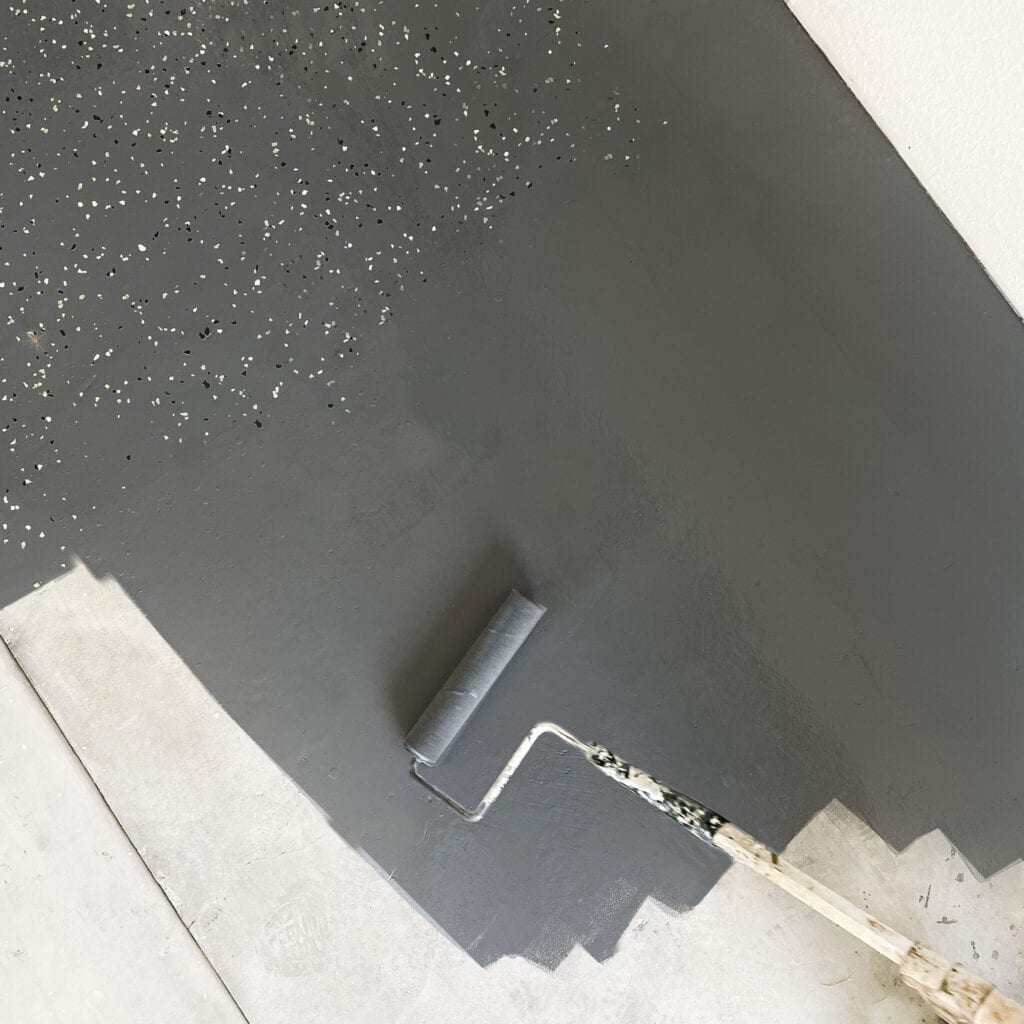
Table of Contents
A How-to Guide
The main reason I decided to go with the DIY approach is because it helps keep the project costs much lower. That said, there is a limit on how low the cost of epoxy flooring can get. For example, you can’t skip the material costs, no matter what approach you take.
Still, the epoxy garage floor cost DIY approach can be cheaper, bringing the floor coating costs way down per foot. There are other epoxy flooring systems you can use, but this is the one I found that worked well for me. I hope you love it.
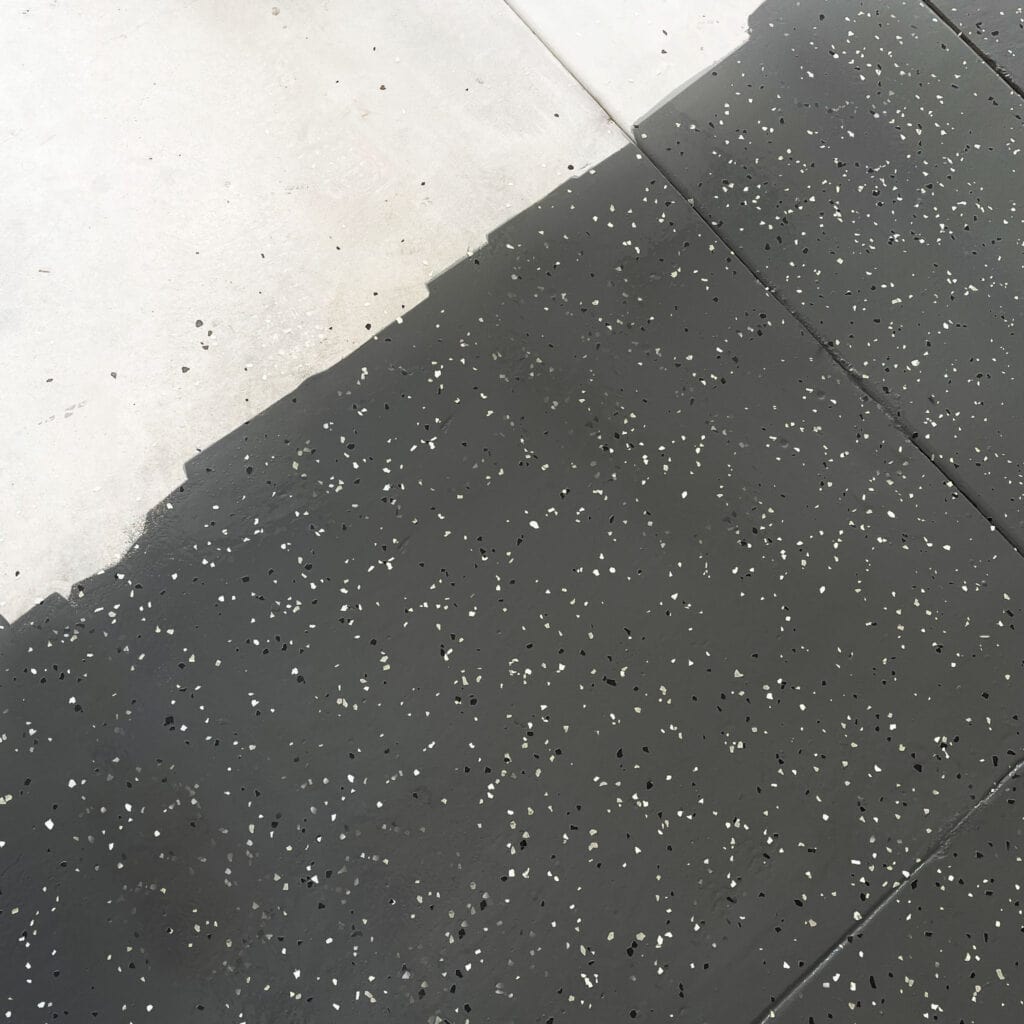
I recommend reading all the way through before getting started so you know what you’ll be doing (and what you’ll need to have on hand).
Clear the Floor
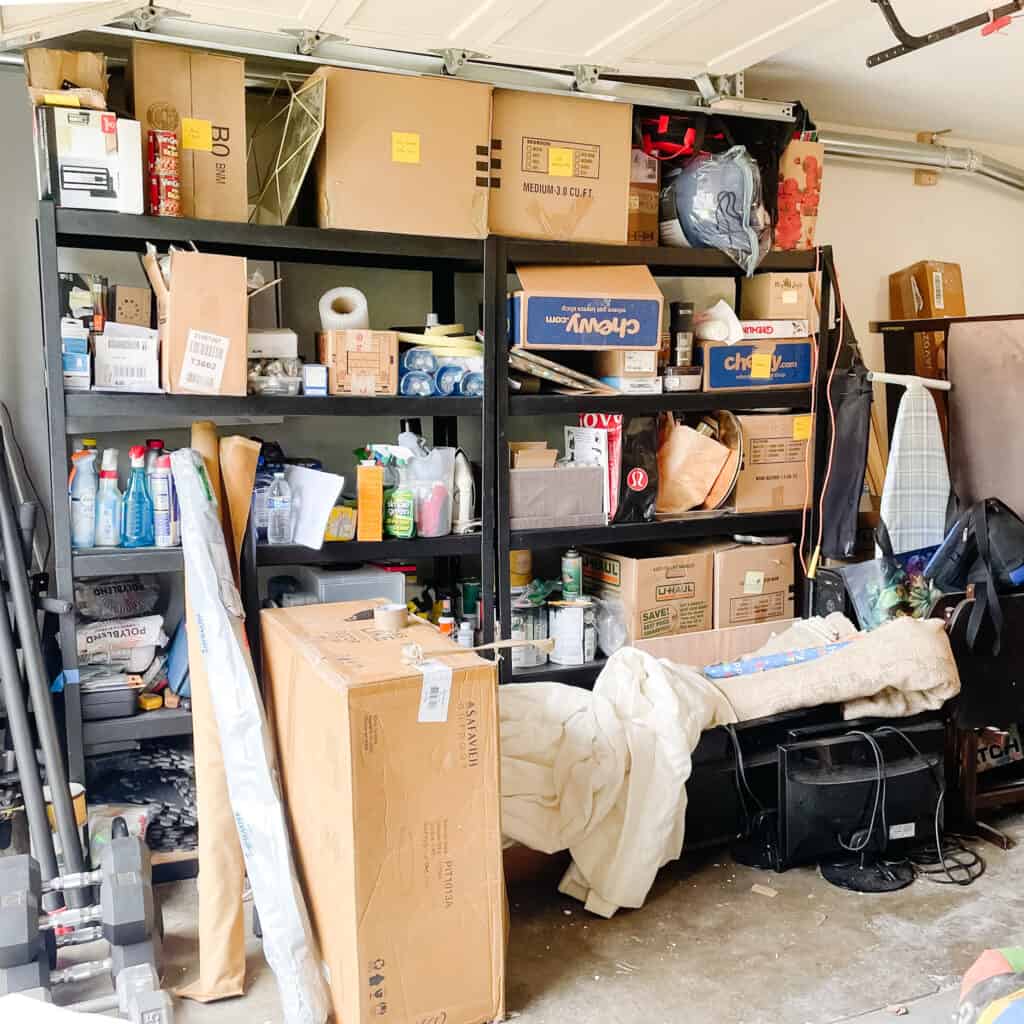
Like most simple DIY projects, you’ll begin the process by clearing the area. My garage was a mess. Just look at the before and after. This can be a bit time-consuming, depending on the size of your garage and what’s already in it, but you’ll need to ensure the concrete surface is clear of obstructions before continuing your epoxy garage floor cost DIY project.

It might be tempting to do each half separately, especially if you have a two-car garage and limited alternative storage space. Still, I wouldn’t recommend doing this as you’ll definitely be able to tell each side of the concrete garage floor was done separately.
Cleaning the Surface
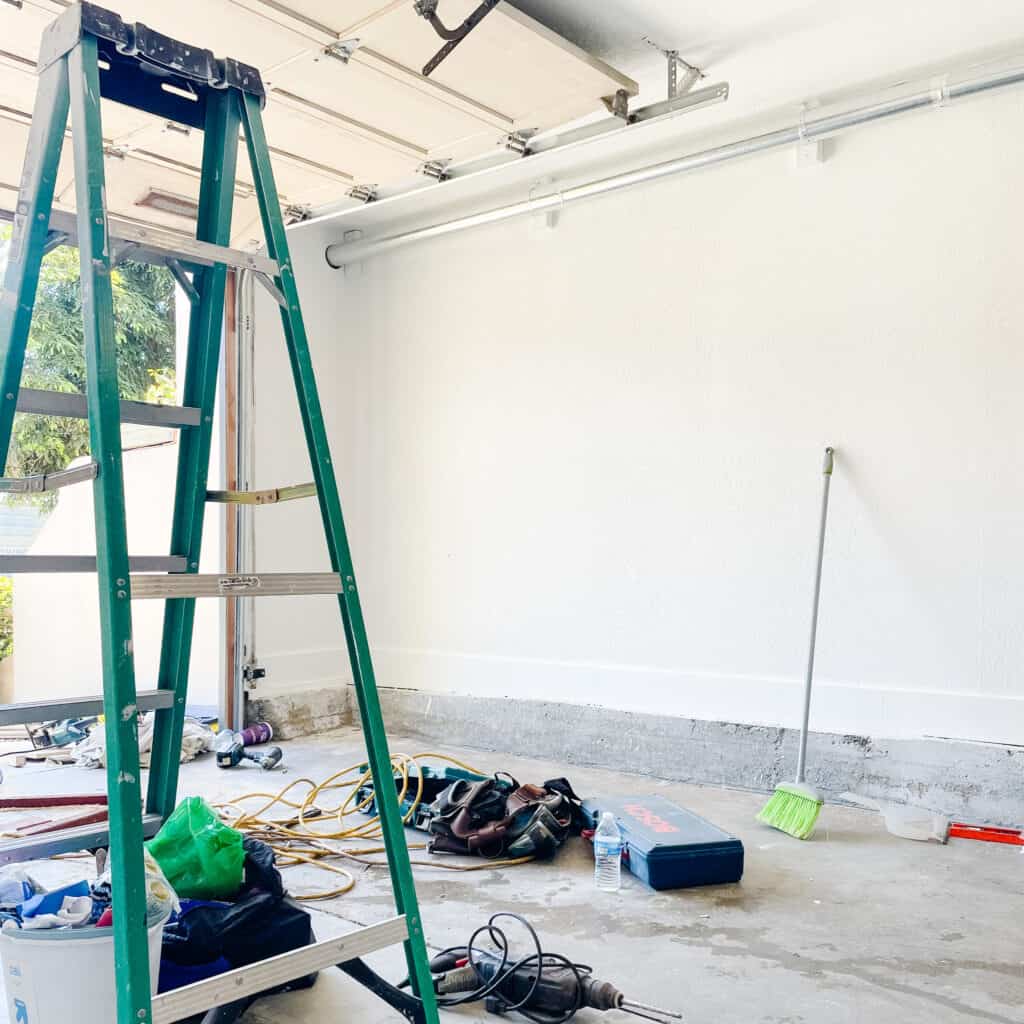
Once the area’s clear, it’s time to clean the floor. You’ll need each area of the concrete slab to be free of dust and debris if you want the epoxy to stick well. I’d recommend using a shop vac for this part of your epoxy garage floor cost DIY. It might seem a bit overpowered, but it will help speed up the process immensely.
While cleaning, check the floor for oil stains and oil spots. When you’re done vacuuming, you’ll need to come back to these spots with a power washer and some floor cleaner.
Additional Floor Prep
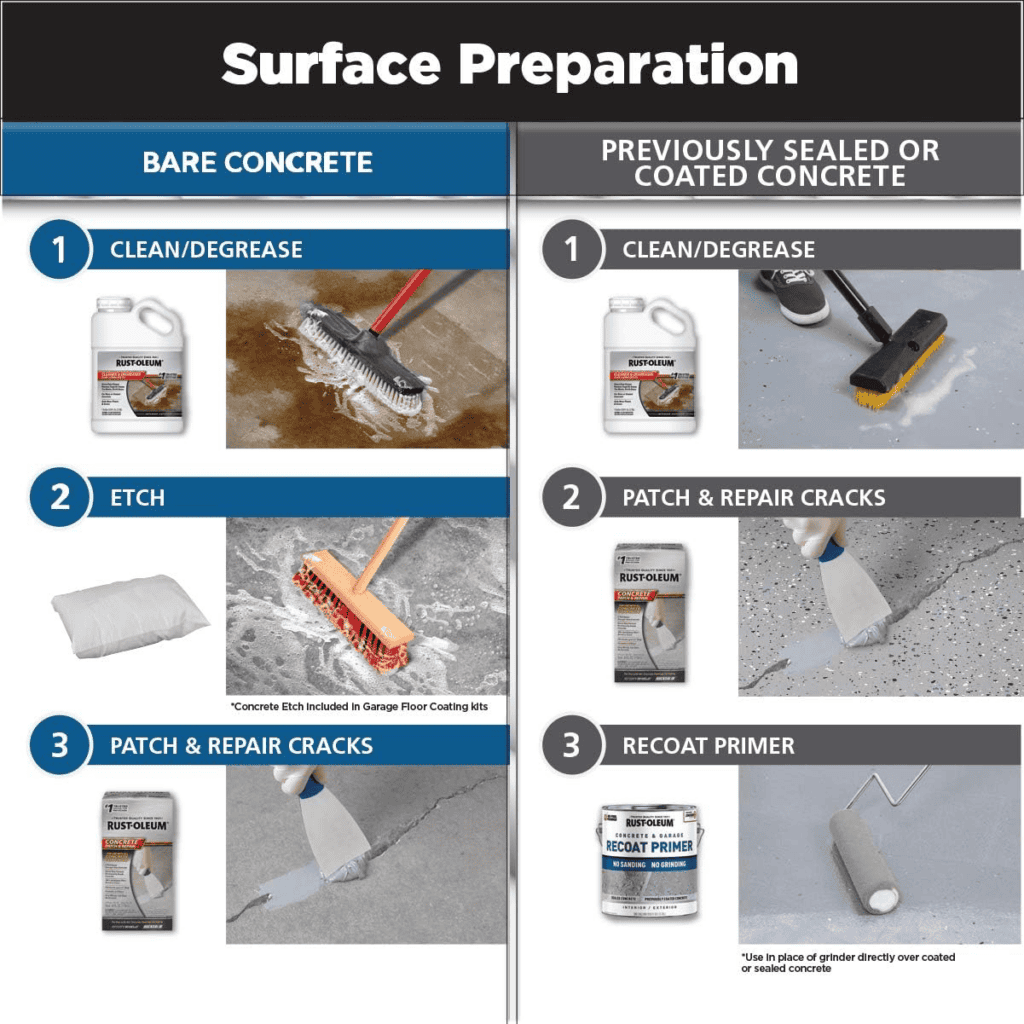
Next, you’ll need to grab a hose, some degreaser, and a pressure washer to continue your epoxy garage floor cost DIY. It’s important to have the right tool for the job if you want the best results for the job. If your current washer isn’t up to par, I’d recommend renting a better model for the day. If you don’t get the surface completely cleaned, you’ll surely be able to tell later.
Apply the degreaser then leave it to sit for at least ten minutes. Scrub it using a floor scrubber, then spray the degreaser away using the power washer. I used Clean & Etch, but you always can use separate degreasers and etchers if you like.
Regardless, make sure to follow instructions for the application process if you want the best results. After you’ve finished washing the floor, use some painter’s tape to tape along the bottom of the walls.
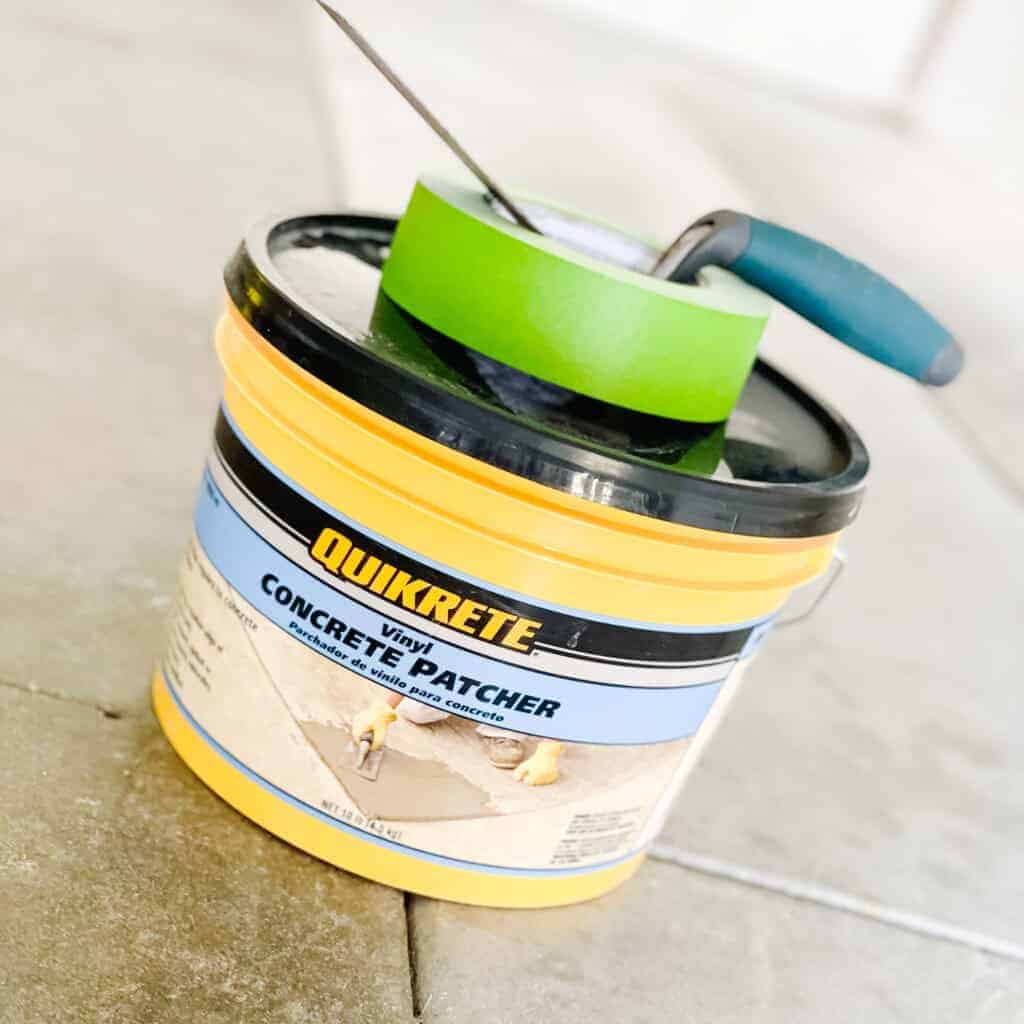
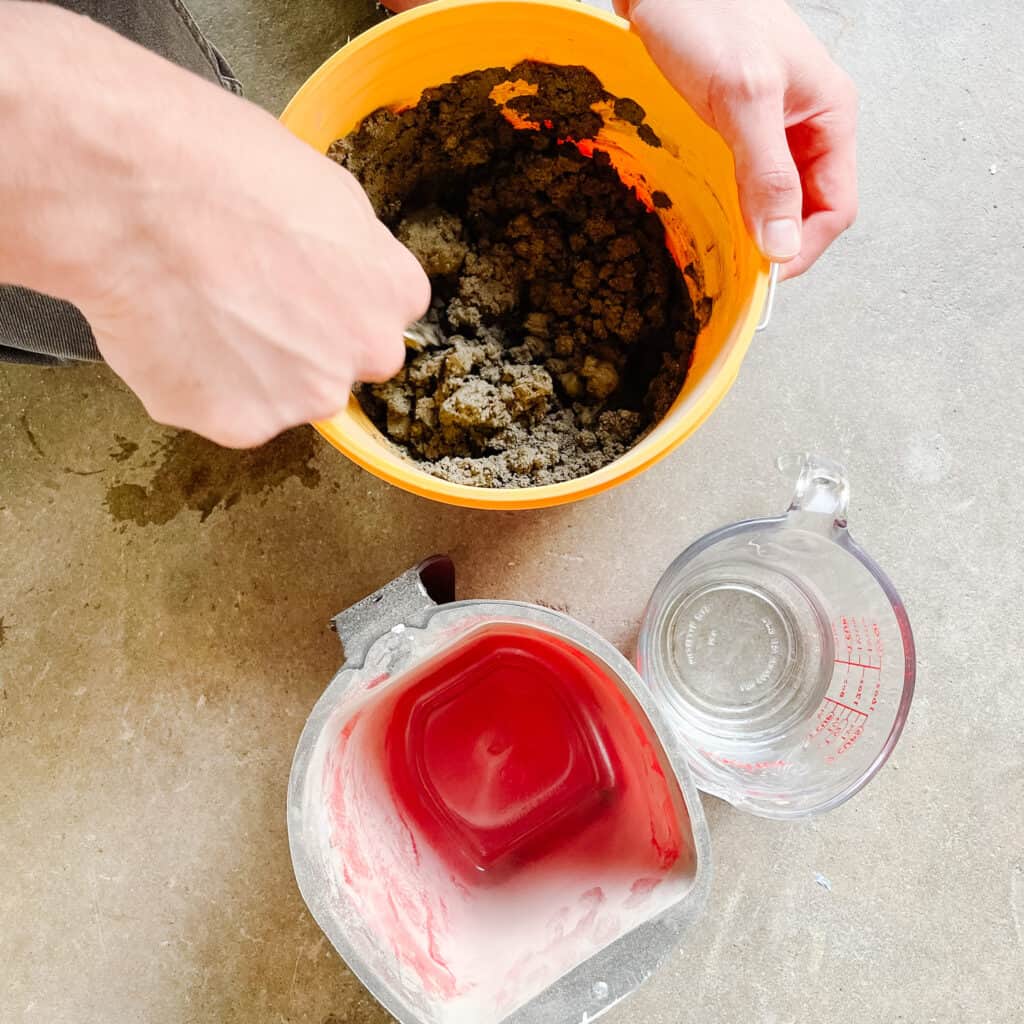
If your concrete flooring has any cracks or dents, be sure to fill them with a concrete path like Quickrete to ensure a smooth, flat surface. You will want to mix and just slightly overfill the mixture into any cracks—just prepare according to the instructions. This is an easy and important step. You will thank me later when you have a more professional finish at the end. Don’t skip it. Wet mud is ideal but not liquid. Then, lightly send it down flat.
Mix the Epoxy
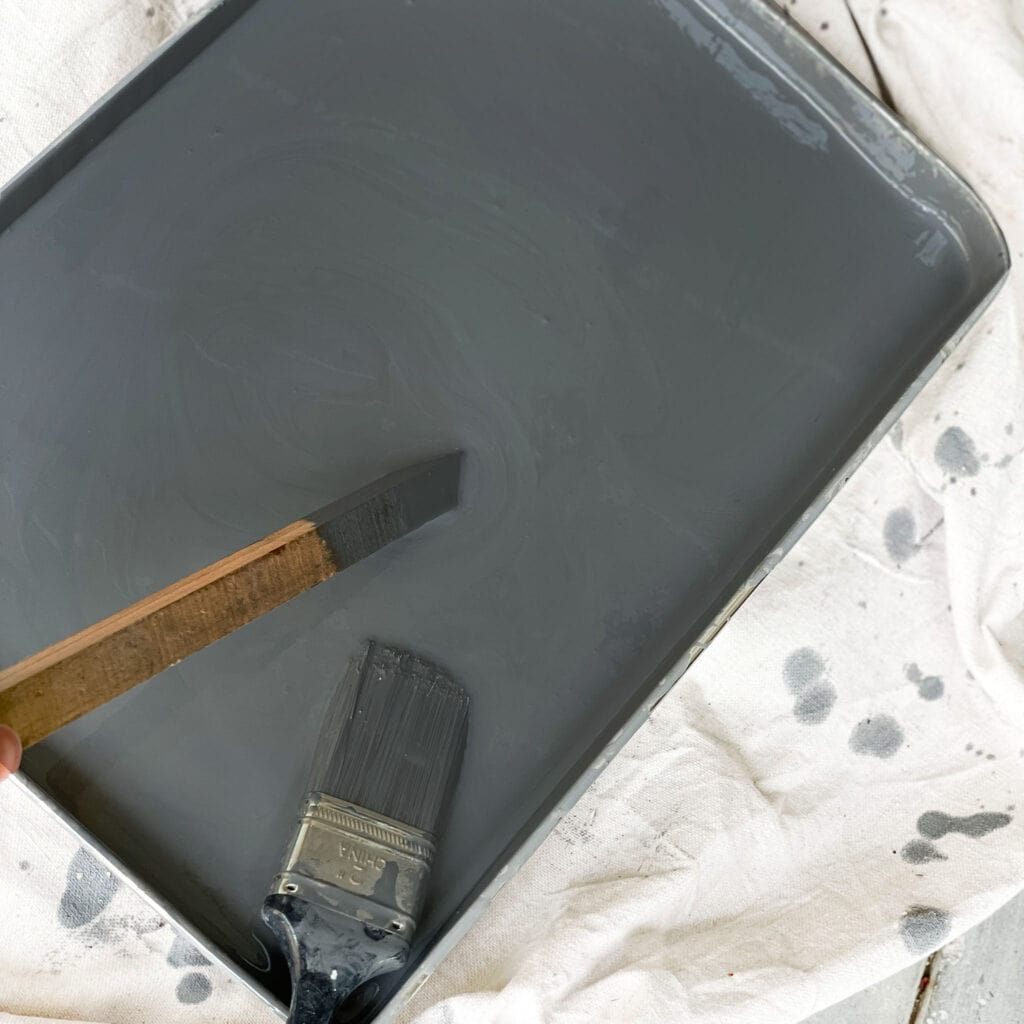
Now it’s time to mix the epoxy. Instructions will vary slightly, depending on the type of epoxy you’re using. Speaking of, there are several types of epoxy you should know about. These epoxy types include:
- Solvent-based- A solvent-based epoxy will generally be more durable than its water-based counterparts. They look beautiful and glossy once dried, but the main downside is VOCs (volatile organic compounds), which require ventilation for all the fumes.
- Water-based- While water-based epoxy isn’t the most durable, especially when compared to solvent-based solutions. Still, they emit far fewer fumes and are easy to apply. Some can even still be applied during the curing process, saving valuable time.
- Solids- Free of both VOCs and water, this durable epoxy is the golden standard for commercial epoxy applications. Solid epoxy is also resistant to more extreme temperatures, making it ideal for industrial use as well.
I used a metal paint tray and stirring sticks to mix the epoxy. Mixture sit time and drying time will vary, so be sure to double-check your solution before opening your epoxy.
Generally, though, you’ll have plenty of time. Two-part epoxies are made up of a resin and a hardener. You first stir the resin, then pour the hardener into the resin. Then, you stir again, cover the mixture, and wait until the mixture is ready.
Feeling lost? No worries – the specifics for your epoxy will be on the can!
Apply Your Epoxy

So, you’ve waited for the manufacturer-specified time and now your epoxy coating is ready to be applied. Well, this is the part where we reduce our epoxy garage floor cost: by doing the work ourselves! You’ll want to keep things moving, but there’s no need to rush. Most epoxy solutions give you about two hours to work through all the square feet of your space.
You can complete the first coat in sections. I did it in smaller sections, but the best application methods will vary depending on your garage size. No matter what, though, you’ll want to do the edges first. I did the edges using the brush from my paint roller kit.
For the larger sections, I used a paint stick. I made sure to pick up extra roller covers as well, so I wouldn’t have to run out for them later on. This is important as you’ll need to wait at least 12 hours between coatings.
Confetti Time!
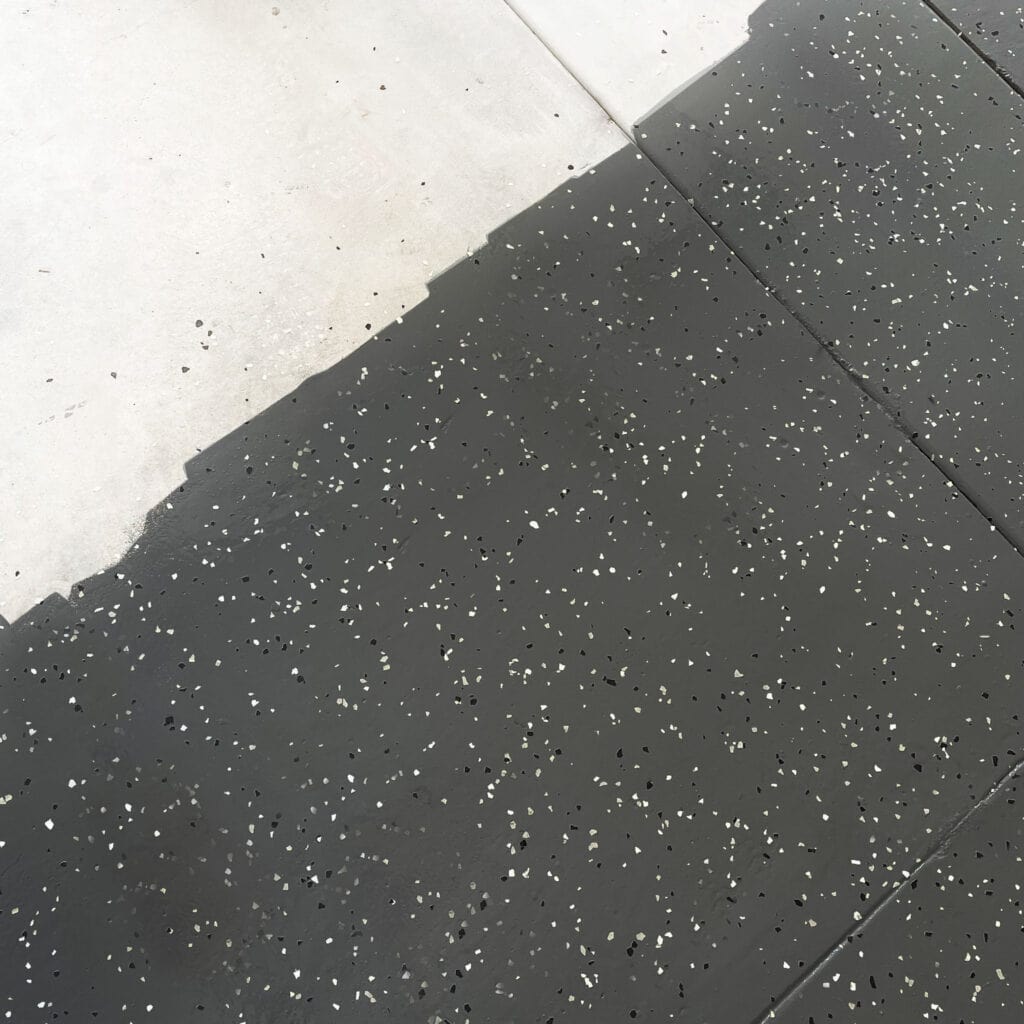
Once the first coating of your epoxy garage floor cost DIY project is done, you’ll need to quickly apply your decorative flakes. They don’t necessarily have to be perfect, but proper lighting can help a lot here for getting consistent floor coverage across all the square footage of your floor.
This was definitely my favorite part of doing the epoxy. You basically just get to throw confetti all over the place! After you’ve completely covered the floor to your liking, you will need to give the coating time to dry.
The time required will vary but can take anywhere from 12 to 24 hours depending on the weather conditions and the epoxy you’re using.
Finish with the Top Coat
Once the first coat has completely dried, you can wrap things up with the top coat. While you could do three or more garage floor coatings, you generally only need to do two coatings to get
The process for the top coating is the same as before. Start with the edges using a smaller brush, then do the larger parts using a paint stick. After you’ve completed the entire floor, the final waiting time begins.
Your newly-finished garage floor will be ready for foot traffic in about 24 hours. That said, waiting a little longer never hurts, especially if temperatures or humidity levels aren’t ideal. You’ll need to wait a bit longer before you can drive your car there though.
About three days should give the epoxy enough time to harden.
DIY vs Professional
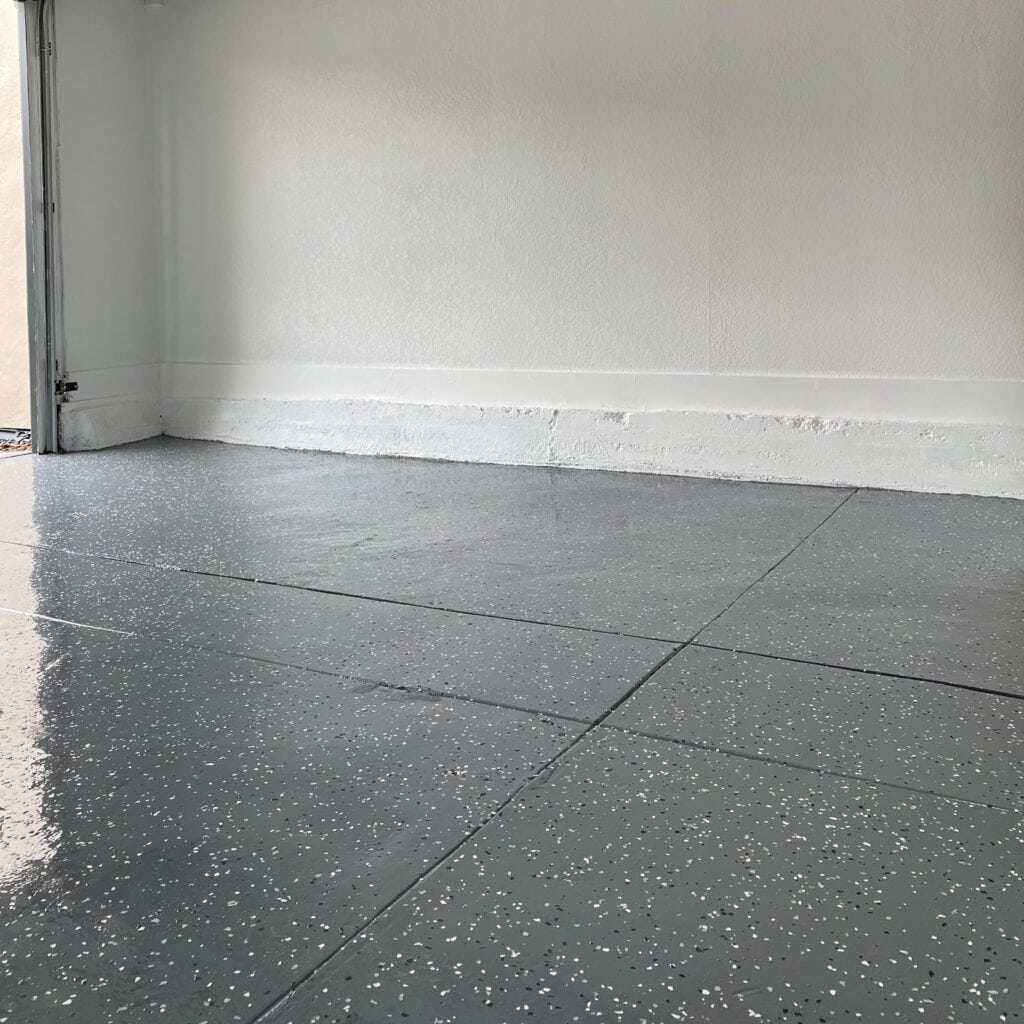
As you’ve seen, the epoxy garage floor cost DIY approach isn’t hard, but it is time-consuming. You might be wondering if it’s worth doing it yourself, as opposed to hiring a professional. Well, it really depends.
If you’re not confident in your skills and want the best results then I’d recommend a professional installation. If cost-cutting is more your concern then you’ll want to do some research. Find the average cost of epoxy applications in your area. Don’t forget to factor in both material and labor costs.
From here, compare the overall cost of hiring someone against the number of hours of work you’ll lose—i.e., pay—by doing it yourself. If the final cost of hiring someone else is significantly cheaper then that might be the better option.
Still, I personally found this project to be very enjoyable. Plus, you get the added bonus of being able to show your work off to your guests. If the costs are about the same then I would honestly just recommend doing it yourself for the experience.
I Love My Epoxy Garage Floor…
| TEXT | IMG | SOURCES |
And if you decide to take on this epoxy garage floor cost DIY project then I’m sure you will too! It’s a popular choice for a reason – it looks fab!
Despite being a somewhat larger project, the only real obstacle you’ll run into is time. With a bit of time management, you can easily overcome this and get the beautiful garage floor you’ve always wanted.
Well, that’s all I have for you guys today. I hope you found it informative. Be sure to let me know if you’re taking on this project yourself in the comments below (and don’t be afraid to tell me about anything else you’ve been working on).
Until next time, have a great week everyone. Thanks for reading!
Epoxy Garage Floor Cost DIY FAQs
Can I epoxy my garage floor myself?
You definitely can! It is a multi-day project, but it’s fairly easy to complete and requires very little DIY experience. Even a complete beginner could complete this project successfully, although they might want to allocate a bit of extra time to the task.
How much does it cost to epoxy 2 car garage DIY?
You should expect to spend between $600 to $700 for the standard two-car garage. However, prices can vary quite a bit depending on your location. If local options are expensive, I’d recommend looking online to save money on materials.
Is DIY epoxy floor worth it?
I would say it is. You save a lot of money and your floor ends up looking amazing. Not to mention the added durability and simple maintenance requirements of a proper epoxy-treated floor!
What are the disadvantages of epoxy flooring?
The main disadvantage is the extra prep that’s required to complete this type of project. The floor must be completely clean of debris, dust, grease, and oil to start. You may also need to fix the floor itself if it has cracks, chips, or other imperfections.
It’s also worth noting that epoxy floors are cold without heating, loud when you walk on them, and are sensitive to UV radiation. Thankfully, this can be easily overcome with the proper top coating.
How long does DIY epoxy garage floor last?
That depends on how much traffic the floor sees. Worst case scenario, your floor could last for only two years. Best case scenario, your floor could last for ten years or more.
Can you epoxy a garage floor in one day?
It is possible to epoxy a garage floor in a single day, but not for individuals. Some professional companies do offer this service, but they use industrial-grade epoxies to accomplish this that simply aren’t available to the vast majority of homeowners.

