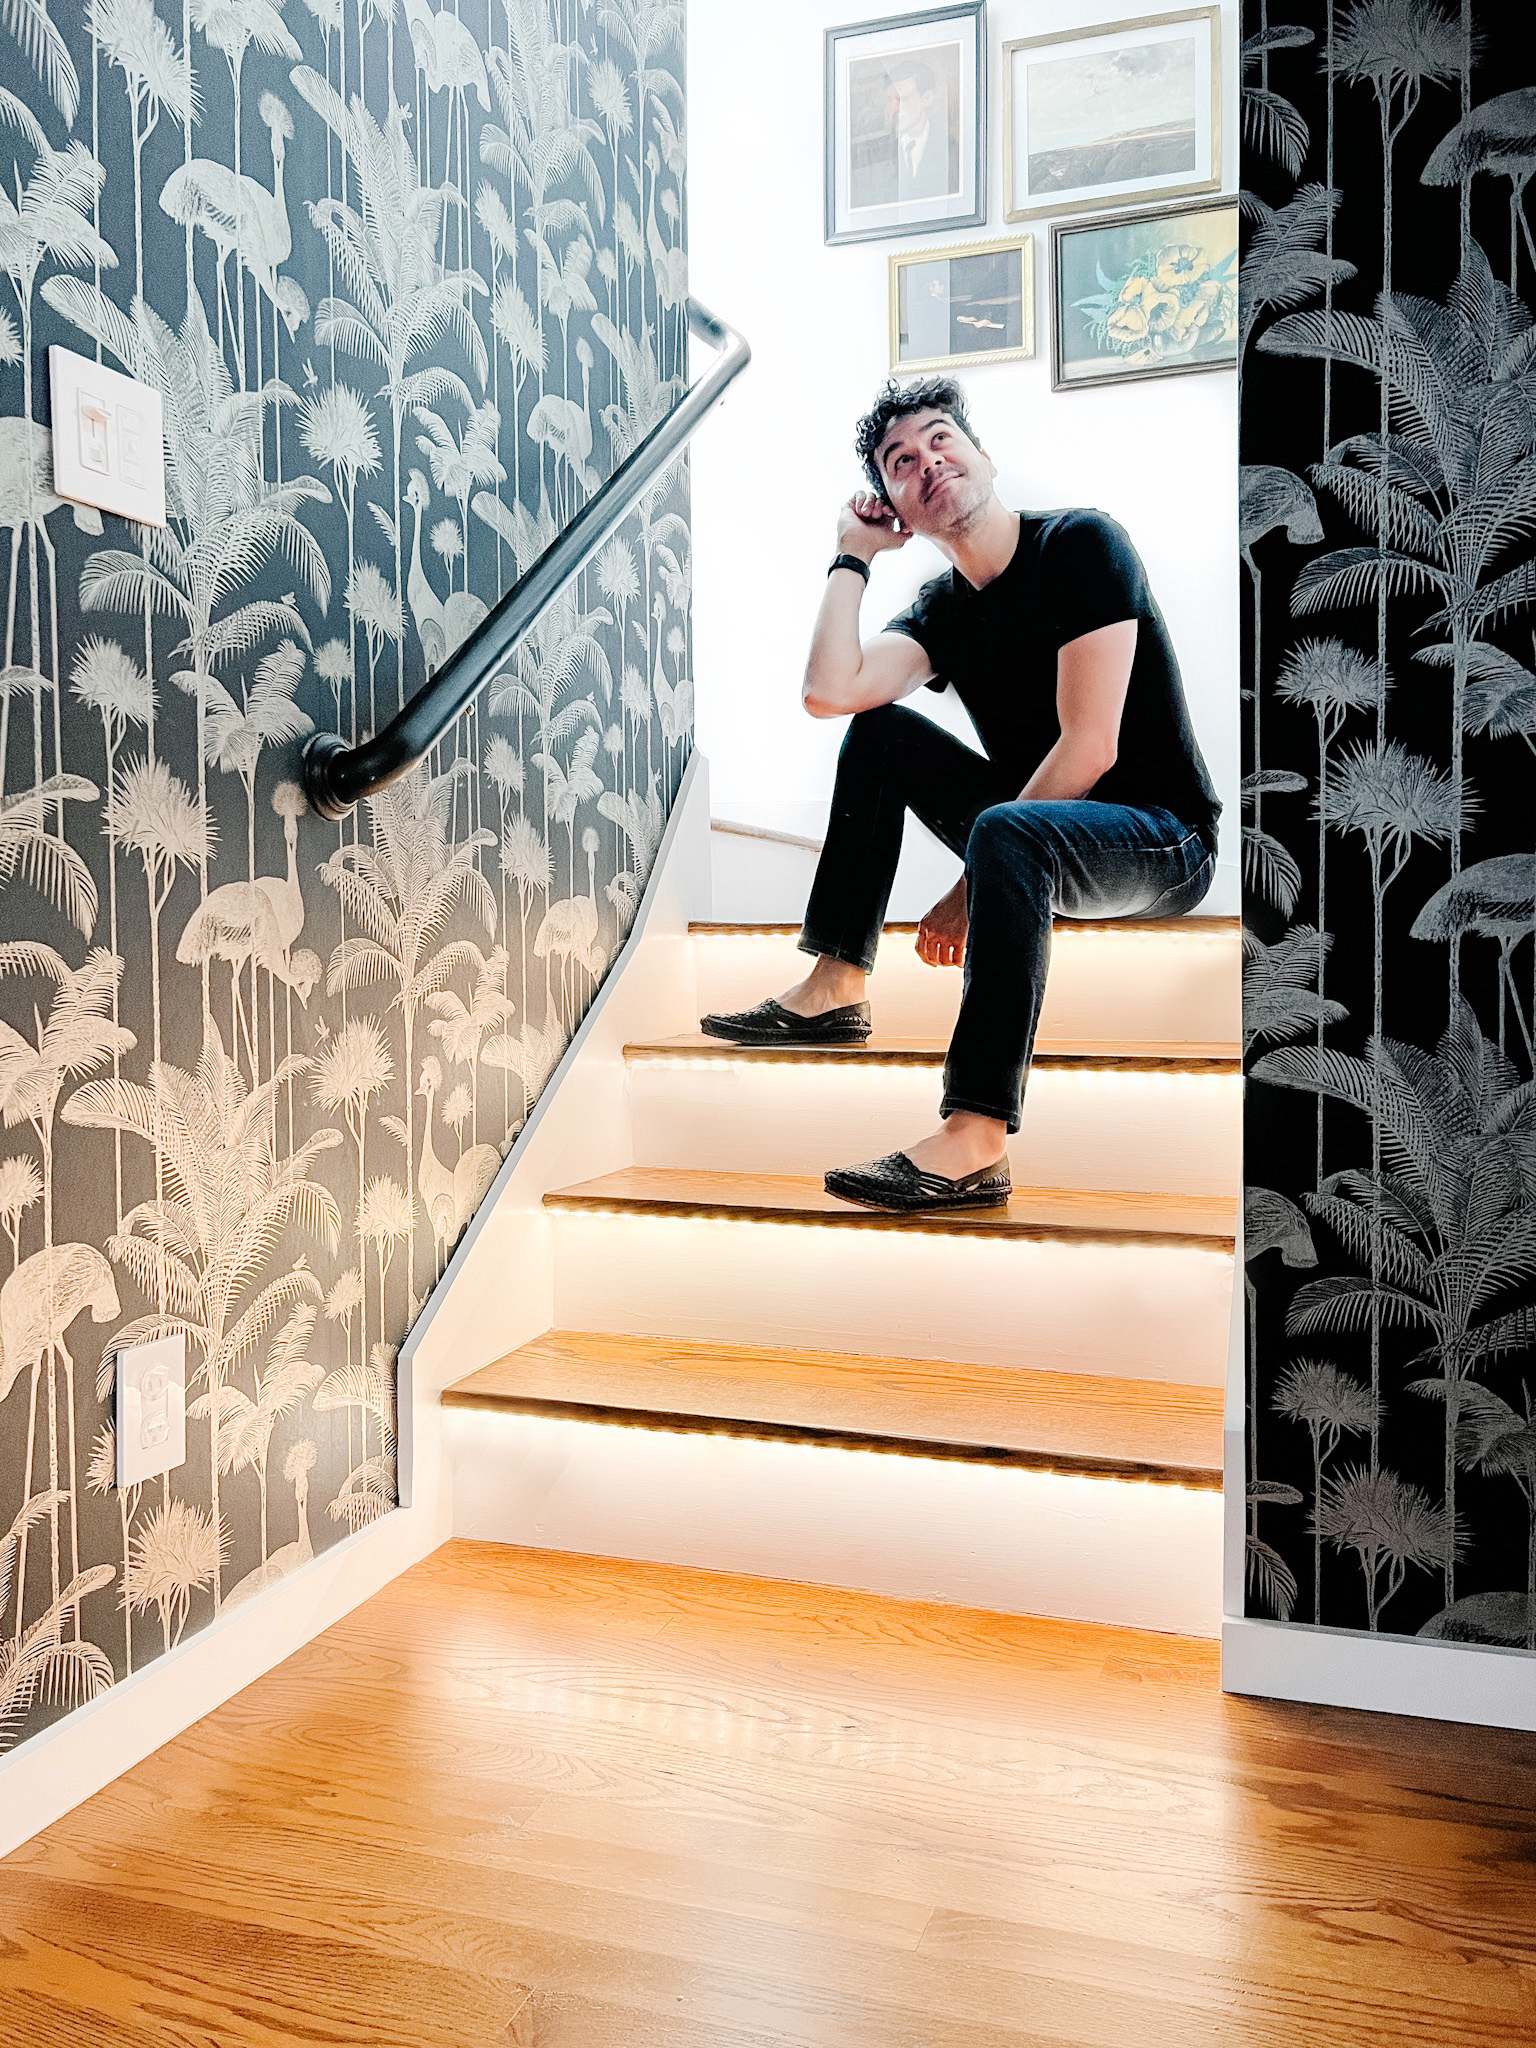
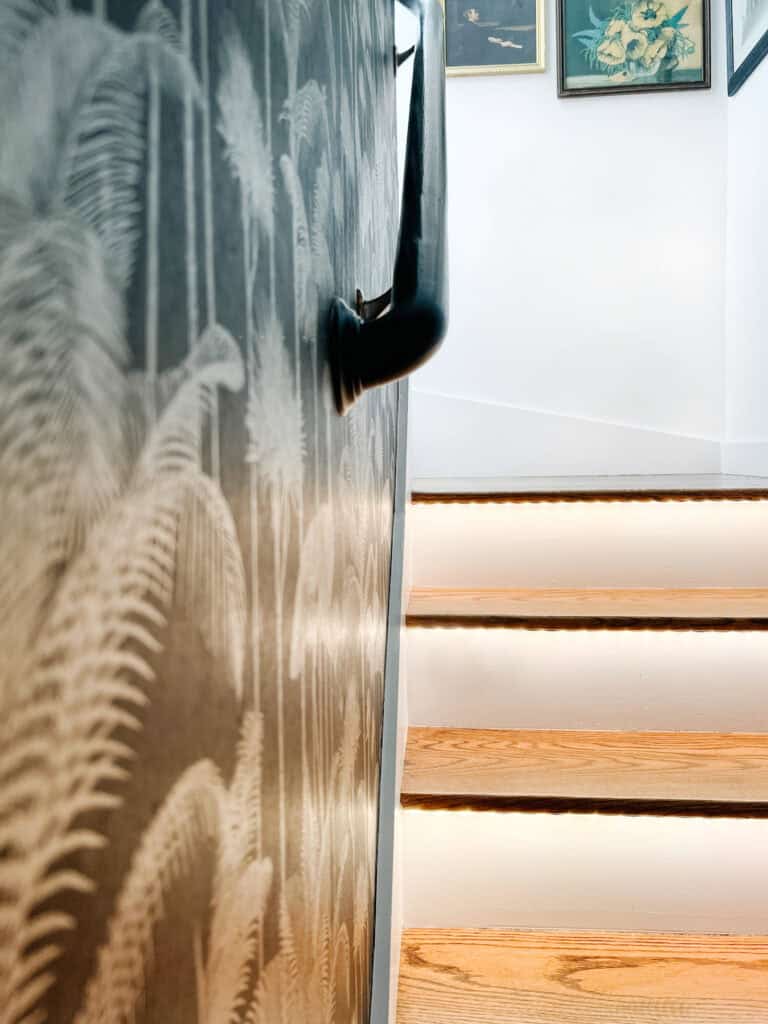
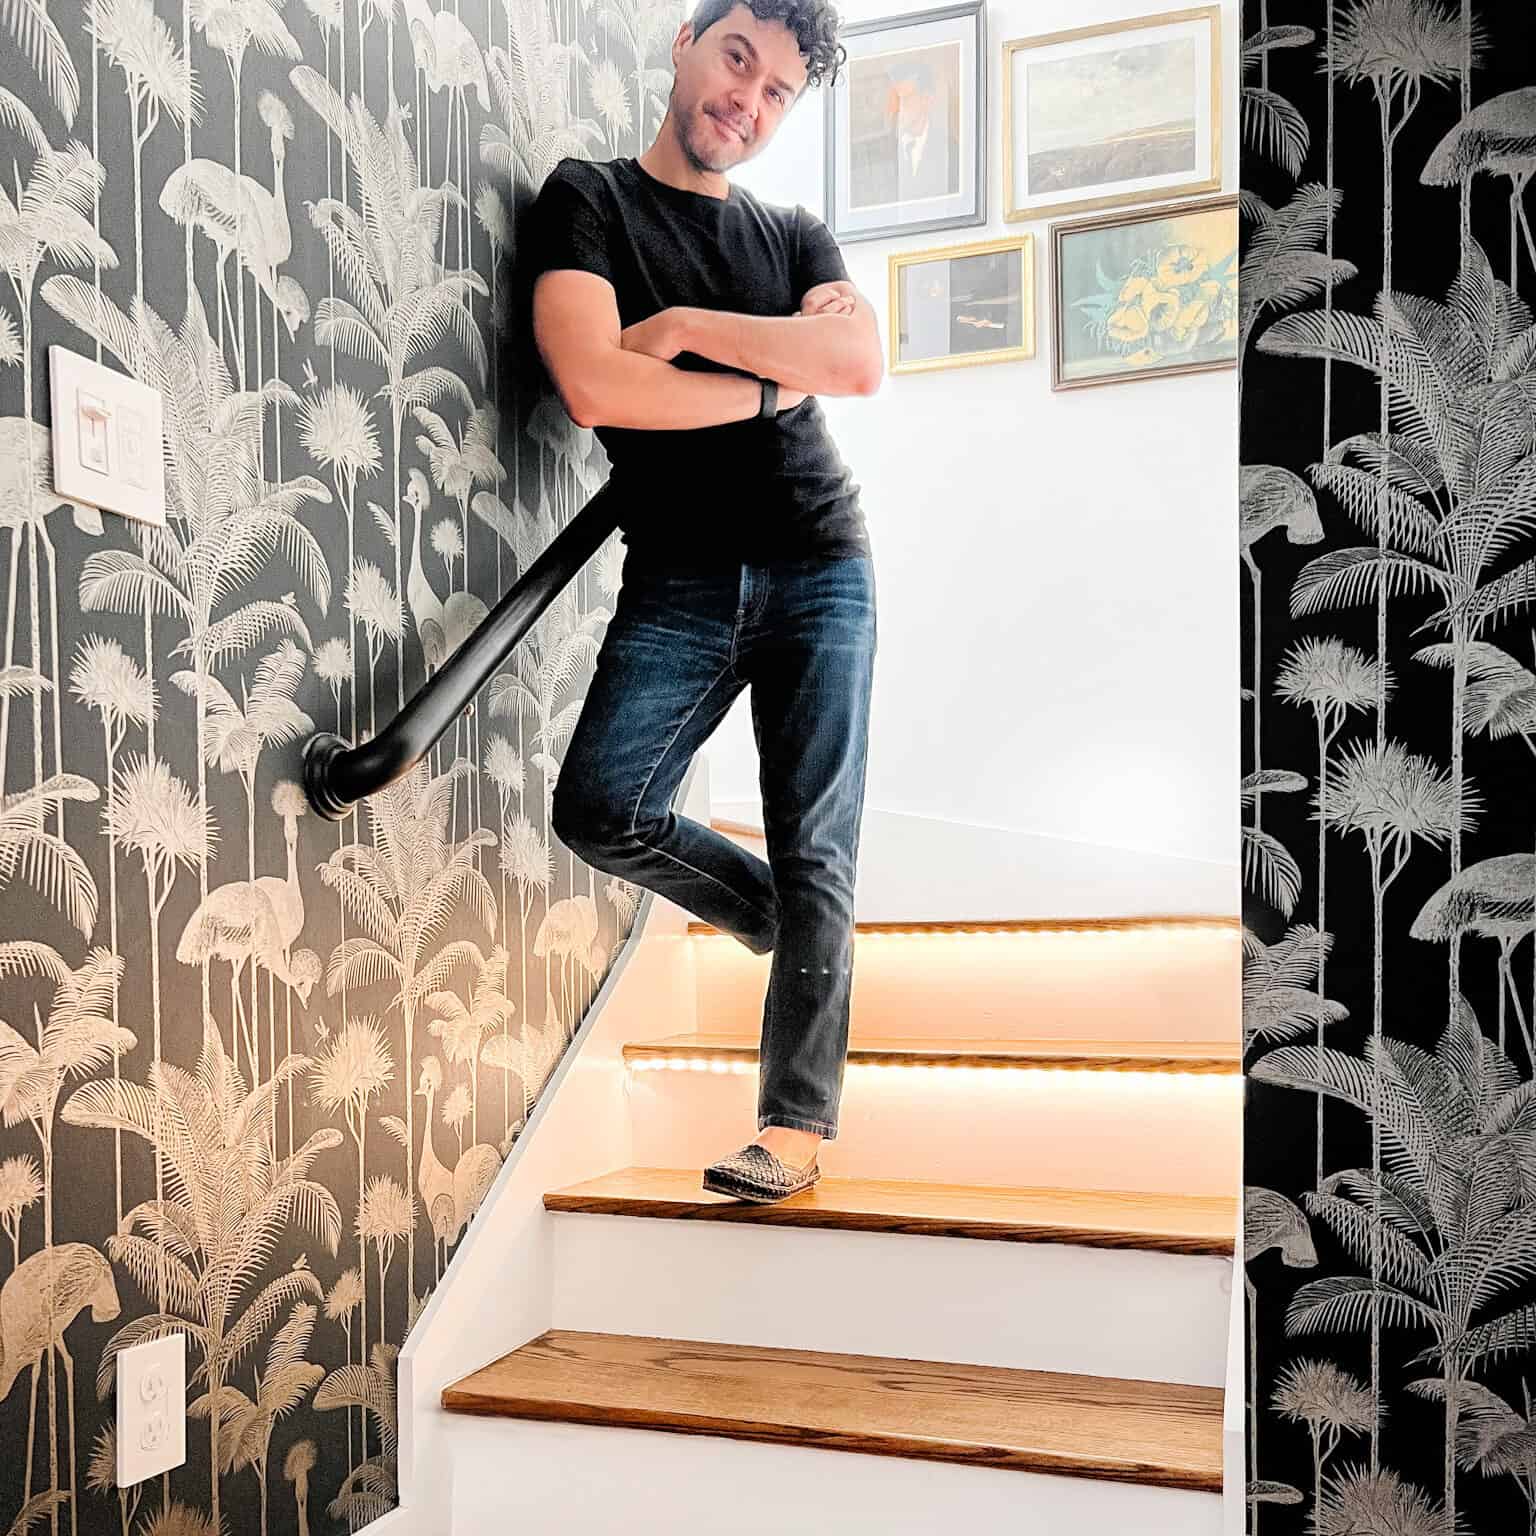
Don’t get me wrong, I absolutely love my stairway, but it needed some eco-smart strip lights from my friends at @HomeDepot. From my Silver and black peacock-inspired wallpaper on the lower steps to the all-white walls that lead to the landing above with my first-ever gallery wall. I’ve put a lot of time and effort into making this pass-thru space a moment. After all, the real magic in any home interior design is the details.
Of course, while aesthetics are always important, the main function of stairs is to go from one floor to the next. This isn’t a problem in the daytime, but since my stairway doesn’t have any windows, visibility is an issue come nighttime. With all of the light bulbs on, this isn’t a problem, but who really wants to leave their lights on all the time? That’s where the eco-smart strip lights came in.

Not only can having a continuous light source make it harder to sleep at night, it’s also an unnecessary waste of electricity. Let’s be honest. The way prices keep going up, who doesn’t want to save a couple of bucks?
Fortunately, with a little bit of help from the friendly staff over @homedepot, I found the perfect solution.
Why I Needed Eco-Smart Strip Lights for my Stairs

As I mentioned, my stairway—or, more specifically, the area where my wallpaper is—doesn’t have any windows. Even the stairs up above only get a little bit of natural light from the landing, and that doesn’t really help much once nighttime rolls around. With the goal of finding a low-cost solution to this issue, I headed over to Home Depot.
As usual, the customer service was impeccable. My local experts knew exactly what I needed, and they quickly pointed me in the right direction. The solution was so obvious. Motion sensor light strips.
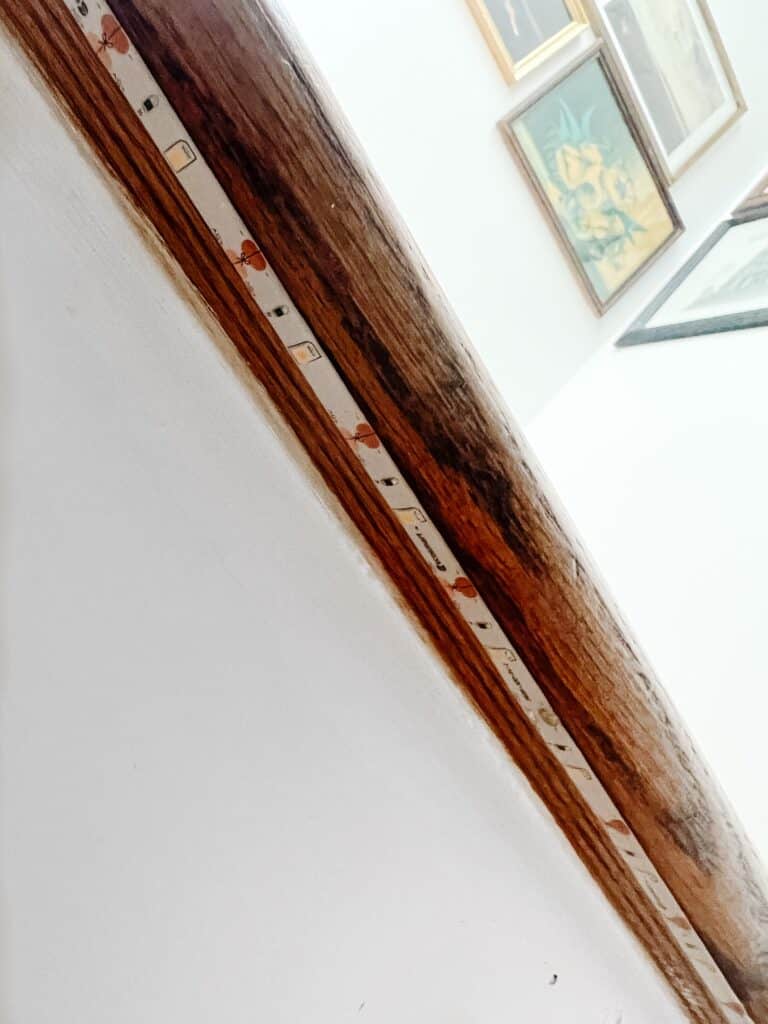
Each strip measures 40 inches long, making them just about the perfect length to fit under the lip of each stair. Since they’re motion-detecting, they won’t stay on all the time, but I’ll never have to worry about tripping at night again if I have to make a quick trip down the stairs.
I wanted to have strip lighting on each step, the process was super easy. I just threw on my fav podcast and went to work – the kit included literally everything I needed to dive right in; 3M stick pads, batteries, remote etc. More on that in a minute. I breezed through the setup and install in just a single afternoon and two iced coffees.
Getting Started to Setup Your Eco-Smart Strip Lights

To get started, you’ll need to open up your first box of eco-smart strip lights and take everything out. Inside, you’ll find the strip itself, the controller, four AAA batteries, some mounting hardware, and the remote.
If your steps are a little bit wider than 40 inches then you won’t need to cut them. I had to cut mine down, but fortunately, it wasn’t very hard… and it won’t damage the strips if you do it right!
Just use a pair of scissors to cut through one of the black lines you see between the LEDs themselves.
I think it’s worth mentioning that while the eco-smart strip lights can be shortened, you can’t connect them if you need longer runs. Fortunately, EcoSmart makes longer light strips, so you can always just buy the correct length before ordering. But it’s super easy to just use two and install them next to each other as well. So don’t worry!

I first cleaned the lips of my steps to ensure the adhesive backing would have something to stick to. Just a little windex or warm soap and water will do. Then, I peeled the film from the back of the strip lighting, stuck it in place, and held it there for a few seconds before letting go.
Installing the eco-smart strip lights themselves isn’t hard, but remember, you really only get one shot! The adhesive backing isn’t made for multiple uses, so you’ll want to ensure you get it exactly where you want it on your first try. If for any reason you “mess up,” consider buying some generic dbl stick command hooks and they can work as well.
Since I knew I’d have to repeat this process for every step, I just went ahead and installed the LED strip lights on every step before moving on. If you’re doing multiple strips at once like me, it’s worth putting a bit of thought into the wiring later on.
Having wires going every which way can look a bit unfinished, so it’s a good idea to plan your wire placement ahead of time. Try to make it as inconspicuous as possible.
The Setup of Eco-Smart strip lights
With the strips all installed, I moved on to installing a power supply controller for each strip. Thankfully, unlike many other LED strips, these don’t require a wall outlet or a USB port for power, which makes managing the wiring much easier. Still, placement is important for a clean finish.
Each package of eco-smart strip lights comes with four AAA batteries for the controller. Hopefully, they’ll last a long time, but I always recommend picking up some extra batteries so you never have to deal with unexpected power problems. The strips just plug into the controllers, making them very easy to get going.
Don’t forget to clean the surface where you’ll be placing the controllers since they are only held in place by adhesive. The controllers are installed in the same way as the strips: remove the protective film from the adhesive backing and press to apply. I placed mine behind the lights and back on the step so they aren’t as visible to the naked eye.
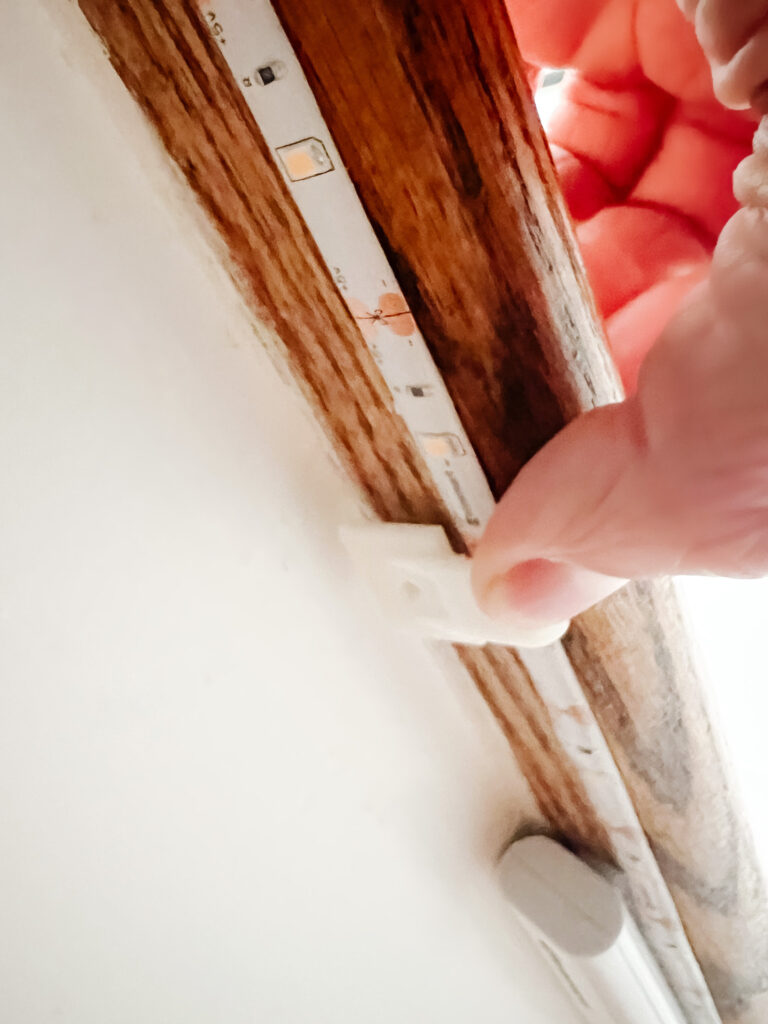
They’ve recently upgraded the adhesive to make it a bit more sticky, so you shouldn’t have any issues with the strips becoming detached. Still, I would also recommend using the included mounting clips to help secure the ends on your lights.
The clips can also be placed using only adhesive. However, I suggest using the included screws as well if possible to keep it really secure, especially if you’re bending the strips around corners. Place the clips around the end of the light strip, right before the strip plugs into the controller.
The Finishing Touches on My Staircase

Since I’m installing my eco-smart strip lights for task lighting at night, I just flipped the switch on the controller to “AUTO”. This means the motion detection is always on, but the lights won’t turn on unless there’s movement within 6.5 feet of the controller.
If you want to control the tape light manually using the remote control then you’ll need to set the switch to “MAN”. This lets you control the lights using the controllers, which—in addition to motion detection—gives you flash, fade, speed, and brightness settings to work with.
Of course, that also means you’ll need to control each light individually. Since I have sixteen light strips, that’s a bit too complicated for my needs. I just stuck to “AUTO” mode, but if you decide to use the remote instead, you’ll want to pick up some backup batteries for the remote as well.
With all sixteen LED strip lights installed and all sixteen controllers set to “AUTO”, I was finally ready to start enjoying my new strip lighting! #THDEcoSmart
Why I Love My Eco-Smart strip lights
I knew I absolutely loved these lights from the minute I saw them in action. I went about my evening as normal, spending a bit of time upstairs, but eventually, it was time to call it a night and headed downstairs.
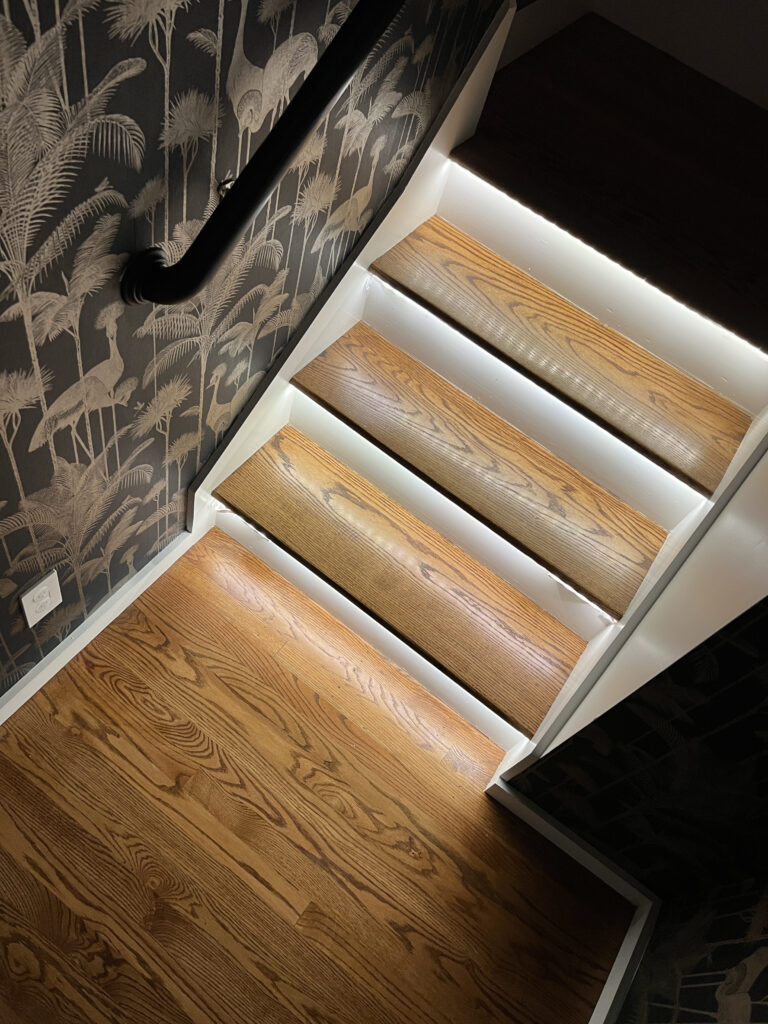
This was it. The big test, if you will. And it went perfectly! Dare I say it was magical? It’s so fun to step on the steps and have them illuminate like a sci-fi movie from the 80’s. The lights sprung into action as I descended the stairs, the single color of the bright LEDs revealing the steps before me.
Staring down at them after I reached the top of the landing, I honestly couldn’t believe I’d waited so long to take the plunge. The “Bright White and Warm light” color temperature options worked perfectly, reflecting off the top of my wooden stairs and gently illuminating the surrounding area.
Of course, they shut off in due time and I eventually headed off to bed. Having had them for a little while now, I’ve grown so fond of them, they’re now one of the favorite practical upgrades I’ve done with the help of Home Depot. It’s worth investing in different types of lighting!
#HomeDepotPartner
Why I Chose These Light Strips

These days, it seems like you can pretty much get LED lights for everything! From TV backlights to high-efficiency LED light bulbs, we’re definitely not left without options while shopping. That said, I did a bit of shopping around before settling on the EcoSmart Bright White LED Strip Light, and there are a few reasons why I ended up choosing these.
First, they’re a Home Depot exclusive. If you want something that’s reliable and comes with a warranty then you really can’t beat the Home Depot. On top of that, the prices are really affordable.
Second, I loved the hue of these lights. I ended up choosing the “Bright White” 40-inch model, which worked perfectly to create the ambiance I was after (although I really liked the “Neutral White” as well).
EcoSmart also sells RGB and RGBW strips if you’d prefer to set the ambiance with specific colors instead. They even make RGBWIC neon flex strips, which allow you to control the individual chip colors to make rainbows and other colorful patterns.
The motion-detecting feature in our strips works perfectly for me since I generally don’t want light on all the time. Still, if we decide to go for an all-day ambiance then—with a simple switch of a switch—that’s an option!
My indoor lights have a basic dimming feature that I can adjust using the remote. More advanced models give you access to adjustable color temperatures, smart lighting, right-angle connectors, and the ability to connect multiple strips together.
These were a bit fancier than I needed for my space, but I figured I’d mention them anyway in case you were interested. Long story short, EcoSmart has lighting options for pretty much any design, area, or color scheme you can think of!
The Welcoming Stairway I Always Wanted
Installing these strip lights is a great way to add some life to an otherwise bland stairwell. True, I do have a few pieces of artwork here and there, but the stairwell itself is largely blank. Thanks to the lights, I can enjoy better visibility in a more relaxing atmosphere.
Whether you’re worried about tripping down the stairs in the dark, tired of carrying a flashlight to the bathroom, or just don’t want to be dealing with intense ceiling lights shining right in your eyes late at night, these LED strip lights are the perfect solution.
If you’ve been on the fence about getting your own LED light strips but haven’t quite figured out where to put them, then I definitely recommend trying them on the stairs. They’re easy to install, set the perfect ambient mood, improve safety, and don’t require much of an investment either.
Trust me, the results are worth it, so just give it a shot!