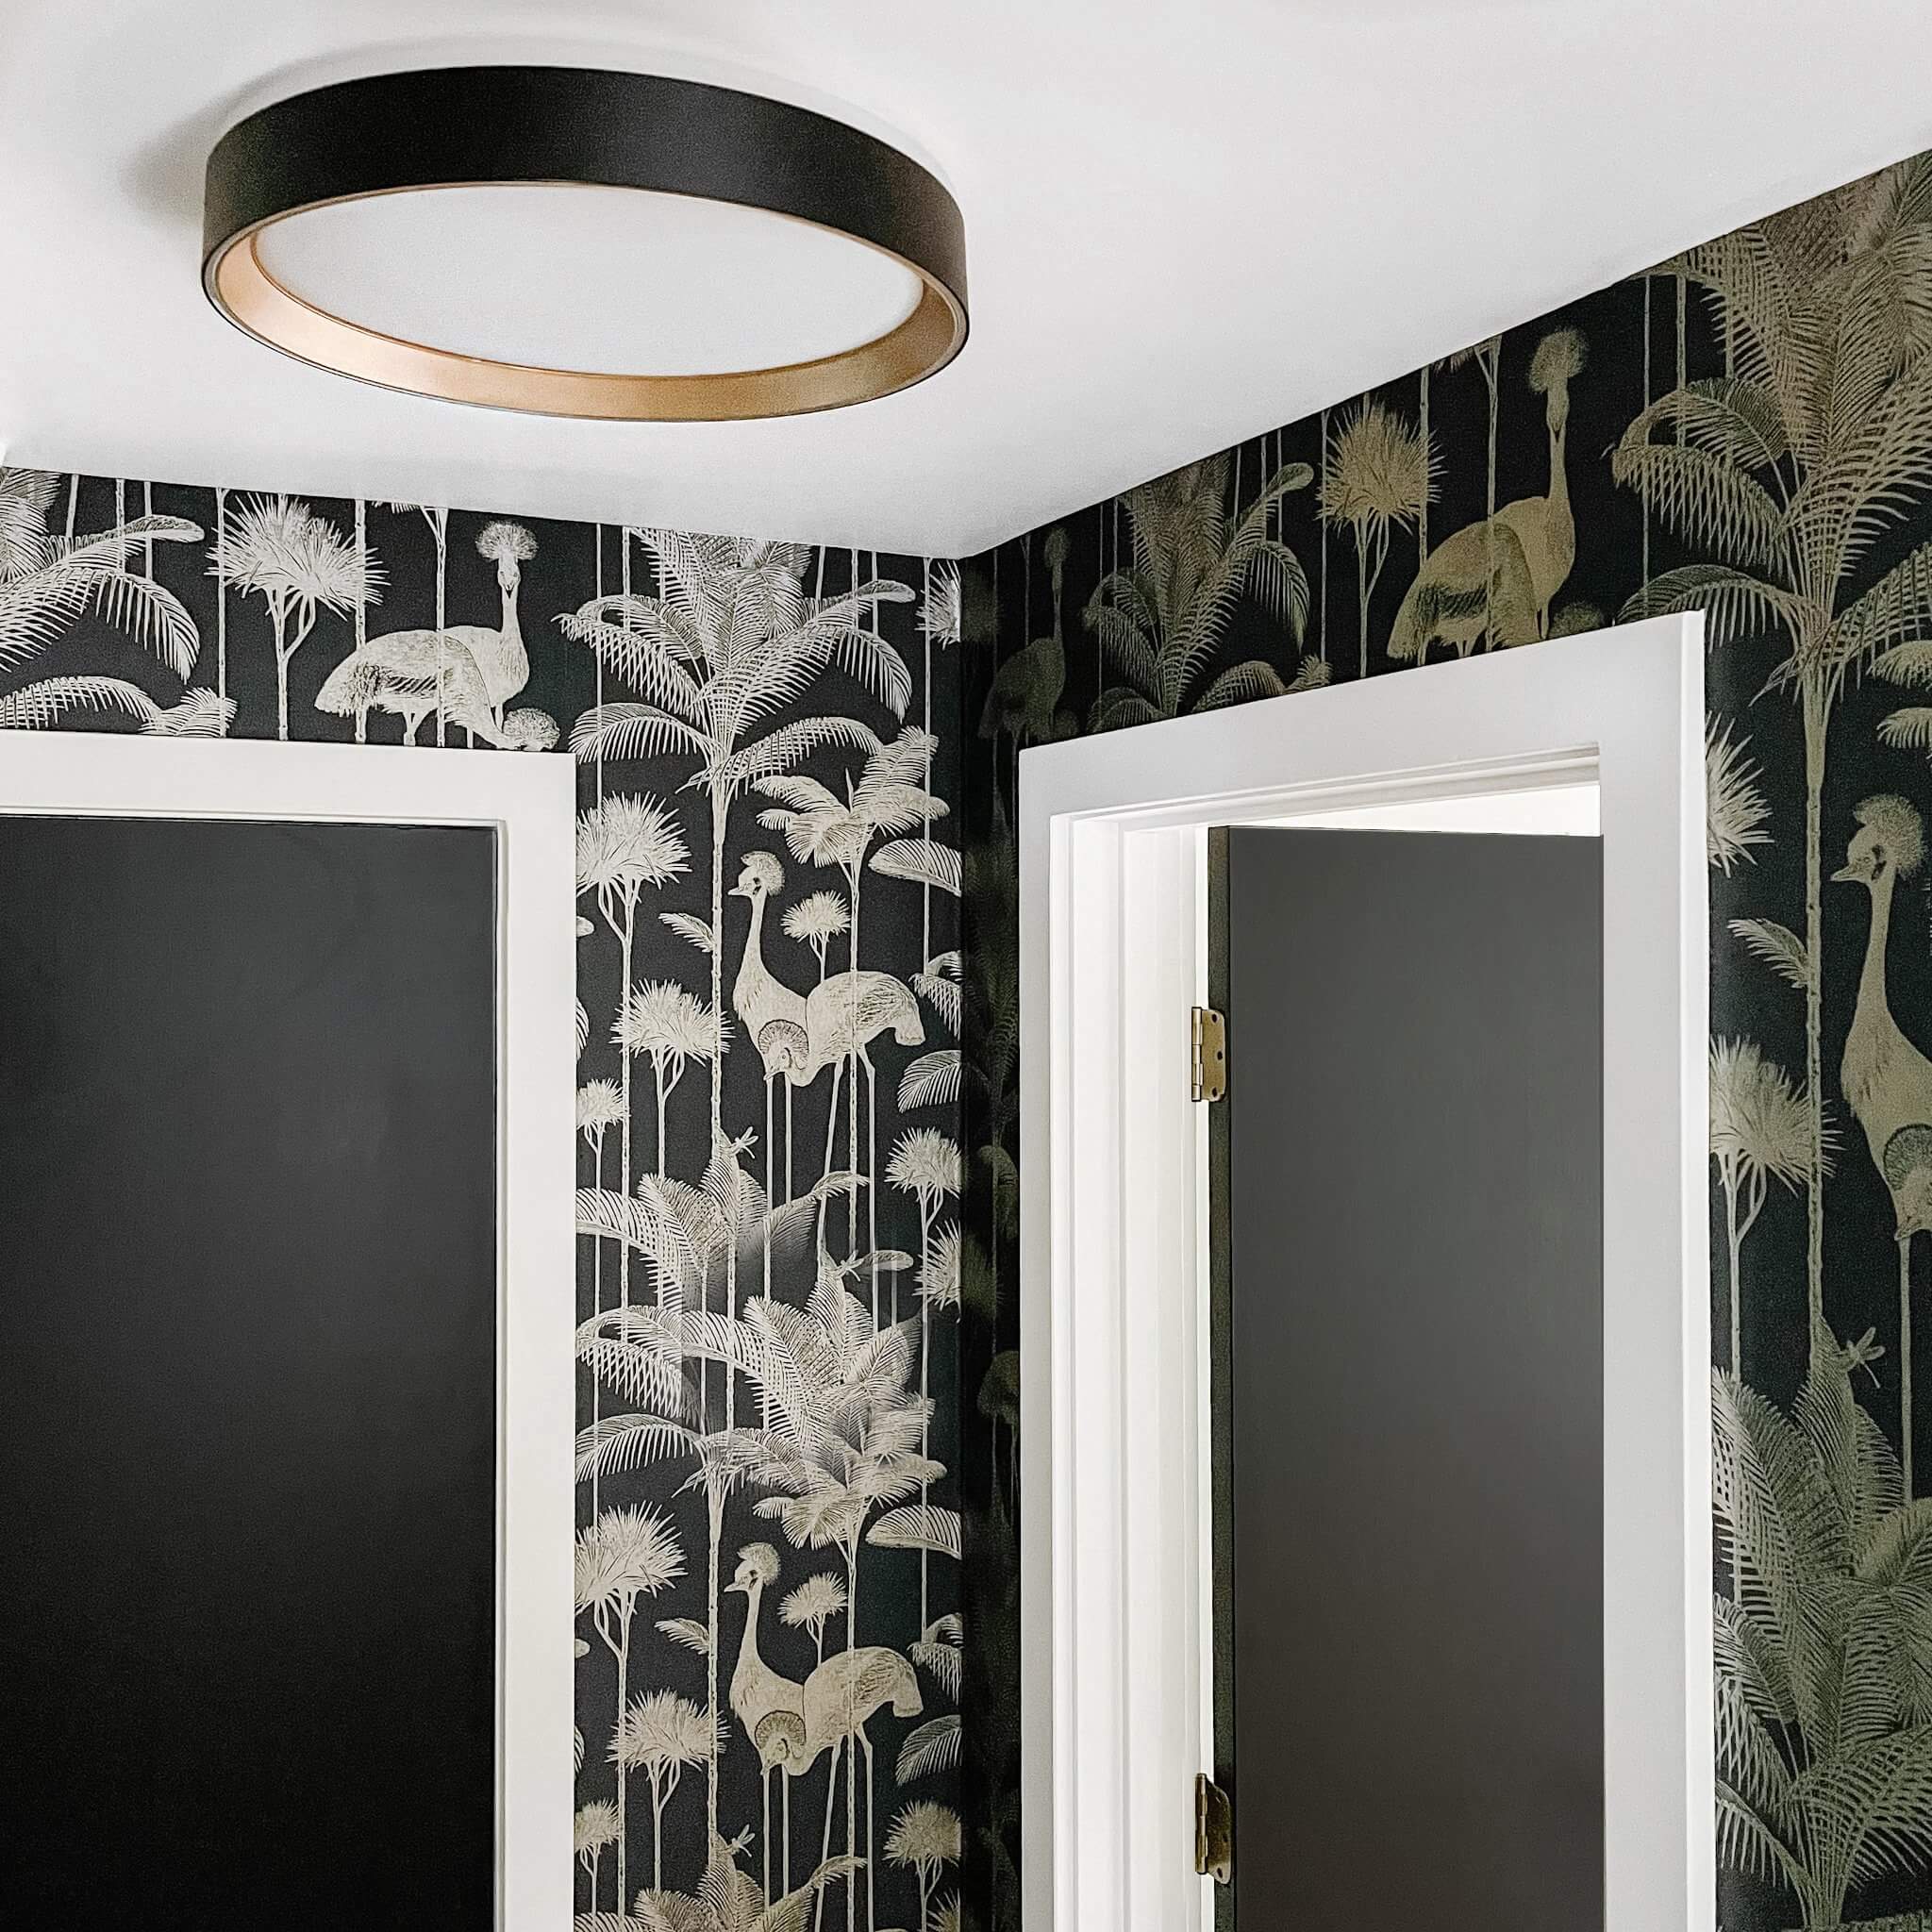
The Essex Kuzco light flush mount is a great place to begin with if you are unacquainted with flush mounts and how to use them. It is a simple yet sleek ceiling light that radiates soothing hues to elevate the interior design of your house. It is a single-ring flush mount that comes in a bunch of amazing finish options. You get to choose between Black/Walnut, Black/White, White/Black, White/Walnut, Black/Gold, and White/Gold finish. The finish you choose should depend on a number of things, like your wall and ceiling colors and other interior decor items. With a dimming percentage of 100 to 10 and 50,000 hours of LED-rated life, you can be assured that this light will serve you for a long time with full functionality.
Now that we have understood what a flush mount is and why everyone should consider bringing one home, let’s go through detailed steps on how to install the Kuzco light flush mount
Prepare
Before getting into the process of installing the Essex flush mount, you need to go through some preparatory steps. These are standard safety checks, and you should do all of them, please guy. Do it for me:
- Make sure that the electricity powering your light is switched off at the fuse box. This step is absolutely nonnegotiable. Do it. The power should remain off until the installation procedure is fully completed.
- Please wear protective gloves at all times while installing the flush mount. If you do not own a pair, consider getting a pair – like these – as they are a good investment and will protect you from potentially life-threatening hazards. Make sure that your protective glove is not damaged and in good condition when wearing.
- Prepare the area where you intend to install the light beforehand. Doing so will make the installation procedure very smooth and fuss-free. Just make sure that the entire place is cleaned and everything you would need is within reach.
After ticking the boxes in the preparation steps, now it’s time to get into the actual installation process.
Steps to install a flush mount

- Remove the fixture from its package. Make sure to not damage the light while you take it out of the original packaging.
- Inside the package, you will see three separate components. The shade would be at the very bottom after installation. Above it would be the backplate. Closest to the ceiling would be the attachment fixtures.
- After opening the package, begin with attaching the crossbar to the electrical junction box. The screws you will need for this come with the package itself.
- After the crossbar is attached to the electrical junction box, it is time to make the correct electrical connections. To not make mistakes, simply follow this rule of thumb: black goes to hot “L”, white to neutral “N”, and ground to “GND”. The wire nuts needed to do this will be inside the hardware package.
- Take the Pan-Head Crossbar Mounting Screws and insert them halfway into threaded holes on the crossbar. Align both the keyholes on the backplate and the module to the Pan-Head Crossbar Mounting Screws heads. Insert the screws and turn, and then secure tightly with a screwdriver.
- At this stage, you need to determine whether you want to secure the backplate to the ceiling with the help of additional acres and anchors. Do so if you think your flush mount would need some additional support.
- The last step requires you to twist the shade onto the backplate securely.
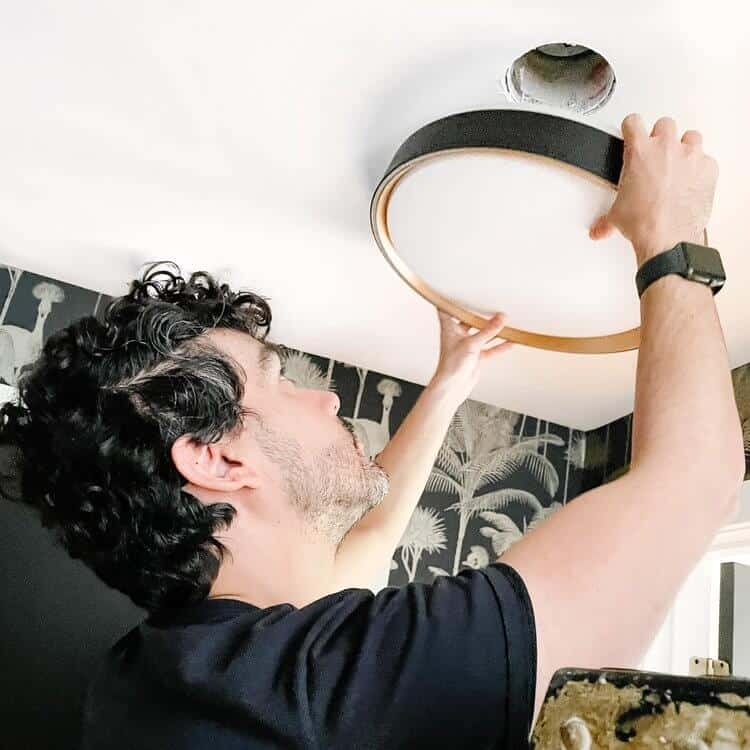

And that’s it! With these few simple steps, your flush mount lighting fixture will be ready to use. Additionally, you should keep two things in mind.
- Unless given in the instruction, never touch any part of the LED module(s). Unnecessary contact with the module can lead to different types of damages.
- For dimming, you would need an ELV (Electronic Low Voltage) type of dimmer.
While the flush mount is an amazing addition to any living space, it has a special charm when installed in stairwell lander pass-thru spaces.
Why is this flush mount perfect for my staircase landing space?
Staircase landings can be challenging to decorate because of both restricted space and confusion as to what would best adorn the limited space. If left as it is, they might appear dull and lifeless. If you put interior decor items, they can easily start to feel cluttered.
The Essex light flush mount takes care of this problem. Since it is a ceiling-mounted light, there is no possibility of it restricting any kind of movement or causing any clutter. If your lander space is sufficiently spacious, the light will further enhance the open spaces without making them look dull.
Another reason the Essex flush mount is great for landing spaces is because of the way light can be used to add oomph to any space. Different tones and hues of light give off different vibes. In the case of this flush mount, you will get a chic and smooth radiance that will uplift the visual appeal of your living room design. This light serves both a practical purpose and a decorative purpose. It is very obvious that staircases are accident-prone places and should be well lit. But getting any random light you can find in the store will only serve you the practical purpose while decreasing the aesthetic appeal. Flush mounts give you the best of both worlds – adding amazing decorative value to your house while keeping the place well-lit. I hope you love mine!






I’m still learning from you, while I’m trying to achieve my goals. I certainly enjoy reading all that is written on your website.Keep the posts coming. I loved it!
Thanks again. I am so glad you are here. xo