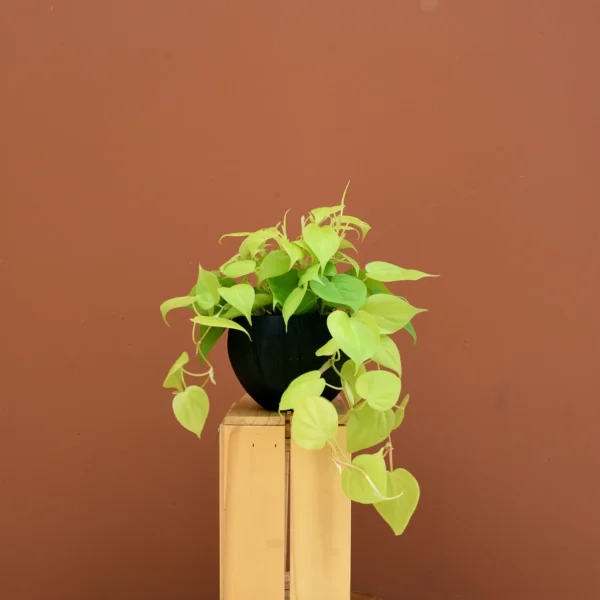
Whether you’ve been getting inspired by scoping my favorite Pinterest images or got extra curious from reading my latest pothos plant post, the reason you’re here is clear: you want to grow your own Cebu Blue Pothos – and look. I don’t blame you! They’re gorgeous plants and oh-so-easy to take care of. Similar to the; Baltic Blue Pothos, and it’s cousin the Hawaiian Pothos, they are an ideal house plant. The Cebu blue is also known as the epipremnum pinnatum ‘Cebu Blue. Either way, she’s oh SO beautiful.

These tropical vines are a great addition to any plant collection. They are pretty easy to grow, but they are a bit more challenging than the average Golden Pothos plant. As such, we have a bit of stuff to go over. From propagation to repotting, I’ll teach you everything you’ll need to know to become the best plant parent ever! Let’s get started.
Learn how many types of pothos plants are there, the differences between the various plants in the pothos family, and more on my main pothos post!
Table of Contents
The Basics of the Cebu Blue Pothos
Before we get to actually growing these beautiful pothos plants, let’s first go over a little bit of background to get you up to speed.
A Bit of Background
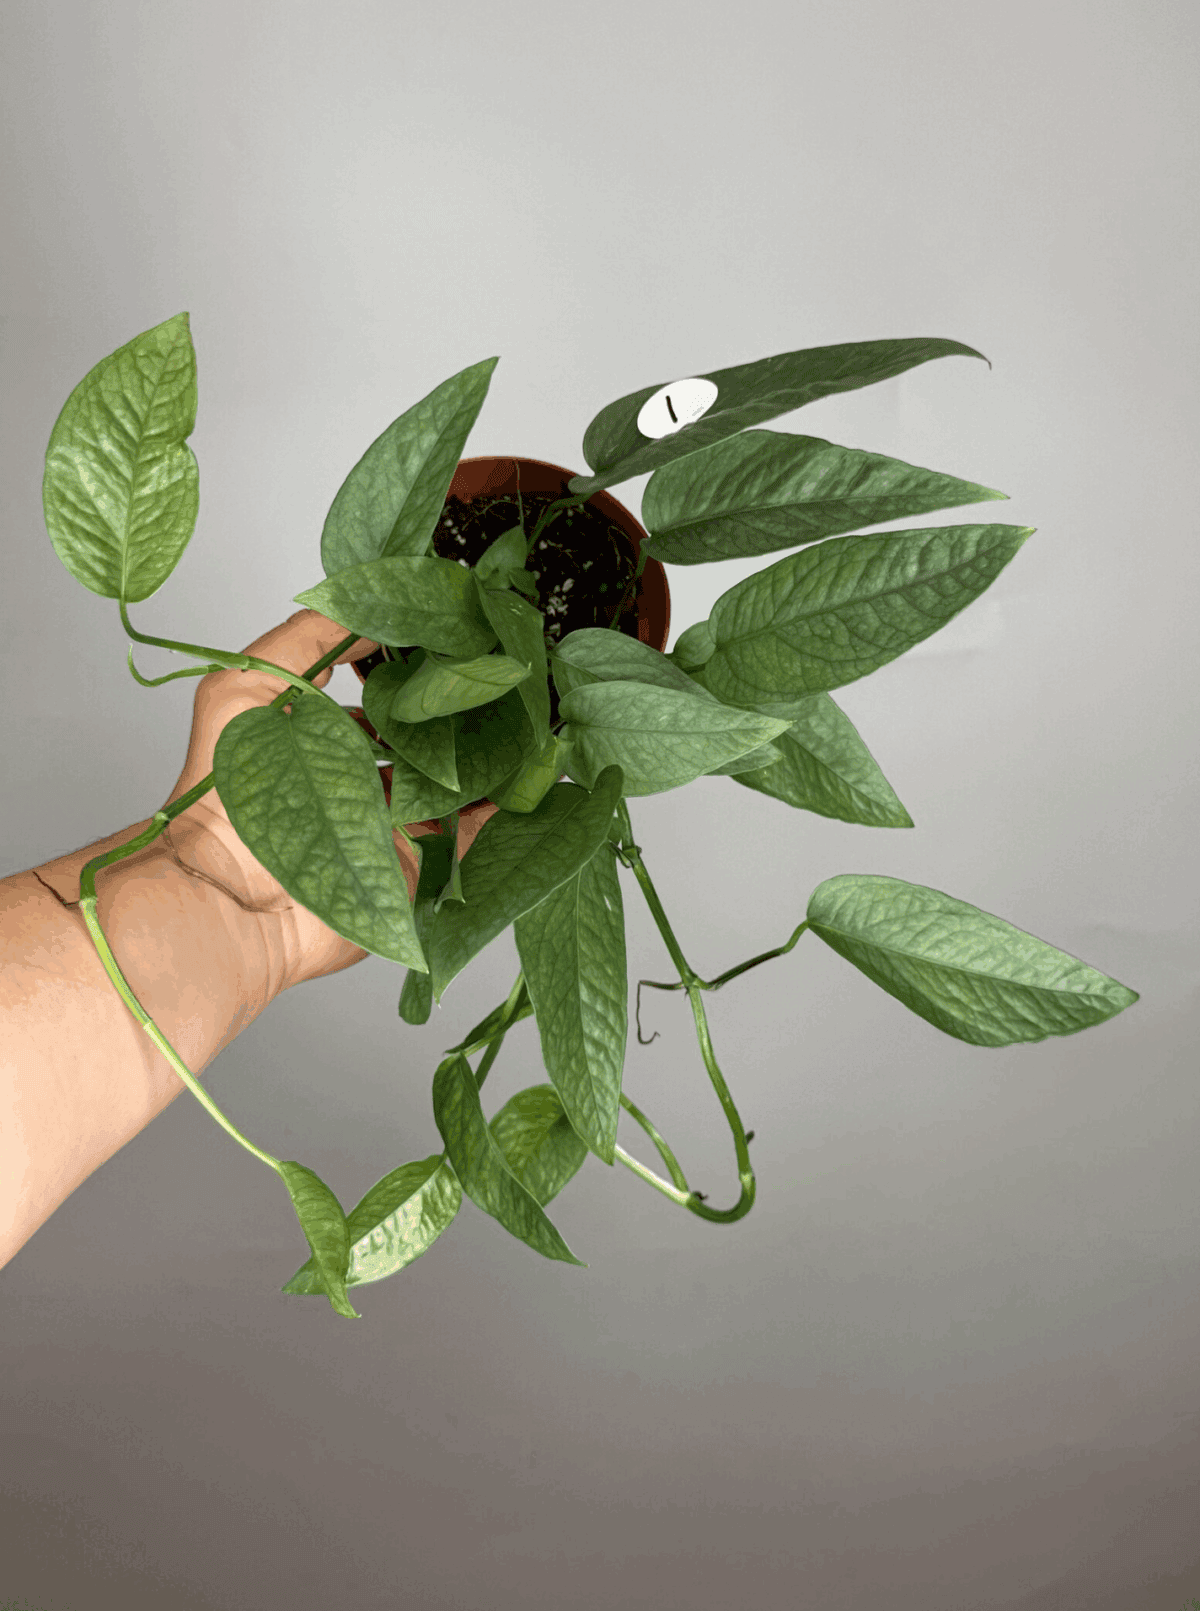
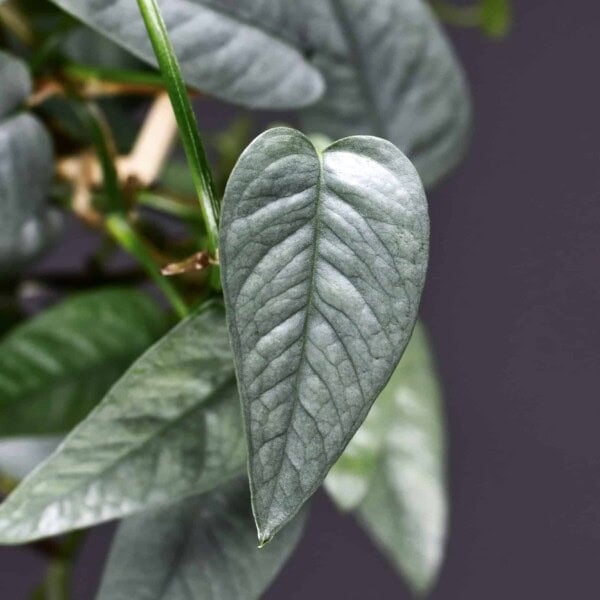
Cebu blue pothos hail from the rainforest in the Philippines. More specifically, the Island of Cebu. Like many other plants, they belong to the Araceae family. Pothos Cebu Blue plants are best known for their silvery-green-blue leaves, which are especially prominent during the juvenile phase. These unique leaves help them stand out from the other types of pothos.
Most people know this tropical vine as the Cebu Blue Pothos, although some may just refer to it as “Blue Pothos” instead. Its scientific name, Epipremnum pinnatum ‘Cebu Blue’, gives a bit more clarification. “Epipremnum” is the plant family it belongs to, while “pinnatum” refers to the species of plants known for their shaped and divided leaves.
“Cebu blue” simply refers to the unique blue-green coloring of this pothos variety.
Growth Habits
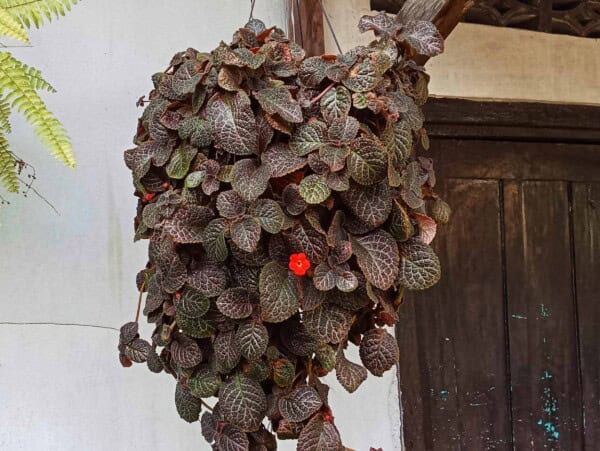
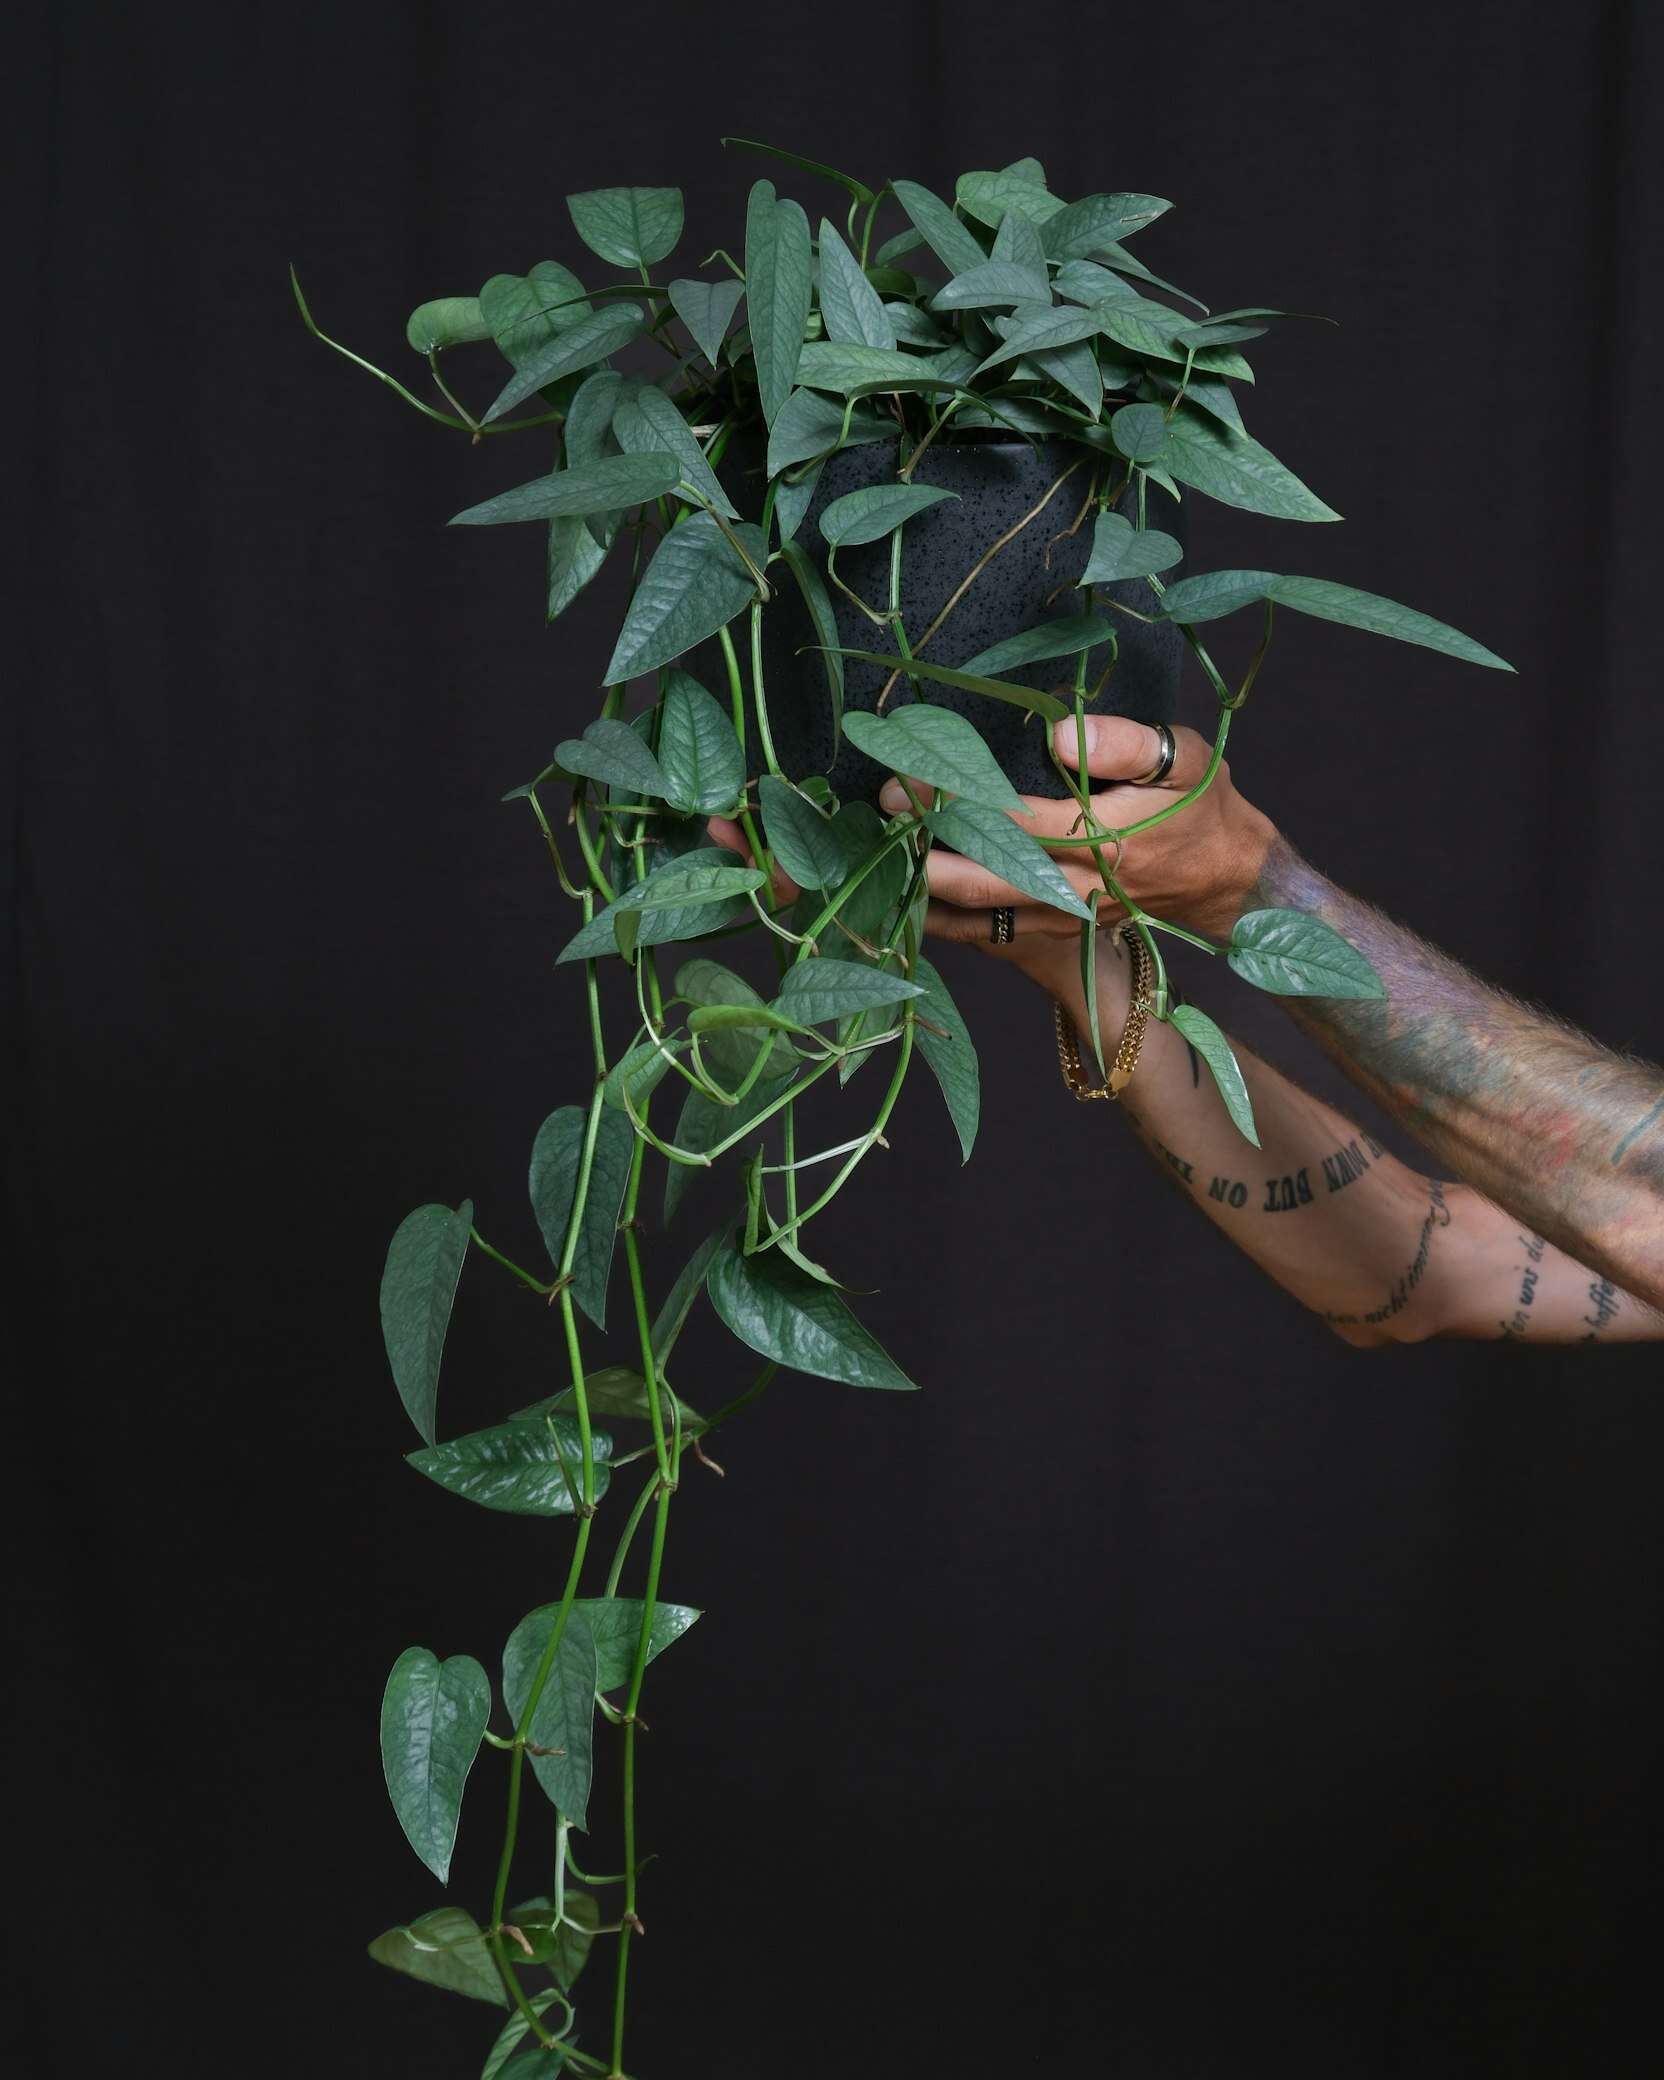
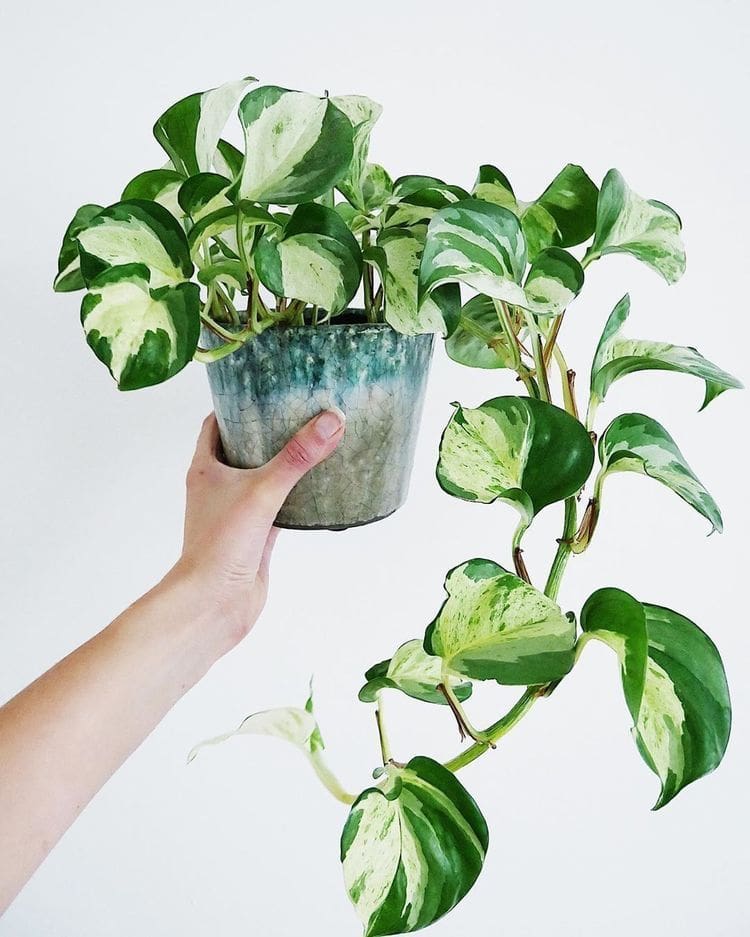
During their juvenile phase, these plants have lots of small, oval leaves, complete with a shiny blue-green coloring. Over time, this new growth on this house plant ends up as long, trailing vines, making it a promising option as a hanging plant.
As the indoor plant matures, the leaves grow larger and begin to develop small holes (fenestrations). While the leaves on younger plants tend to be more textured, mature plants have thicker leaves with less texture and less color variety.
How to Care for Cebu Blue Pothos

As a beginner-friendly plant, Cebu Blue pothos has fairly minimal care requirements. Still, you’ll want to know the specifics if you really want your plant to reach its full potential, so let’s start with the basic light requirements and work from there.
Light Requirements
Like many other pothos varieties, it doesn’t require a lot of light. Bright indirect light is best, so bright light paired with partial shade is the perfect combination for it. It does not do as well as other pothos in low light conditions, so you’ll want to ensure it’s getting adequate light exposure for a lusher plant.
On the flip side, too much sun is also a bad thing. These plants are highly susceptible to damage from direct sunlight and can easily end up with burnt leaves. As such, getting sun exposure right is highly important when taking care of epipremnum pinnatum ‘Cebu Blue’.
There are many different places you can put your plant, but a few of my favorites are:
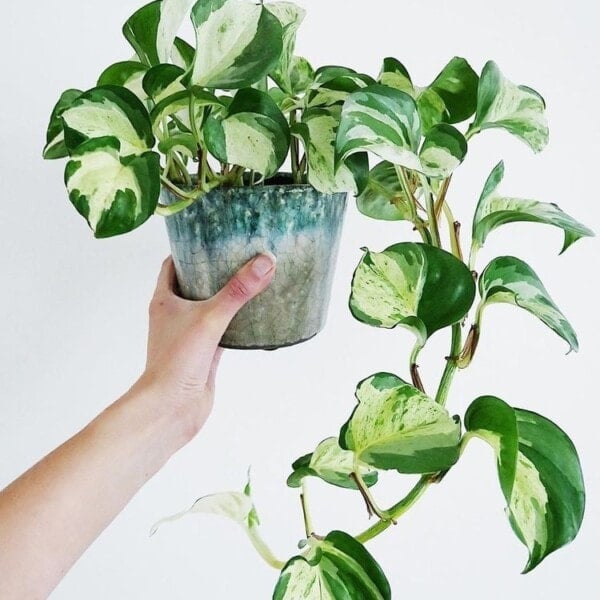
- On top of a (my living room) bookcase, with the vines hanging down
- In a hanging basket near a window
- On a bathroom shelf
Tip
Give your Cebu Blue bright, indirect light, a well-aerated tropical-style mix, and water it only when the top inch or so of soil has begun to dry — then let it climb or trail freely for maximum visual impact.
Watering Recommendations
An easy way to injure your Cebu Blue pothos plant is by overwatering it. Moist soil during the growing season is fine, but too much water causes issues. Excess water can lead to fungus gnats, wilting, root rot, and yellowing leaves.
Thankfully, there’s an easy way to tell if your pothos needs water. Simply stick your finger in the top inch of soil. If the top inch or two of soil feels dry, then it’s safe to water your plant. Just make sure it has adequate drainage so any extra water doesn’t get trapped in the bottom of the pot.
Picking the Right Potting Mix
Plain old potting mix will work perfectly fine for these plants, but you can upgrade a bit if you want to get the most growth from your plants. At a bare minimum, you’ll want a well-draining potting soil with a pH of 6.0 to 7.5, paired with a pot with at least one drainage hole to prevent water buildup.
If you want something a bit more pothos-focused, either an aroid or pothos-specific mix will work well. However, if you want the best of the best, I recommend adding sphagnum moss, vermiculite, and orchid bark to an aroid mix.
Having organic matter in your potting mix is great because it slowly releases nutrients to the plant. It also helps increase root aeration and moisture retention.
The Repotting Process
Eventually, your Cebu Blue pothos will outgrow its current pot. There are a few different indicators that it’s time to repot, such as:
- Slow grow
- Quickly-drying soil
- Roots protruding from the drainage holes.
Repotting your plant isn’t very hard, as thankfully, these plants aren’t very picky about the pots that they’re in. Concrete planters, ceramic planters, plastic planters, and terra cotta planters are all fine. So long as the new pot has drainage holes, you should be good to go!
To repot your plant, gently remove it from its current pot. Add a bit of potting soil to the bottom of your new pot, then place the plant in there. Pack soil around the plant to hold it in place, then give it a light watering. Avoid soaking the soil as this can cause issues.
A Proper Approach to Propagation

Whether you have a dedicated small greenhouse or simply grow your plants indoors, at some point, you’ll likely want to expand your Cebu Blue pothos collection. The easiest option, of course, is to simply buy more plants, but—with a bit of patience—you can expand your collection without spending anything extra through a process called propagation.
Here’s how to do it.
The Water Method
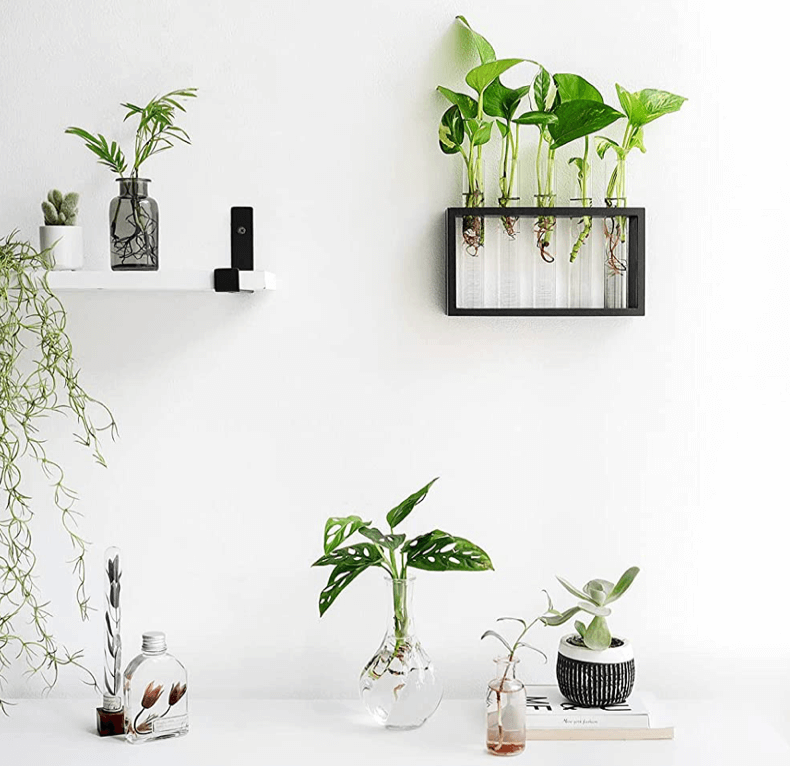
- To get started, you’ll need to cut a six-inch stem from the plant. Leave a few leaves on the stem, but remove the ones closer to the bottom.
- From here, fill a glass with water and place the cutting in the water. You’ll want to make sure the bottom of the stem is covered, but the leaves should not be touching the water.
- Moving forward, it’s a waiting game. Your plant will begin to form roots after a few weeks, but you’ll want to change the water every few days to prevent bacteria.
- Once your plant has roots that are an inch in length or more, you can plant the stem in potting soil.
- Dampen the soil initially, and make sure to keep the soil lightly moist for the first few weeks. Remember, you only want lightly moist soil, so avoid overwatering. Once this initial period has passed, you can resume your normal watering schedule.
The Sphagnum Moss Method
- First, you’ll want to take your sphagnum moss and soak it in a bowl of water for 15 minutes.
- While you’re waiting for time to pass, take some shears and get a stem cutting from your plant. Aim to leave five to six leaves on every stem cutting, but make sure to remove the lowest two or three leaves from the stem.
- Drain your moss, squeezing any excess water from the moss before placing it in a small pot.
- Place your cutting in the moss, covering the bottoms while making sure that the leaves have plenty of air exposure.
- Mist the moss weekly. If desired, you can also cover the container with a plastic bag to help maintain the humidity level. Just make sure you don’t cover the leaves.
- After a few weeks, you will see roots begin to form. Once they’re an inch or two long, you can remove your cuttings from the moss and place them in soil.
- To repot, put a bit of soil in the bottom of the new pot, then place your cuttings in the pot. Pack some soil around your cuttings to keep them in place.
- Lightly moisten the soil, and make sure to keep the soil lightly moist for the first few weeks. Once that period has passed, you can resume your normal watering habits.
Subscribe
Sign up for our weekly newsletter
The Layering Method
- First, look at your pothos plants and find a healthy stem with few leaves that’s close to the top of the soil.
- Next, gently bend that stem under the soil, leaving the leaves above the soil. If needed, you can secure the stem by placing a rock on top of it.
- From here, just continue to water your plant, taking care to make sure the part where your stem is under the soil stays nice and moist. You will begin to see roots forming after a few weeks.
- After the bent stem has established roots, you can cut it from the parent plant and repot it in its own pot, where the new growth will quickly turn it into its own full-sized pothos.
Preventing Potential Problems
Pin this article
Pin It NowGrowing Cebu Blue pothos can be an extremely rewarding experience, but there are a few hiccups that you might run into along the way. Here’s what you’ll want to keep an eye out for.
Yellow Leaves, Drooping Leaves, and Root Rot
Overwatering and underwatering can both cause problems for your pothos plants. Yellow leaves are often an indication that your plant is either being overwatered or isn’t draining properly. If left untreated long enough, this excess water can lead to root rot.
Root rot can kill your plant, so it’s something that must be addressed immediately. If your plant just has yellow leaves, then simply letting the soil dry and watering it less should do the trick. However, if root rot has already set in, then you will need to remove the plant from its pot, trim away the rotting roots, and repot it in fresh soil.
Brown, Black, and Shrivelled Leaf Tips
Darkened or shrivelled leaves can indicate a few different things, such as low light, a lack of humidity, underwatering, or simply plants that are getting too much water. Shriveled tips indicate a lack of water, while tip rot indicates too much water.
Overwatering is easy to fix; just water your plants less! However, for a lack of water or moisture, there are a few things to try. First, try watering your plants more frequently. If that doesn’t solve the issue, then you likely have a moisture problem.
Thankfully, using a small humidifier or even pebble tray for your plants can help get the humidity levels back up to healthy levels.
Leggy Growth and Small Pale Leaves
These two problems stem from lighting issues. If your plant isn’t getting enough bright light then these problems can happen quite easily. Often, the issue can be solved by simply moving your plant(s) to a location with more light. If this simply isn’t possible, consider using artificial grow lights to increase their light exposure.
Another thing that can help is rotating your plants. This helps prevent leggy growth by making sure that the entire plant gets enough sun exposure. Speaking of, neighboring plants can also get in the way. Using a moss pole can help encourage upward growth, although you will still want to prune your plants.
I really like using this method of growth control, as upwards growth is easy to trim and makes it quite easy to propagate new plants later on. For basic pruning, just use scissors or shears to cut right above the leaf node, where the leaf meets the stem.
Getting Rid of those Pesky Pests
Like basically any other plant, Cebu Blue pothos are not immune to houseplant pests. Here’s how to get rid of fungus gnats easily, just in case. On the plus side, they’re not extremely susceptible to them either, so you’ll only have a few bugs to watch out for.
Spider mites can cause the leaves to turn yellow. You can usually tell they’re around from the minuscule webs they leave behind them. Mealybugs are another common pest, easily identifiable as small, white fuzzy clusters on the stems and leaves of your indoor plant. You can easily remove both of these with neem oil or insecticidal soap.
Cebu Blue Pothos FAQs

The unique metallic blue coloring of their leaves helps the Cebu Blue pothos stand out from the other pothos varieties. This slight shimmer, combined with its ease-of-care, makes it a beautiful yet beginner-friendly option.
No, they do not. If you notice that your plant is root-bound then it’s time to upgrade your plant’s pot. If you don’t, your plant will struggle to grow and may end up with discolored leaves if it is root-bound long enough.
Like other pothos plants, Cebu Blue pothos contain calcium oxalate crystals, which are considered to be toxic when ingested. It’s unlikely to be fatal if one of your furry friends does ingest it, but it can still cause drooling, vomiting, difficulty swallowing, and other issues. Just keep these pretty plants out of reach!
MORE PERFECT POTHOS

Now that you know the best way to care for and even propagate Cebu Blue pothos, are you ready to pick up your own plant? I promise, you’ll love adding one of these to your collection. They look amazing next to anything, pairing perfectly with both real and artificial hanging plants. Want more amazing plant posts. Check out my Hanging Plants That Do Not Need Sunlight or Indoor Plants That Are Hard to Kill .Be sure to let me know if you’re planning on picking up your own, and feel free to drop any questions you have in the comments below. Thanks for reading, love you all!