
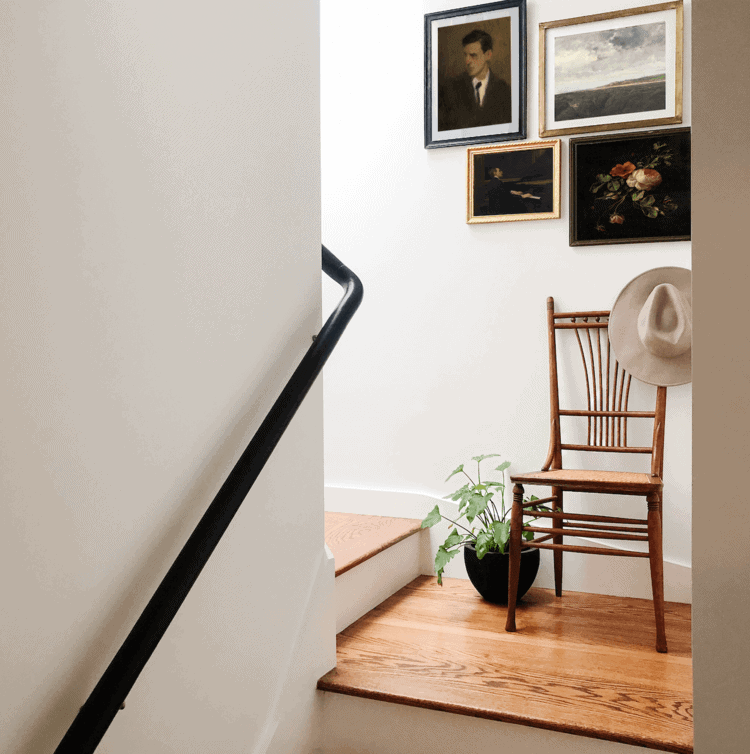
Some of ya know that I have been completely obsessed with finding the perfect wallpaper design to turn my rather drab stairwell featuring my BFF Printshop Gallery Wall into a wow moment. I mean why not. I love to make every nook and cranny of my home be a moment of interest and delight. As such, I have sorted through hundreds (yes hundreds), of wallpaper samples looking for the absolutely perfect statement wallpaper.
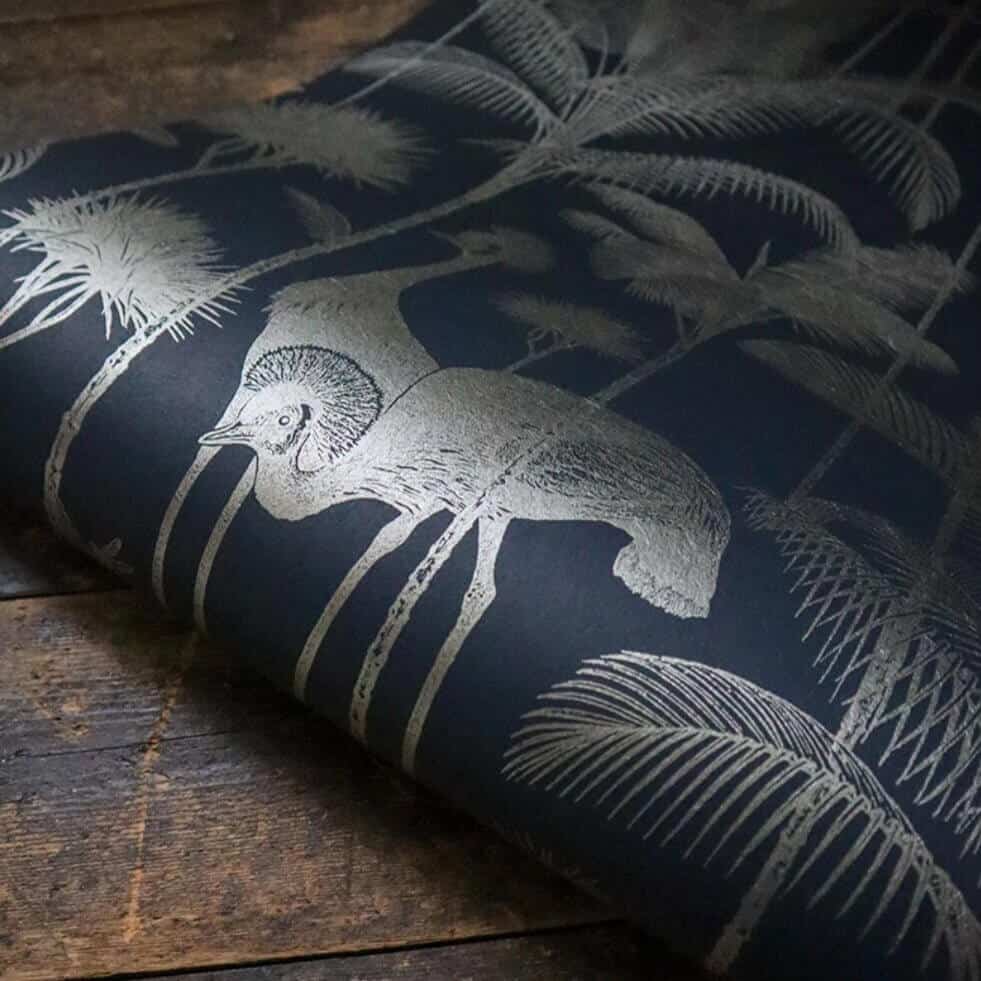
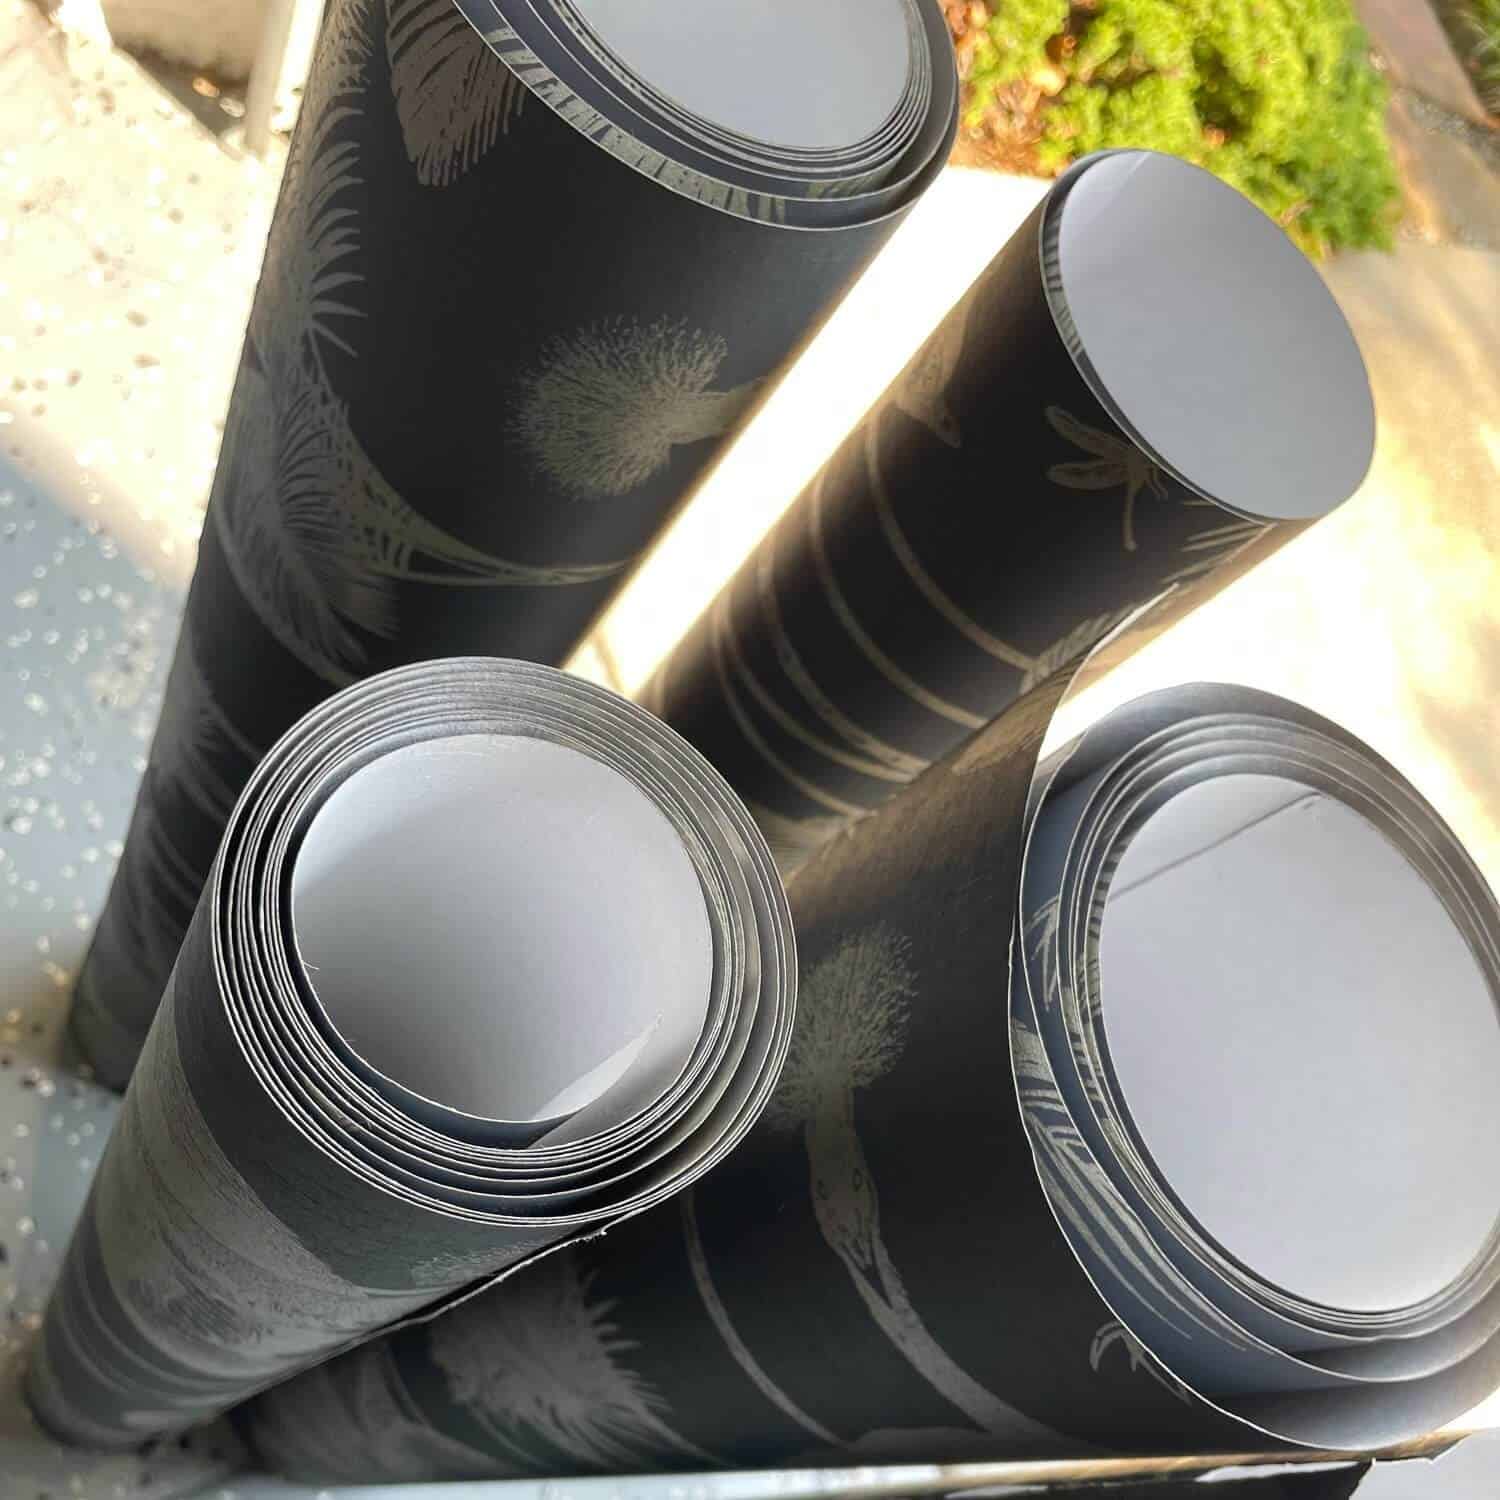
However (drum roll please) I have finally found the one! Like the one. Check out the Crane Fonda ‘Black Gold’ wallpaper, from my boys over at @DivineSavages. They are super nice, talented, really cute, and have a fondness for scary movies – so to me, it was a match made in heaven. Of course, they have amazing wallpaper too. Check em’ out. You won’t regret it.

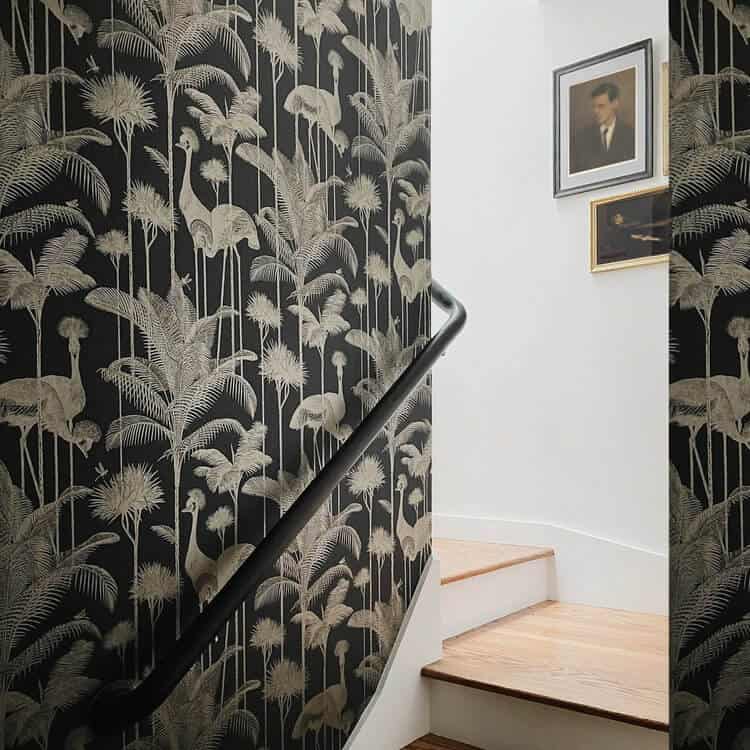
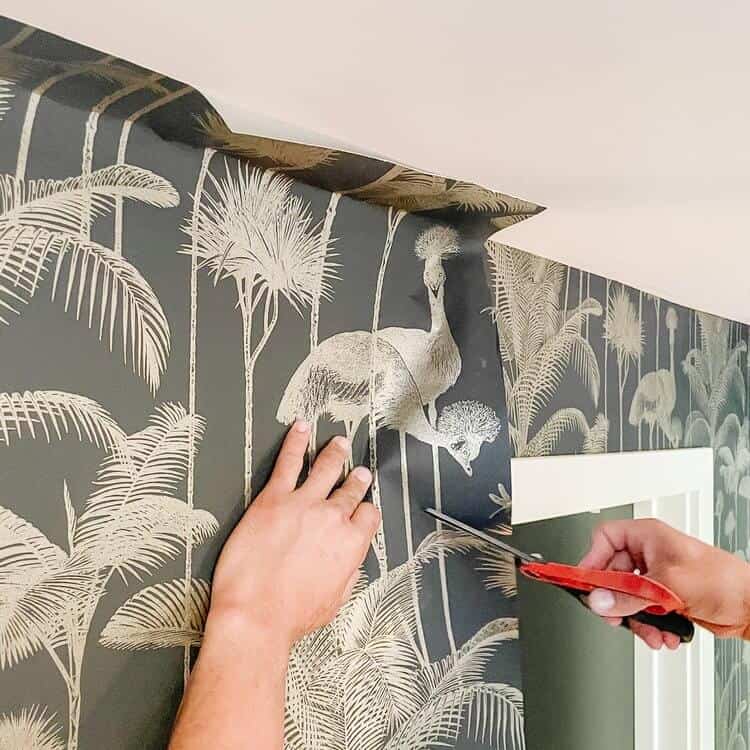
I am beyond obsessed. The Crane Fonda wallpaper is a stunning design featuring an over-the-top silver crowned crane against the backdrop of lush palm trees. The background is black, rich, and lux, almost leather-like. Plus, they pair perfectly with refinished hardwood pine floors. I just love how the design is bold but calmn all at once. This print has been redesigned from an earlier design but now on much a larger scale. I still remember my boo’s smile of delight when he first saw it screaming, “Wow, I love it! The design is so detailed without being overwhelming.” This design is just perfect guys. After taking just one glance at it – I knew that I needed to have her in my stairwell. I hope you love the transformation too.
Wallpaper is widely used in interior design. The thing is, it’s a relatively simple way to create wow moments without spending a ton of money. I enjoy the creativity of a wallpaper accent wall or pass-thru space to help infuse a pop of personality into what would otherwise be a challenging spot to do so. Wallpaper has a magical way of just making any space sing!
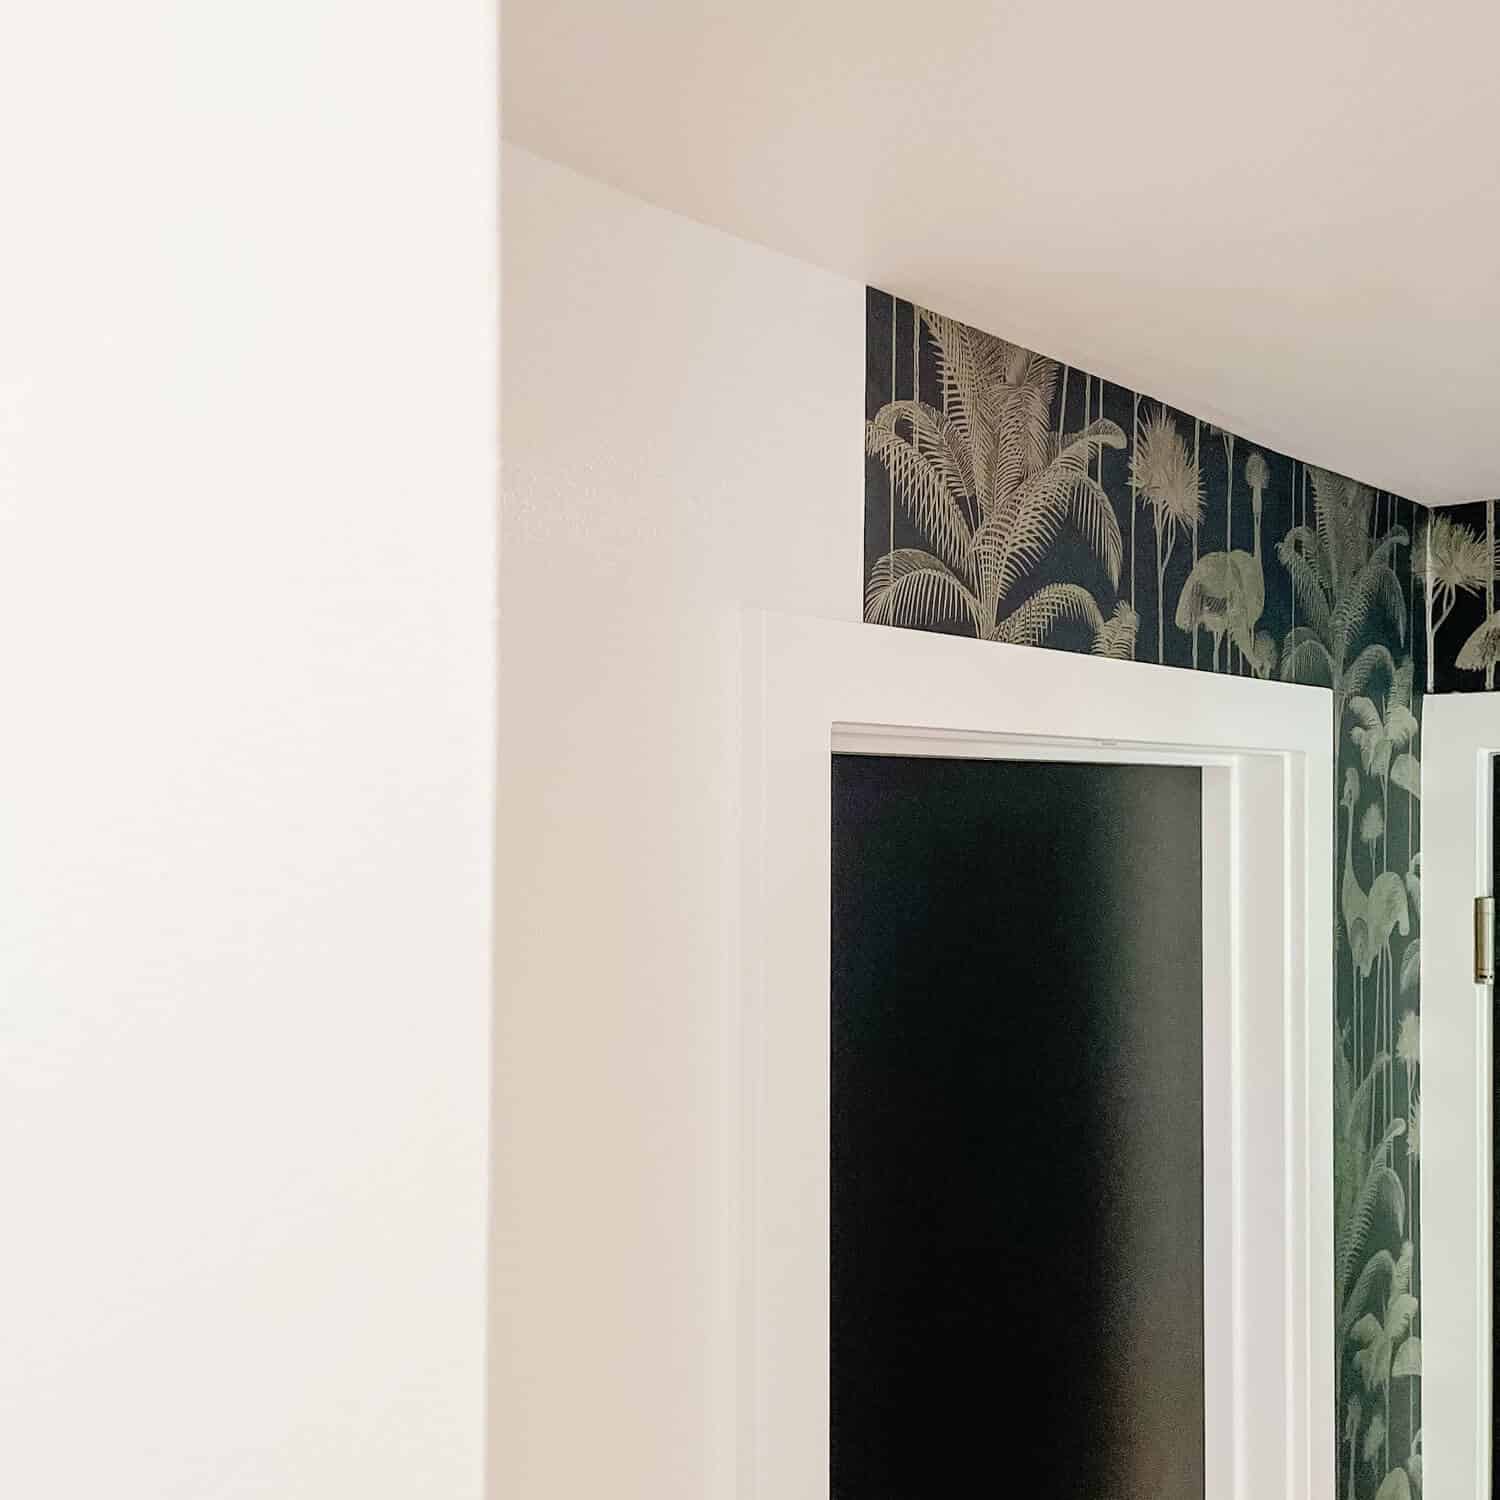
There are numerous wallpaper themes from which to choose. If you’re unsure or want a safe and reliable solution, head to Divine Savages and get inspired. The quality of the wallpaper is absolutely top-notch. This pass-thru space is now a wow moment in my home. Just look at the before and after.
Before I forget – for all the wallpaper nerds out there (raises a hand,) here are the wallpaper specs in-case you are curious:
- It is printed using a conventional flexo print
- It’s a smooth 180gsm paper.
- In every roll, you will get an average of 6.85 m2 wall coverage.
- the wallpaper is washable – perfect for little hands post-dinner.
- We will talk at length about the installation process later
- I used two rolls total
Are ya still with me? Good. Feeling inspired? Good. That’s what I am here for. Now, if ya’ are thinking about wallpapering yourself I went ahead and compiled all the pro-tips (Some from the Divine Savages themselves) and helpful instructions I used during my install. Check em out below:
How to install wallpaper
Many people shy away from having amazing wallpaper because they think it cannot be installed (or removed) without professional help. Nothing could be further from the truth. In fact, it can be incredibly easy to install your own wallpaper, without any assistance If I can do it, so can you. Just keep a few things in-mind. Firstly……
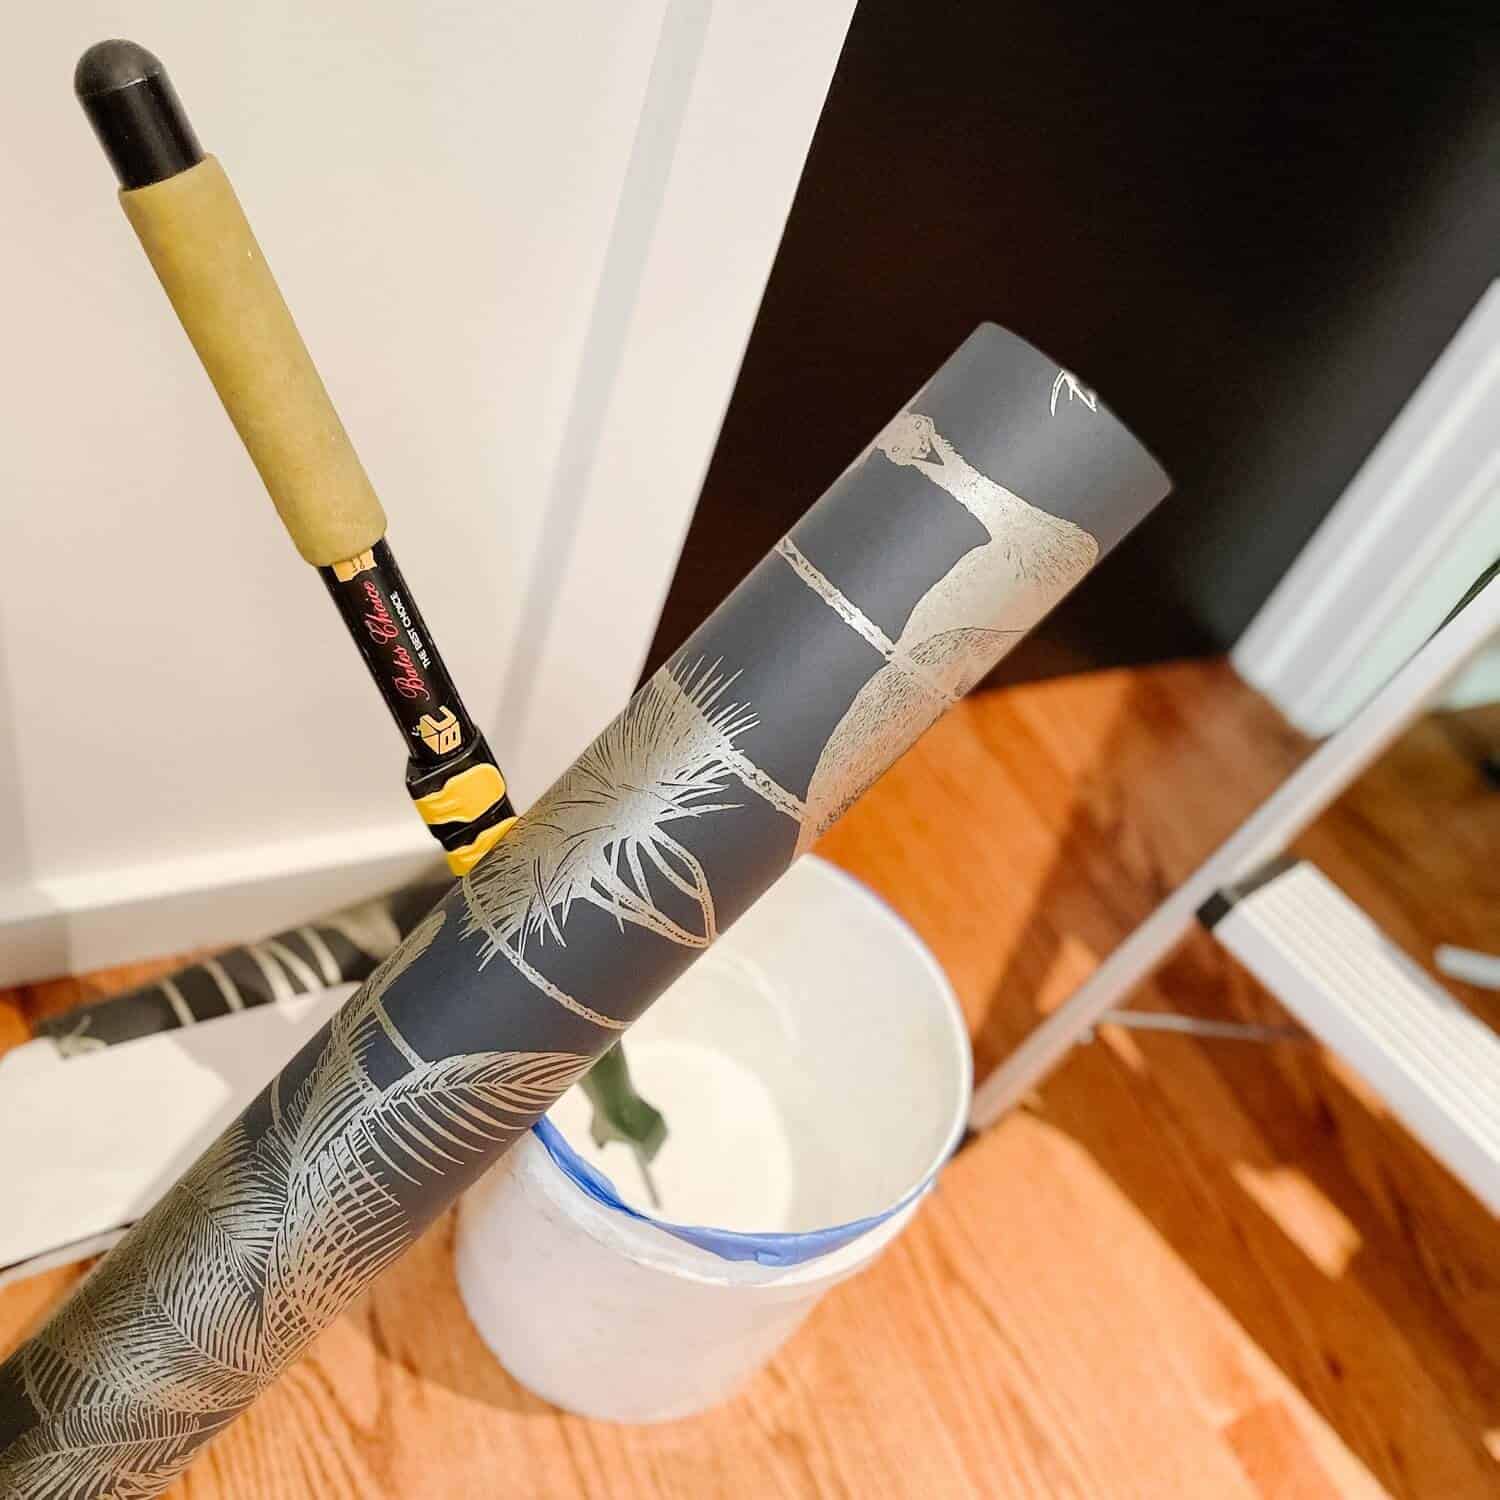
Get a Good Adhesive
- For this wallpaper, you should ‘Paste The Wall’ – which means you should paste the wall and NOT the paper. But this varies from source to source. Check first.
- This is a premium quality wallpaper. As such I would suggest you use a premium quality bucket adhesive, or an equivalent good quality pH neutral, solvent-free, fungicide protected, light grade adhesive should be used. Do NOT use self-mix adhesives. All-purpose and heavy-duty pastes won’t not suitable.
- But Before mixing the adhesive – let’s check and prepare our wallpaper. There’s a lot to consider….
Wall Prep
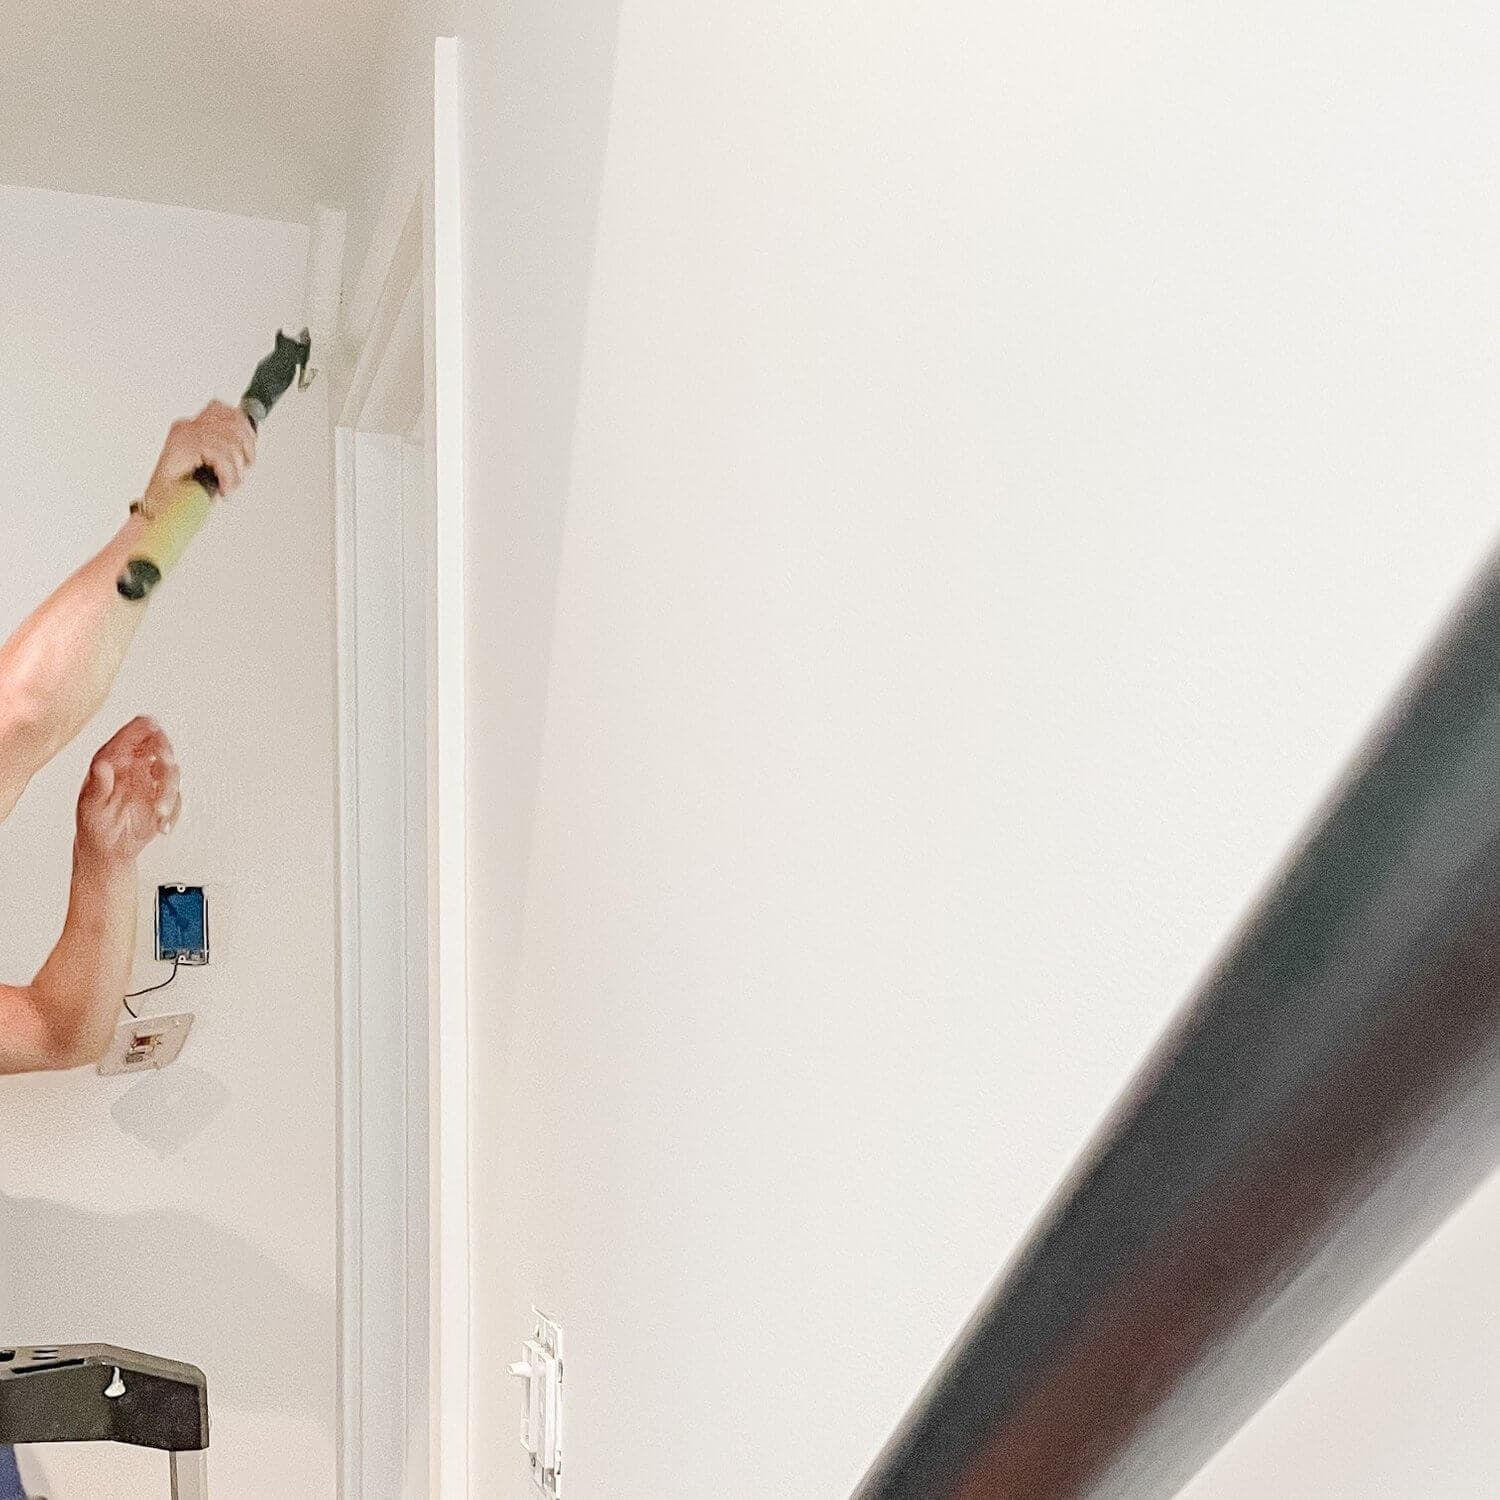
- I dusted and wiped down my ceiling, walls, and baseboards with a warm soap and water mixture. You don’t want any dust or debris to get stuck under the wallpaper. It will leave a bump and not stick as strongly.
- If you have holes, nails, or dings be sure to patch them first before cleaning. Remember a good ow grit 220 sanding to get things even and smooth is ideal.
- I would remove any previous wallpaper first too. More on that in a future post.
- Then take off any light switches or vents. Be sure to sand down loose drywall to a smooth finish.
- Before I started to apply adhesive I took the vacuum with the extension attachment and vacuumed every nook and cranny – just to be safe.
- Do not apply glue to the wall until it is sufficiently smooth, dry, and blemish-free and your wallpaper is cut and labeled.
Prep Wallpaper
- Confirm that your wallpaper rolls are undamaged and that the design/color-way is correct. Cut lengths allowing for pattern matching and for final trimming top and bottom.
- Remember color variations can occur – check that your wallpaper looks as it should
- Check that all paper is the right way up. You don’t want to accidentally apply it upside down.
- Cut lengths according to the height of your walls and the pattern repeat, allowing a couple of inches at the top and bottom for trimming. I trim the top and bottom towards the end to get one single straight line once they are on the wall.
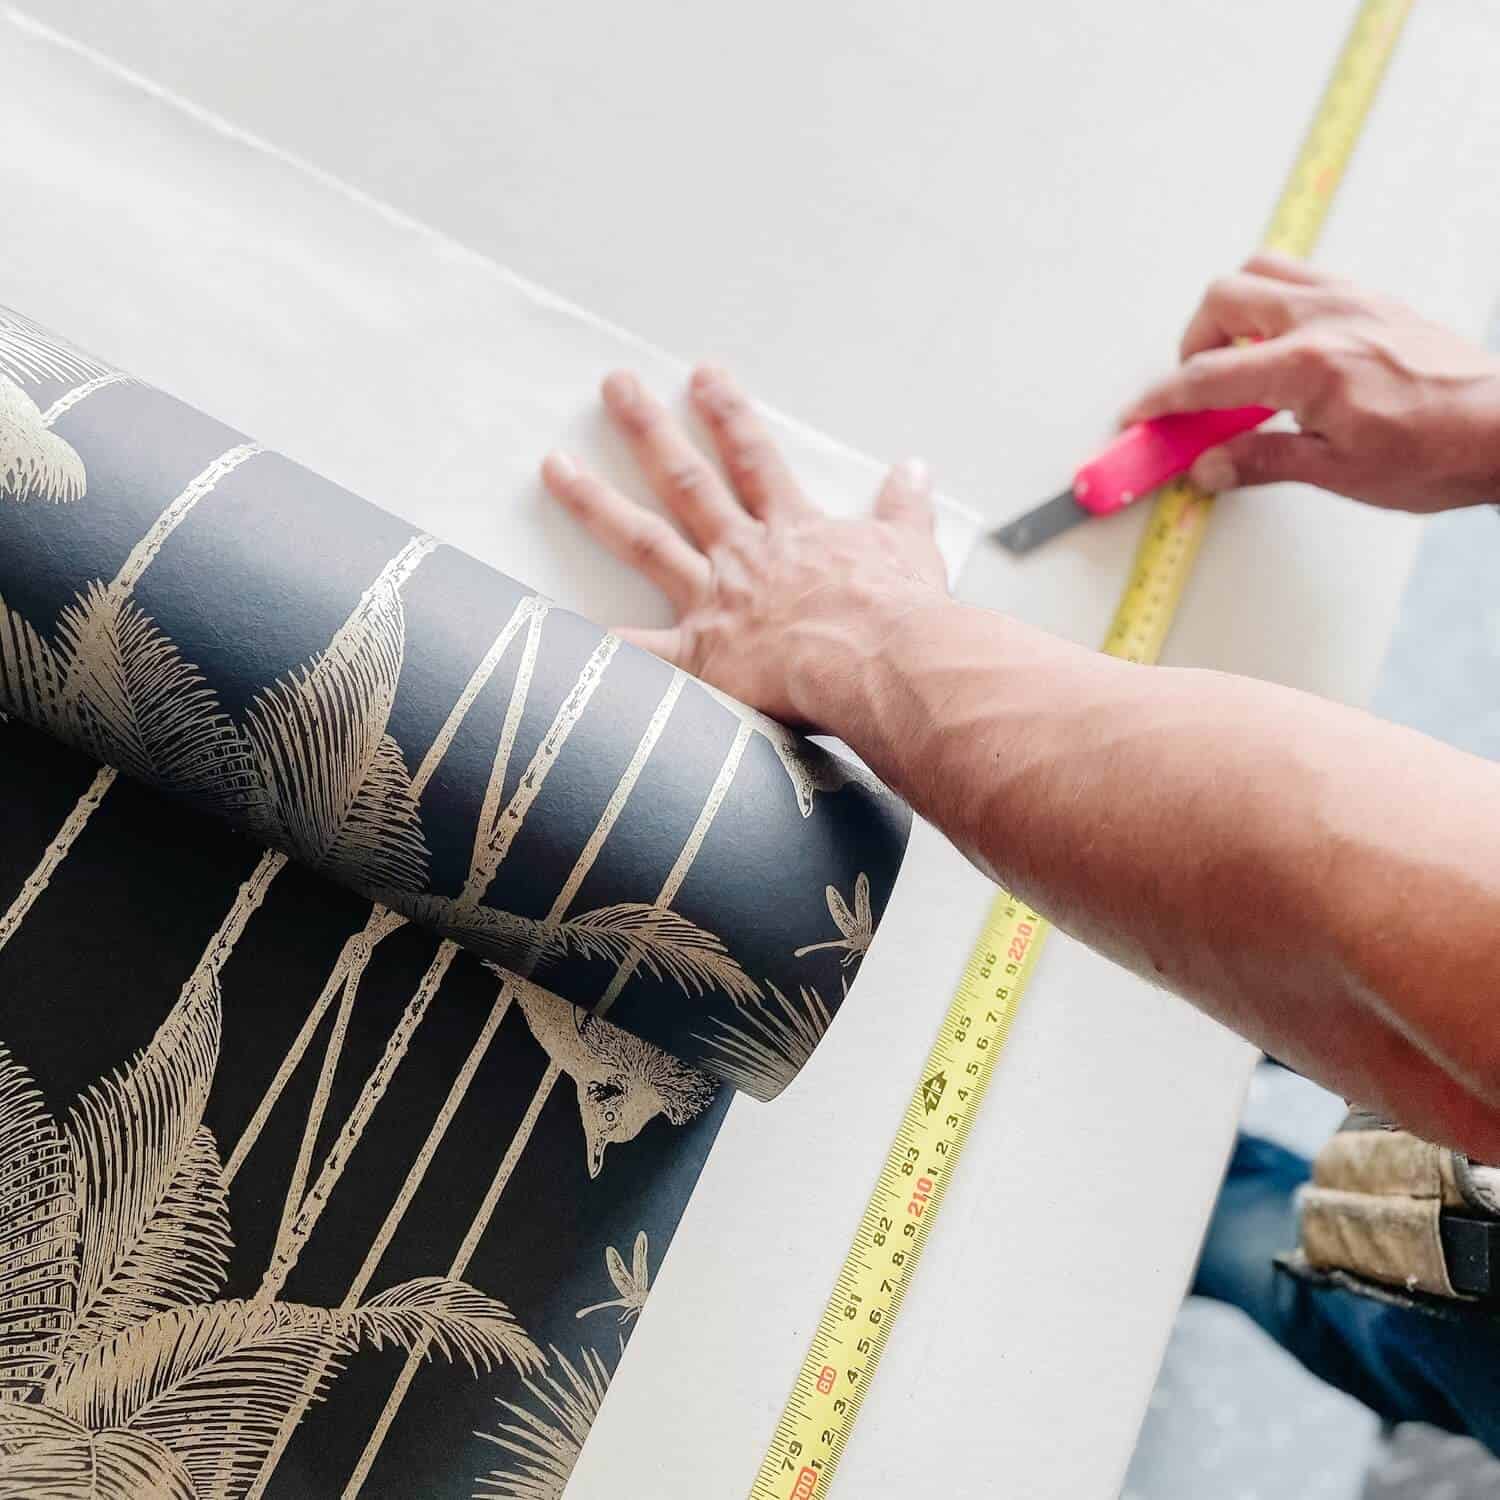
- Cut your strips first and number them on the back in the order you want to apply them to the wall – you will lose track – trust me! Be sure to line up the pattern with each cut for a seamless look.
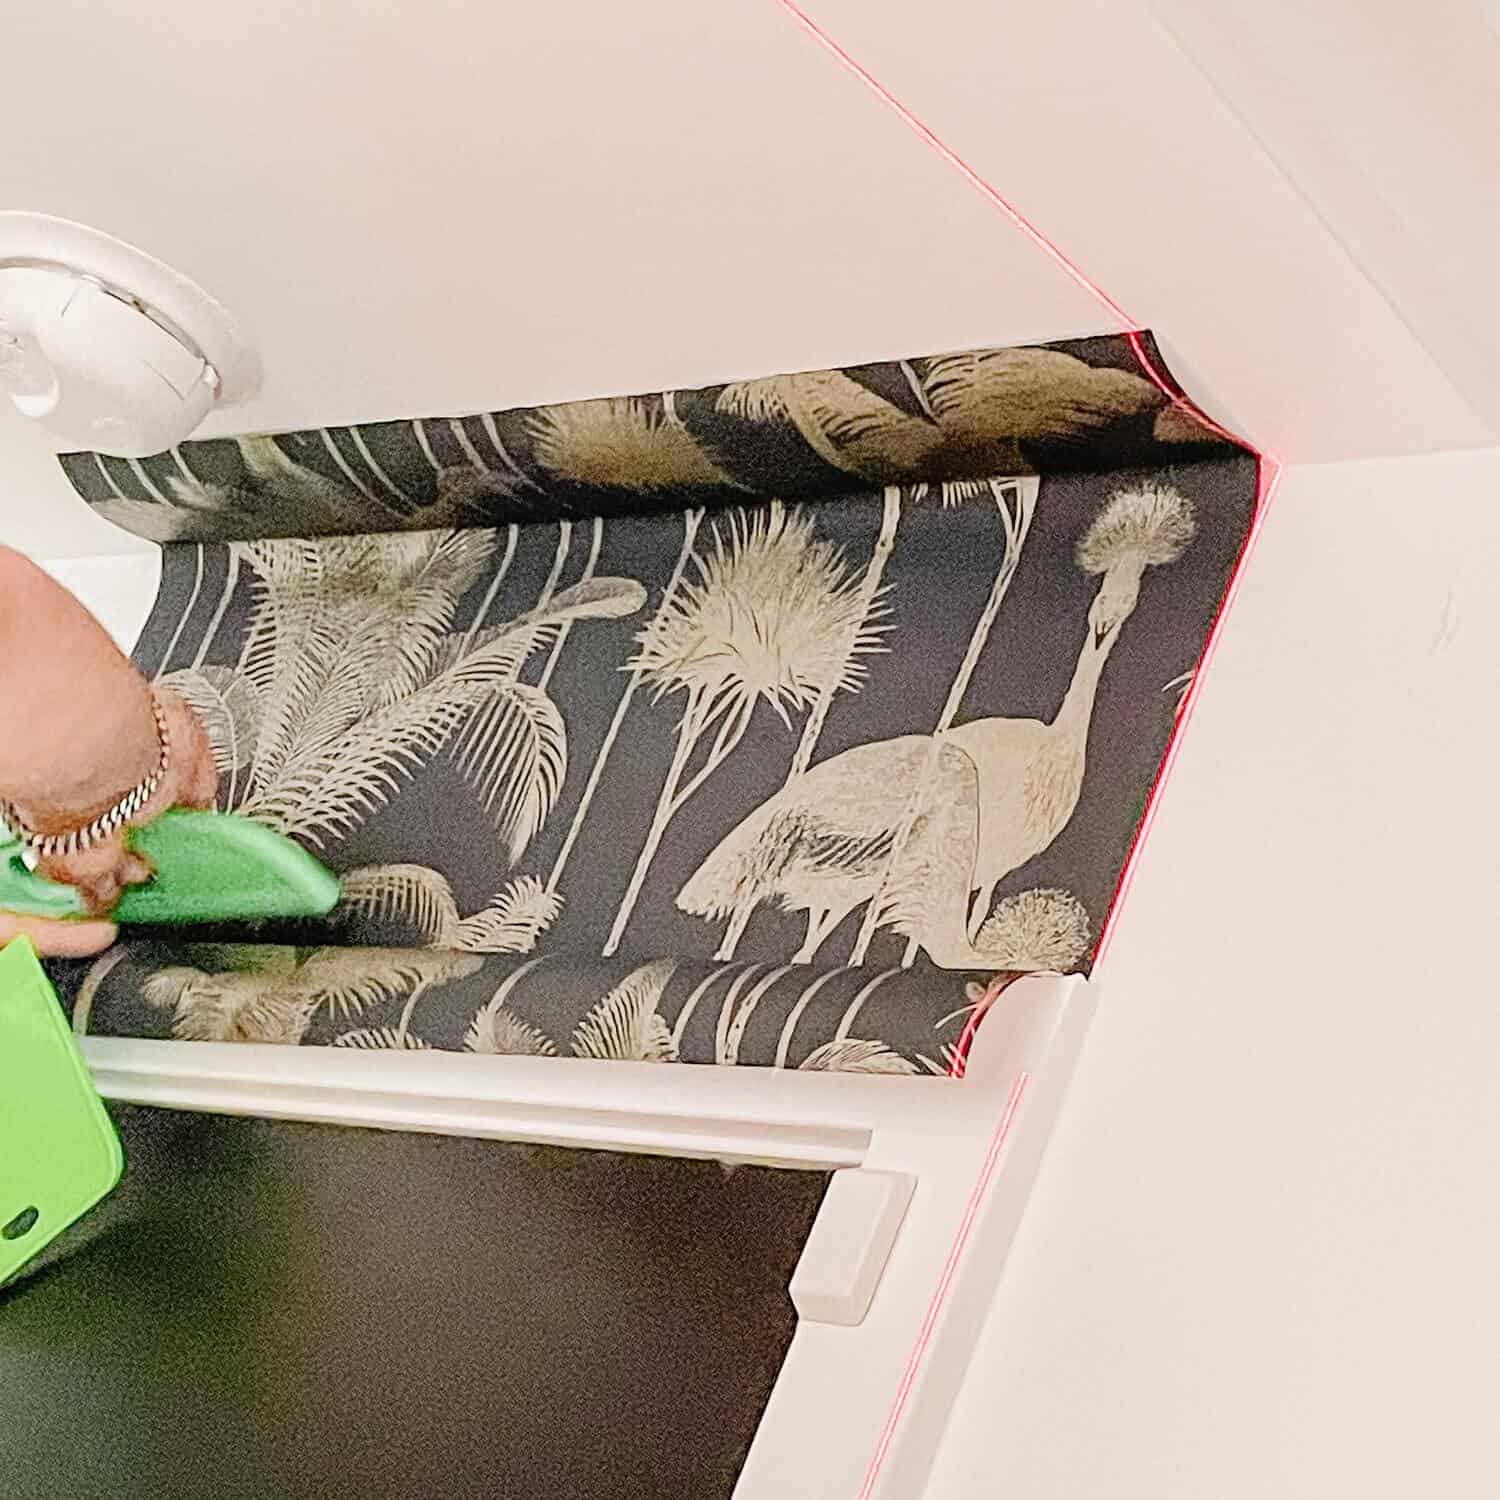
- Use a plumb line or spirit level to make a straight vertical line when hanging the first length. Get this one perfect! I started in the middle and worked my way out. It’s just easier in my opinion and you wont notice any “errors,” as easily this way. I used my laser level to get this perfectly straight. Don’t trust your ceiling.
- Using a roller, apply the paste evenly to the wall, covering slightly more surface area than needed for one length. Just be sure to mix your adhesive to the intstructions.
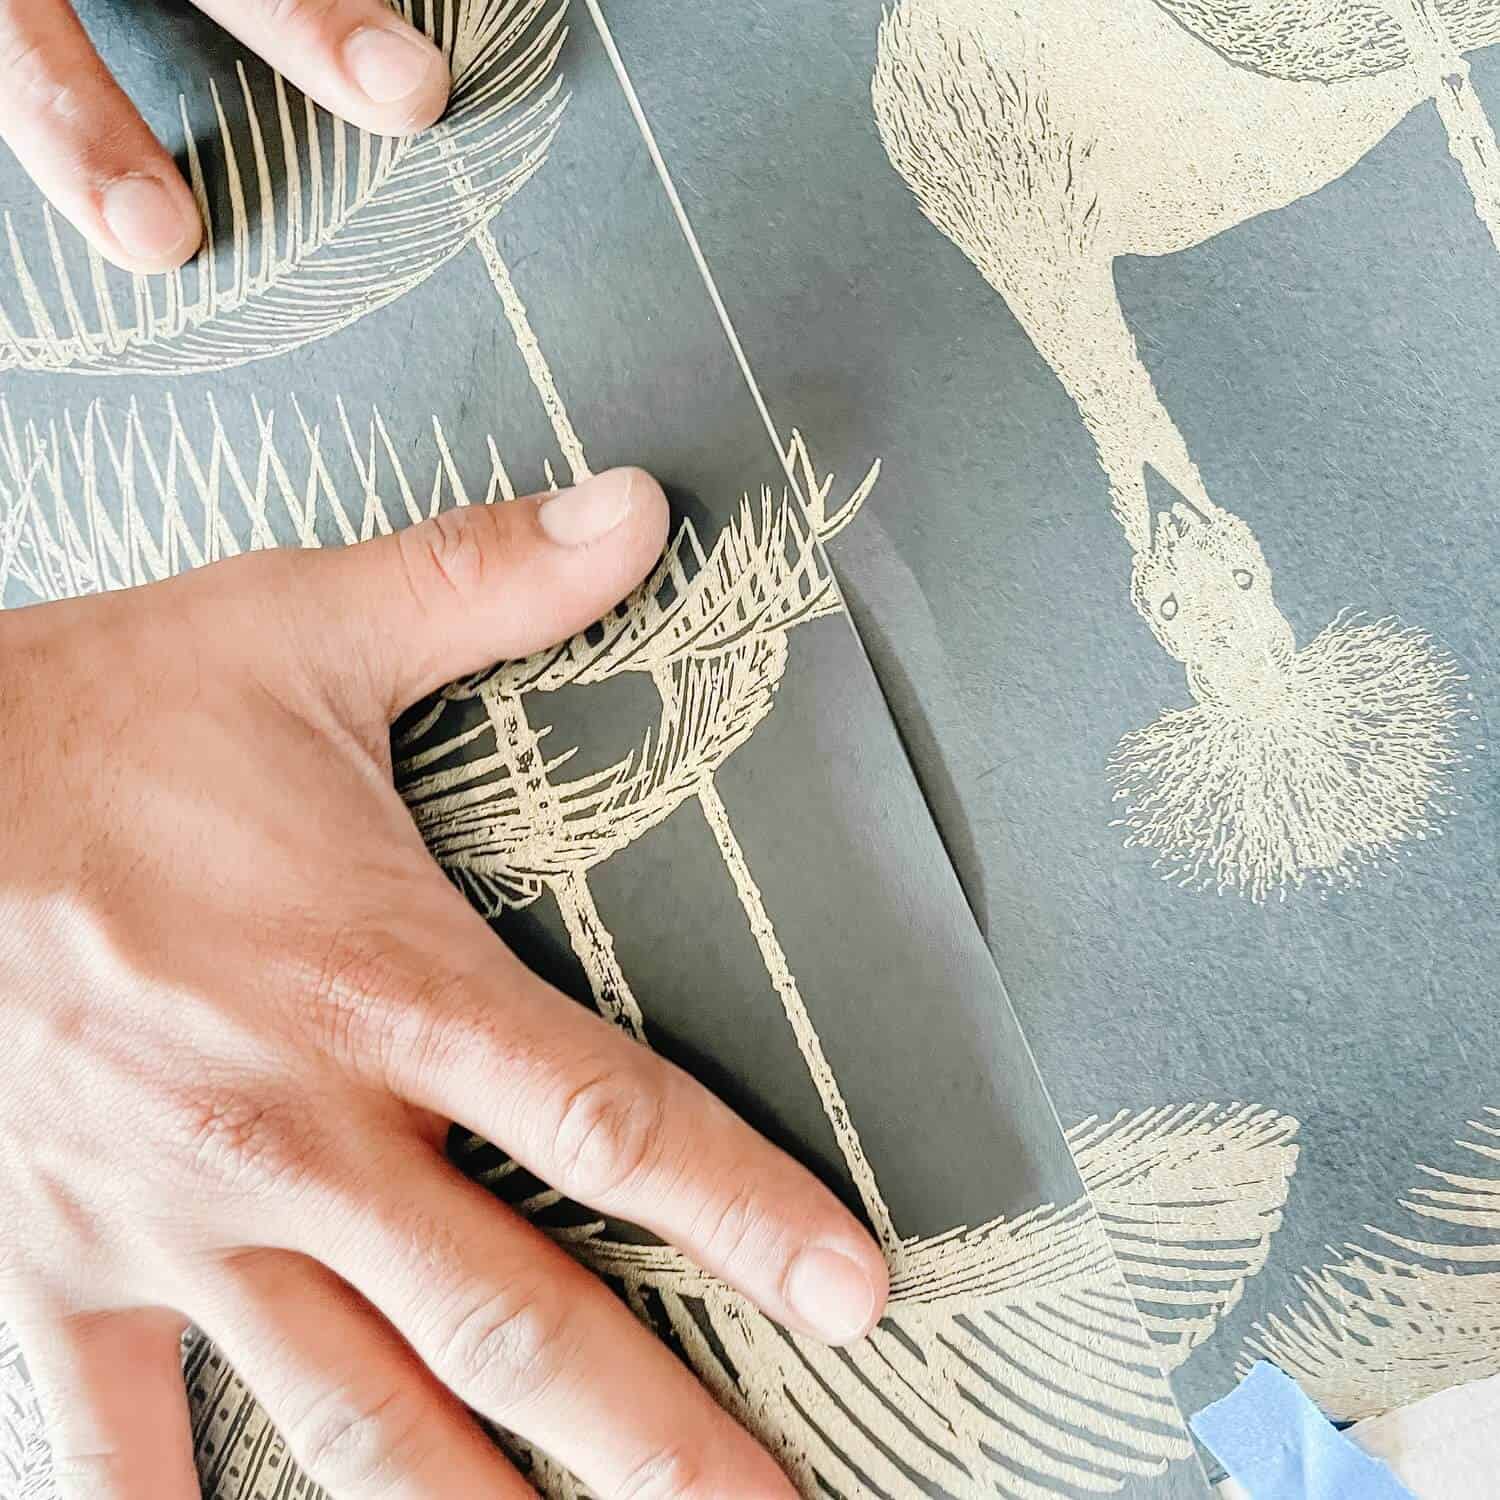
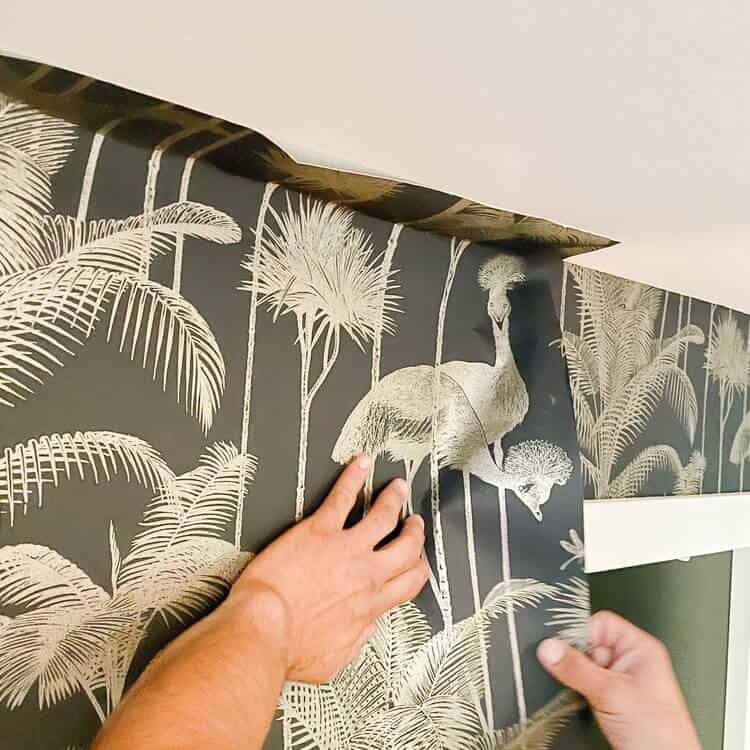
- Apply your cut length of wallpaper to the top of the wall and gently smooth the paper to the wall using a clean, dry decorator’s brush. I go up to down and then right to left.
- Gently smooth out air bubbles, working from the center towards the edges.
- Ensure each length of paper butt up together and avoid overlapping edges. You have a few minutes to move the wallpaper on the wall before it dries. Take advantage of this to line up the design just right. This is why I like traditional wallpaper better than peel and stick. I know, crazy right?
- Trim excess paper at the top and bottom using a sharp blade as you go if need be. Try to do it in one movement.
- Check as you progress; after hanging 2-3 lengths you should inspect the result to ensure there are no faults present and that things are lined up
- Air fit each panel as you go. It’s the same as measure twice cut once.
- Be sure to start in the middle of the wall and work your way out. This creates the best visual look.
- Repeat over and over. Be sure to wipe up any glue that gets on the surface with a damp sponge of dish soap and water. Get it fast!
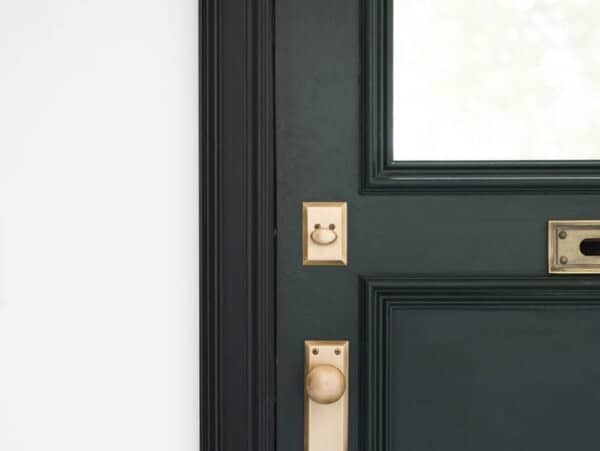
- For door edges, feel free to place as if the door wasn’t there, and cut into it with a pair of sharp scissors so it removes the trim shape. Then use your sharp blase to make a smooth cut. See below:
- Enjoy the process! It’s that easy.
A Note about uneven surfaces, ceilings, and floors
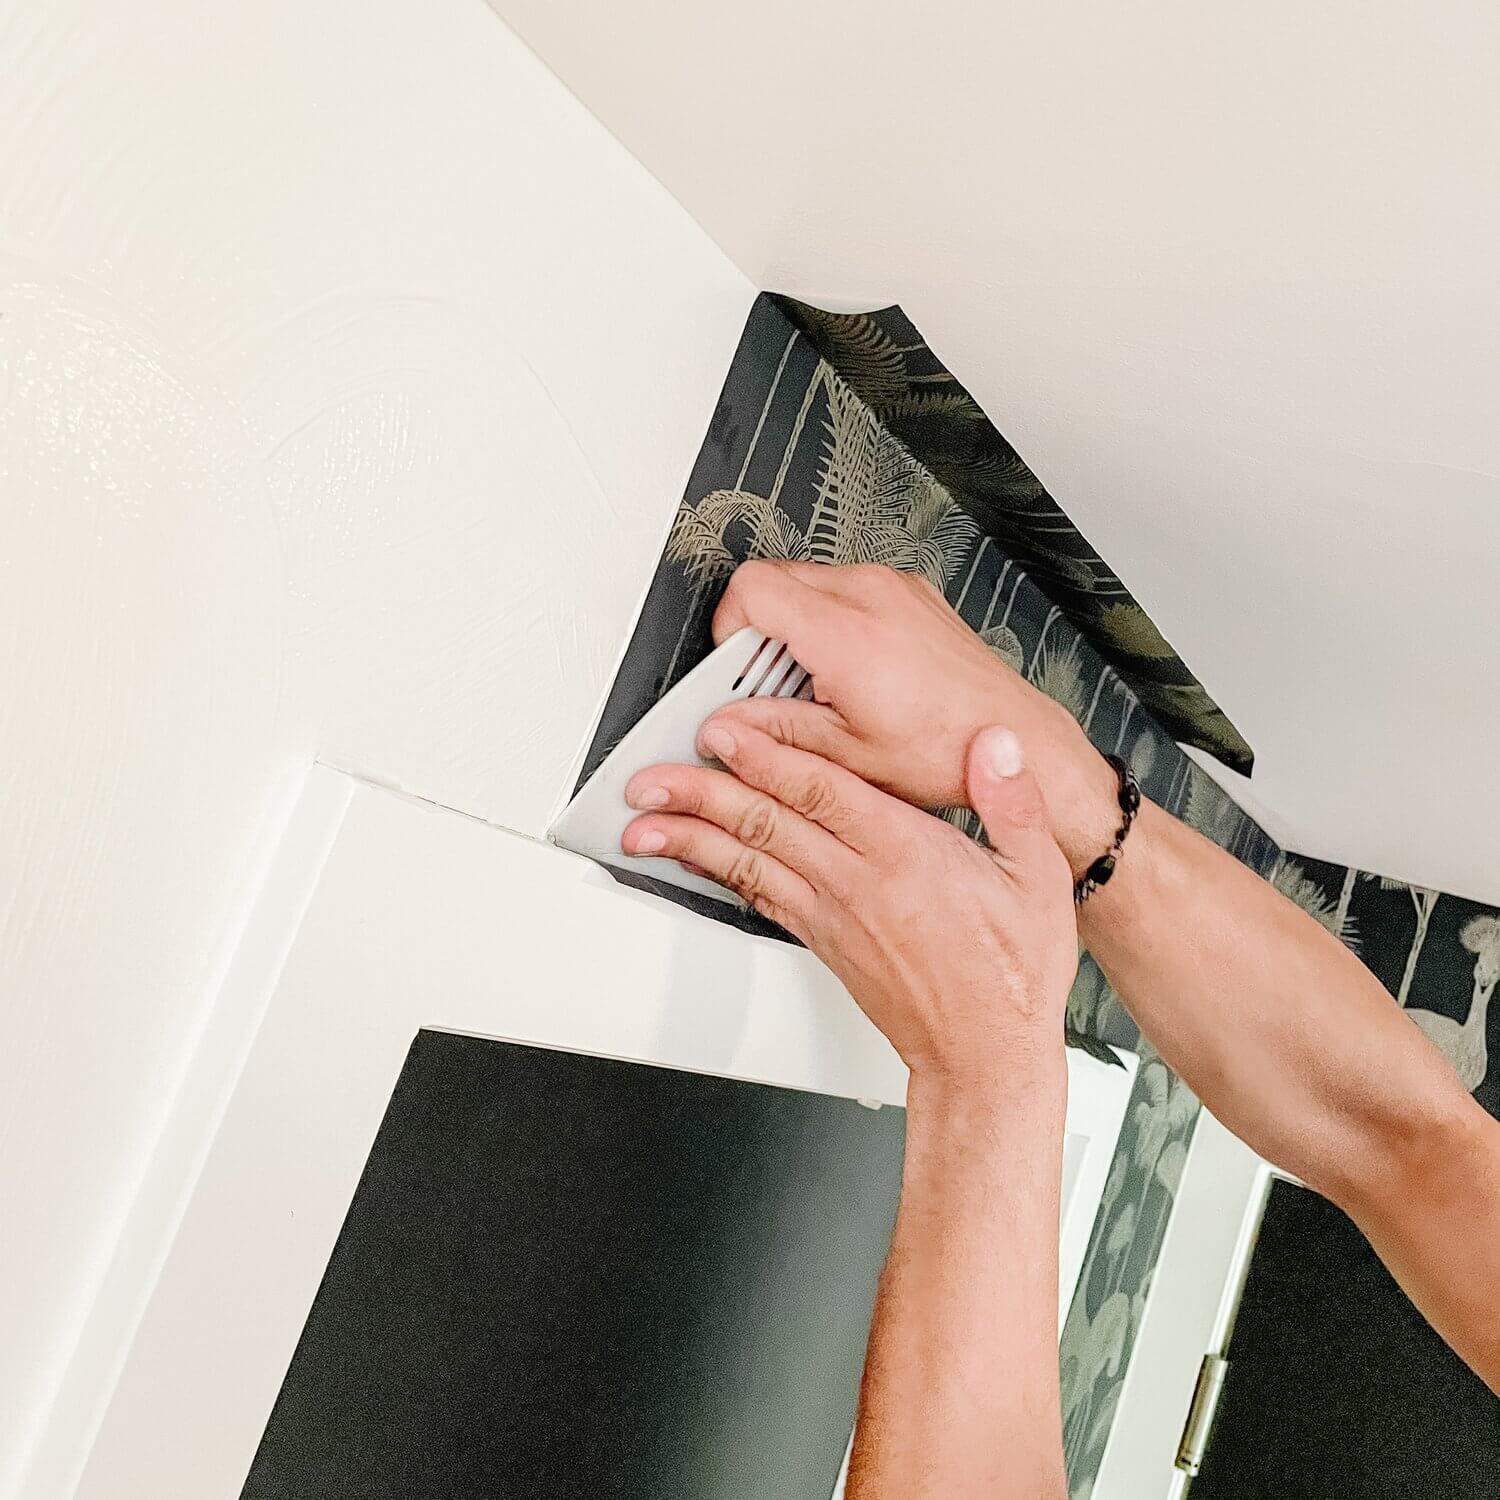
- Since most wall surfaces are not level, installing wallpaper into and around angles necessitates specific techniques and close attention to detail. You can’t just press the paper into an inner corner and then keep applying paste to the wall when adhering to it. It’ll end up misplaced and crumpled.
- Instead – split the strip at the point where the two wall surfaces intersect and fix the two strips separately. Outer corners can be papered around, and the second strip can be hung using one of two methods described below, based on how straight the connecting walls are. Clip 1/8 to 1/4 inch from the corner margin of a piece that finishes at an outer corner to keep it from tearing.
Alright, guys! What do you think? How about that incredible. before and after. Do you think you are open to trying wallpaper on your own? I hope you will consider it. Start in a small closet or one flat wall if you want to test the waters. I promise you wont regret it. Thanks for being here guys and for more DIYS to make home beautiful one detail at a time click here. xoxo

A pro tip I couldn’t fit into the article: when you’re laying out a gallery wall, take a photo of your arrangement on the floor before you start hanging. You’ll inevitably bump a frame or forget where something went, and having a reference photo makes installation so much easier.
Another trick I use is to include at least one unexpected piece. A vintage sketch, old family photo, small mirror, antique object, or even a framed fabric swatch adds character and keeps the gallery wall from feeling like it came straight from a catalog.
And if you’re thrifting frames, don’t worry about the artwork inside. Some of my favorite frames came home because of the frame itself, not what was in it. The art can always be changed later.
Happy hanging, friends. I’d love to know: are you team symmetrical gallery wall or collected-over-time gallery wall?