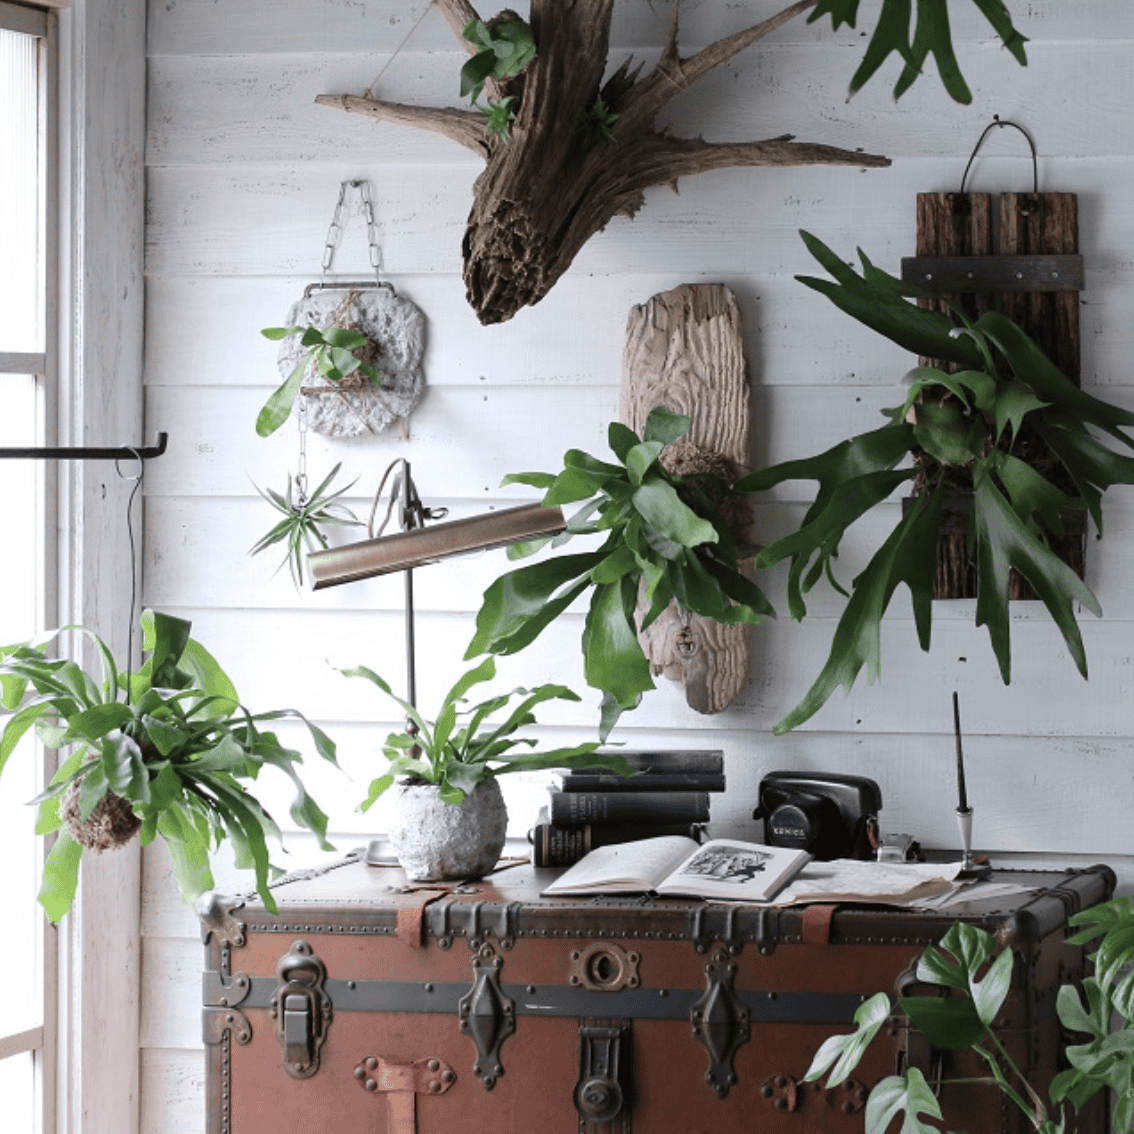
Living art is a beautiful and fresh way to incorporate a statement piece into your home. As such, I pulled together an Easy Staghorn fern mounting guide so you canyon can take smaller plants, a unique fern, and even tropical plants to your interior space bringing extra impact into your decorating.
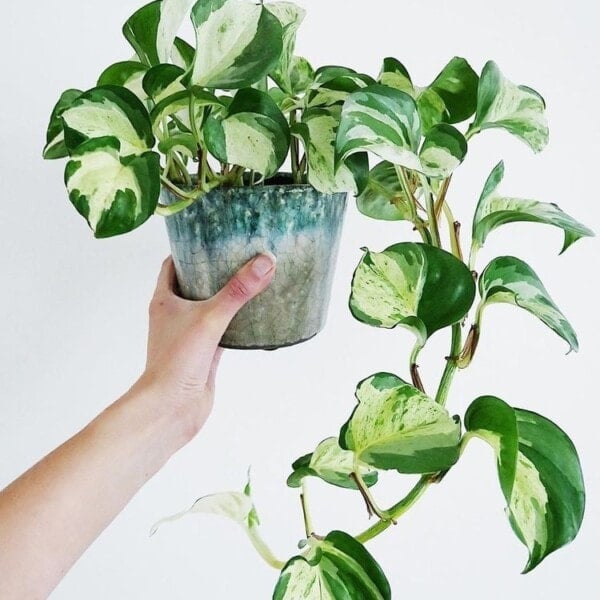
However, if you’re looking for a bold statement that will turn heads, the staghorn fern, is an excellent choice that whimsically combines traditional wall hangings with nature. You just need a wooden plaque, a good light source, a mound of moss, loose soil, and a few strings of fishing wire. Of course grab a staghorn fern plant too.

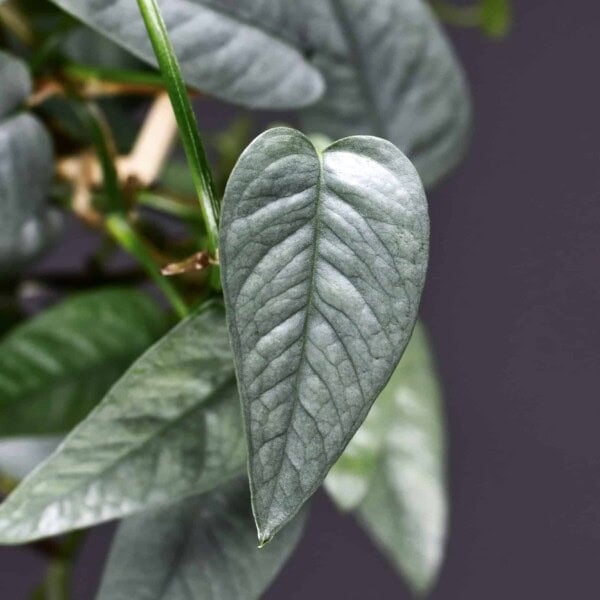
Staghorn ferns are a medium-sized variety of fernlrDonts with large, flat leaves and commonly grow on the side of tree trunks and sides of trees commonly found in South America. The way these leaves sprout from the plant, ending in large spikes like antlers, has earned them their nickname – the stag horn fern. Their technical name is Platycerium, and they grow without soil. Instead, they attach to other plants to gain nutrients, like orchids. Before you cringe, the host plant isn’t harmed by this.

Staghorn fern mounting is a great DIY (more of my fav DIYs here)way to have a custom statement plant piece. Since you’re in charge of the whole process from start to finish, you can make it perfectly fit your aesthetic and home. That’s why I have a step-by-step approach to walk you through staghorn fern mounting so you can take advantage of this funky fern. Not a fan of stag horns? That’s okay. Check out my other favorite and affordable interior house plants.
Table of Contents
- Staghorn Fern Mounting: A Step-By-Step Guide
- Step 1: Choose Your Fern
- Step 2: Choose Your Staghorn Fern Mounting Board
- Step 3: Add Your Wall Mounting
- Step 4: Draw a circle
- Step 5: Create Support for a Proper Staghorn fern Mount
- Step 6: Add the Moss
- Step 7: Prepare The Fern
- Step 8: Pack The Fern
- YOU MAY ALSO LIKE
- Step 9: Secure The Fern
- Proper Staghorn Fern Care
- Staghorn Fern Care: Are Those Dead Leaves?
- Common Questions about Staghorn Fern Mounting and Care
- In Conclusion
Staghorn Fern Mounting: A Step-By-Step Guide
Materials

- A staghorn fern
- Staghorn fern mounting wooden board get fancy with driftwood
- Sphagnum moss or sheet moss
- Bowl or compass for circle drawing
- Fishing line
- Pencil
- Hammer
- Wall mount supplies (you can get a kit or use regular picture hanging supplies)
- At least 6 nails
Step 1: Choose Your Fern
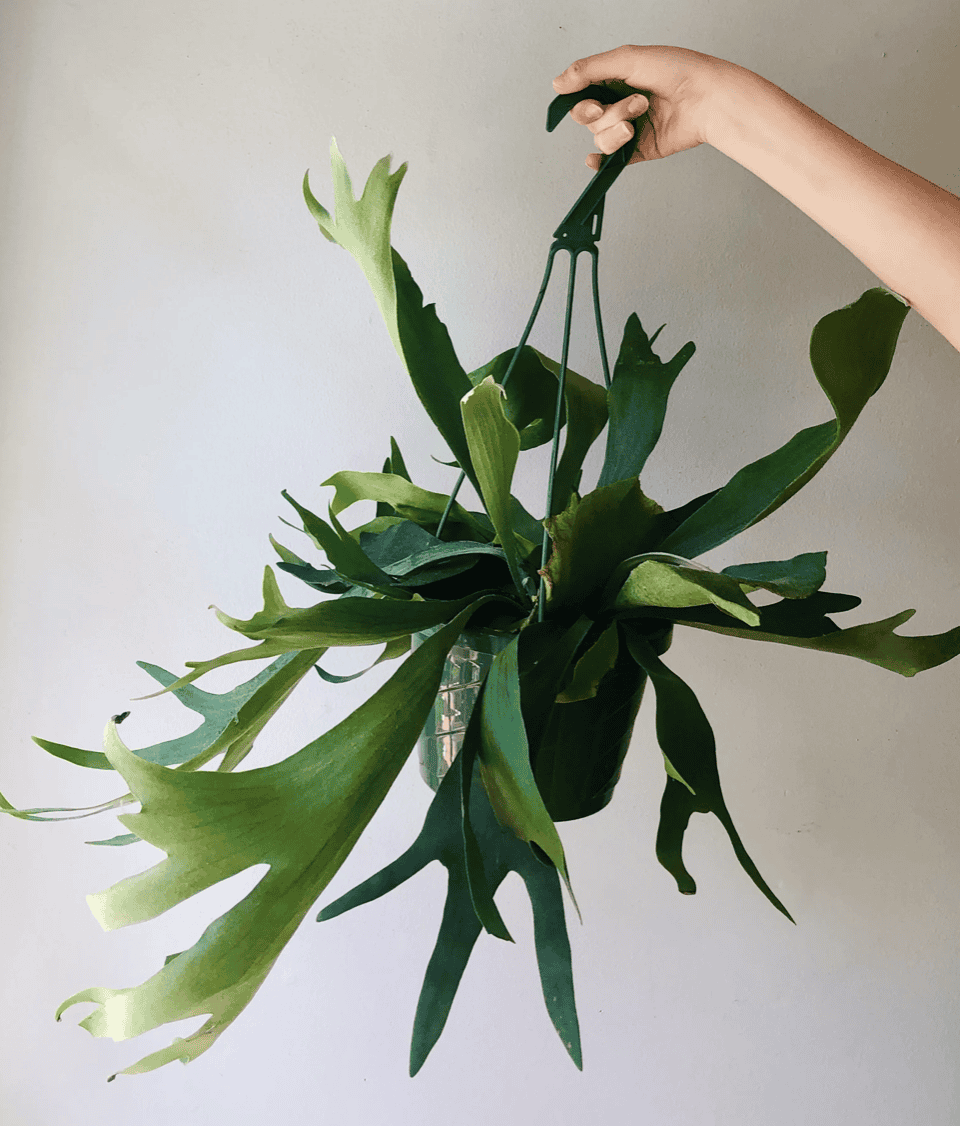
This is the first step because, to know what size mounting board you need, you need to know how big the fern is. Next, shop around your nurseries to find a fern that fits the look you’re going for, from size to depth of color.

Finally, when considering staghorn fern mounting specifically, look for a staghorn fern with a relatively flat base. With ferns that grow vertically, you will have less surface area to attach to your wooden base, so it’s all about that base the base of the plant.
Step 2: Choose Your Staghorn Fern Mounting Board
For staghorn fern mounting boards, you want something at least twice the size of your fern base but ideally much larger. This is because staghorn ferns are slow-growing, but when they do grow, they can get large. Therefore, choosing a large mounting board will let you keep your fern mounted for much longer, rather than having to transplant it to a bigger board down the road.
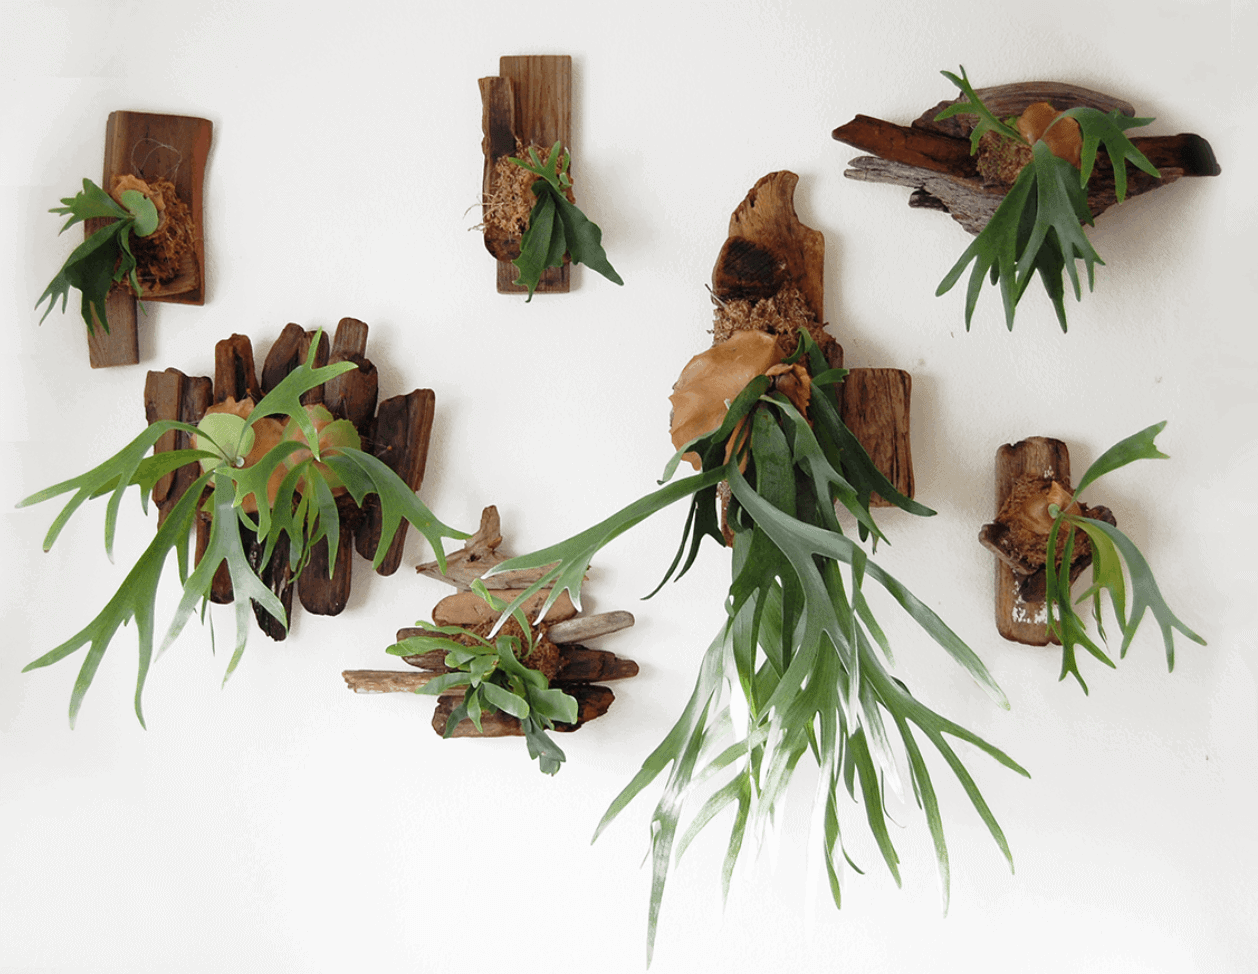
Staghorn fern mounting boards are often made out of a piece of wood or wood planks. This can be as simple as an old fruit cart or a beautiful piece of reclaimed wood. A great large staghorn fern mounting idea uses an old, refinished headboard. This makes a great conversation piece, and you can be sure no one else will have one like it.
If you can’t be bothered to reclaim wood but don’t want an old crate on your wall, you can also look for staghorn mounting board sales. Local craft shops or nurseries sometimes have these as staghorn fern mounting grows in popularity.
Step 3: Add Your Wall Mounting

On the back of the staghorn fern mounting board, attach whatever mounting equipment you prefer. These are my favorite mounting sawtooth hooks because you can screw them in versus using a hammer and then hang flush with a simple nail in the wall or command hook. It’s just easier. While you can use a standard photo hanger, I recommend a wire picture hanger. This can compensate for any weight changes the fern goes through as it grows, keeping it balanced on the wall.
Step 4: Draw a circle
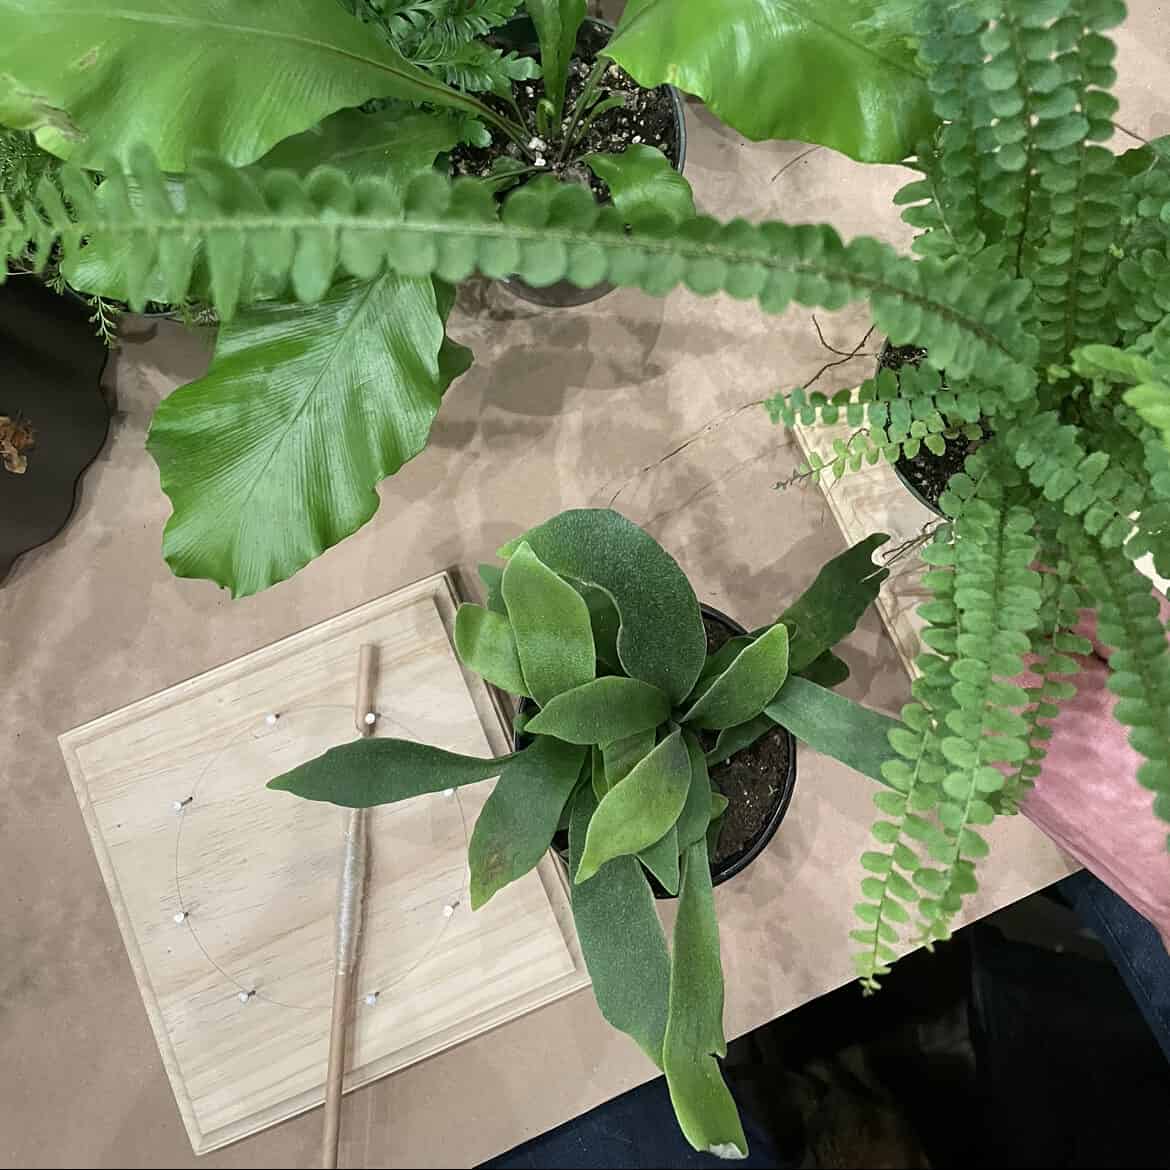
Use something round (like a bowl or an old-school math compass, if you’re fancy) to draw a circle at least an inch wider than the base of your staghorn fern. This is your bullseye for where you’re “planting” your staghorn fern, so make sure it’s where you want it on your staghorn fern wall mount.
Step 5: Create Support for a Proper Staghorn fern Mount
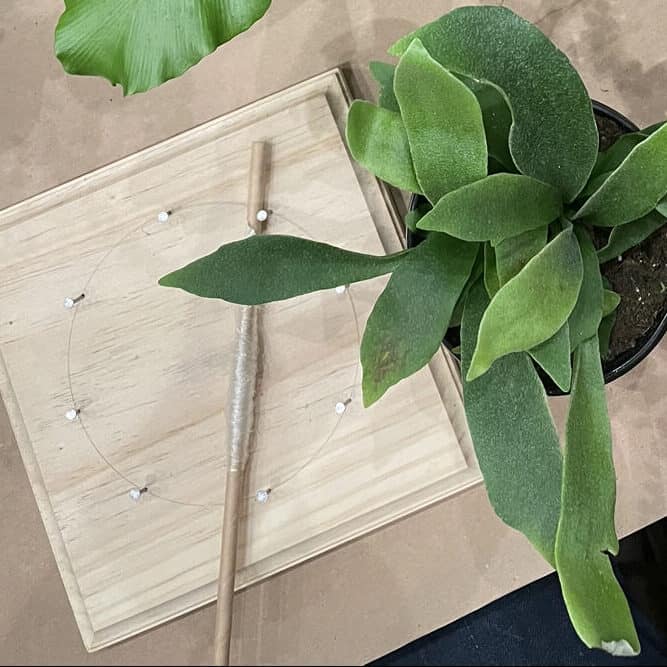
It might have seemed strange that I said at least six nails, but bear with me. Hammer the nails around your circle, evenly spaced. These nails will be your staghorn ferns support, so if you want to go crazy and add more, I’m not going to stop you. Leave at least ¼ inch between the board and the nail head.
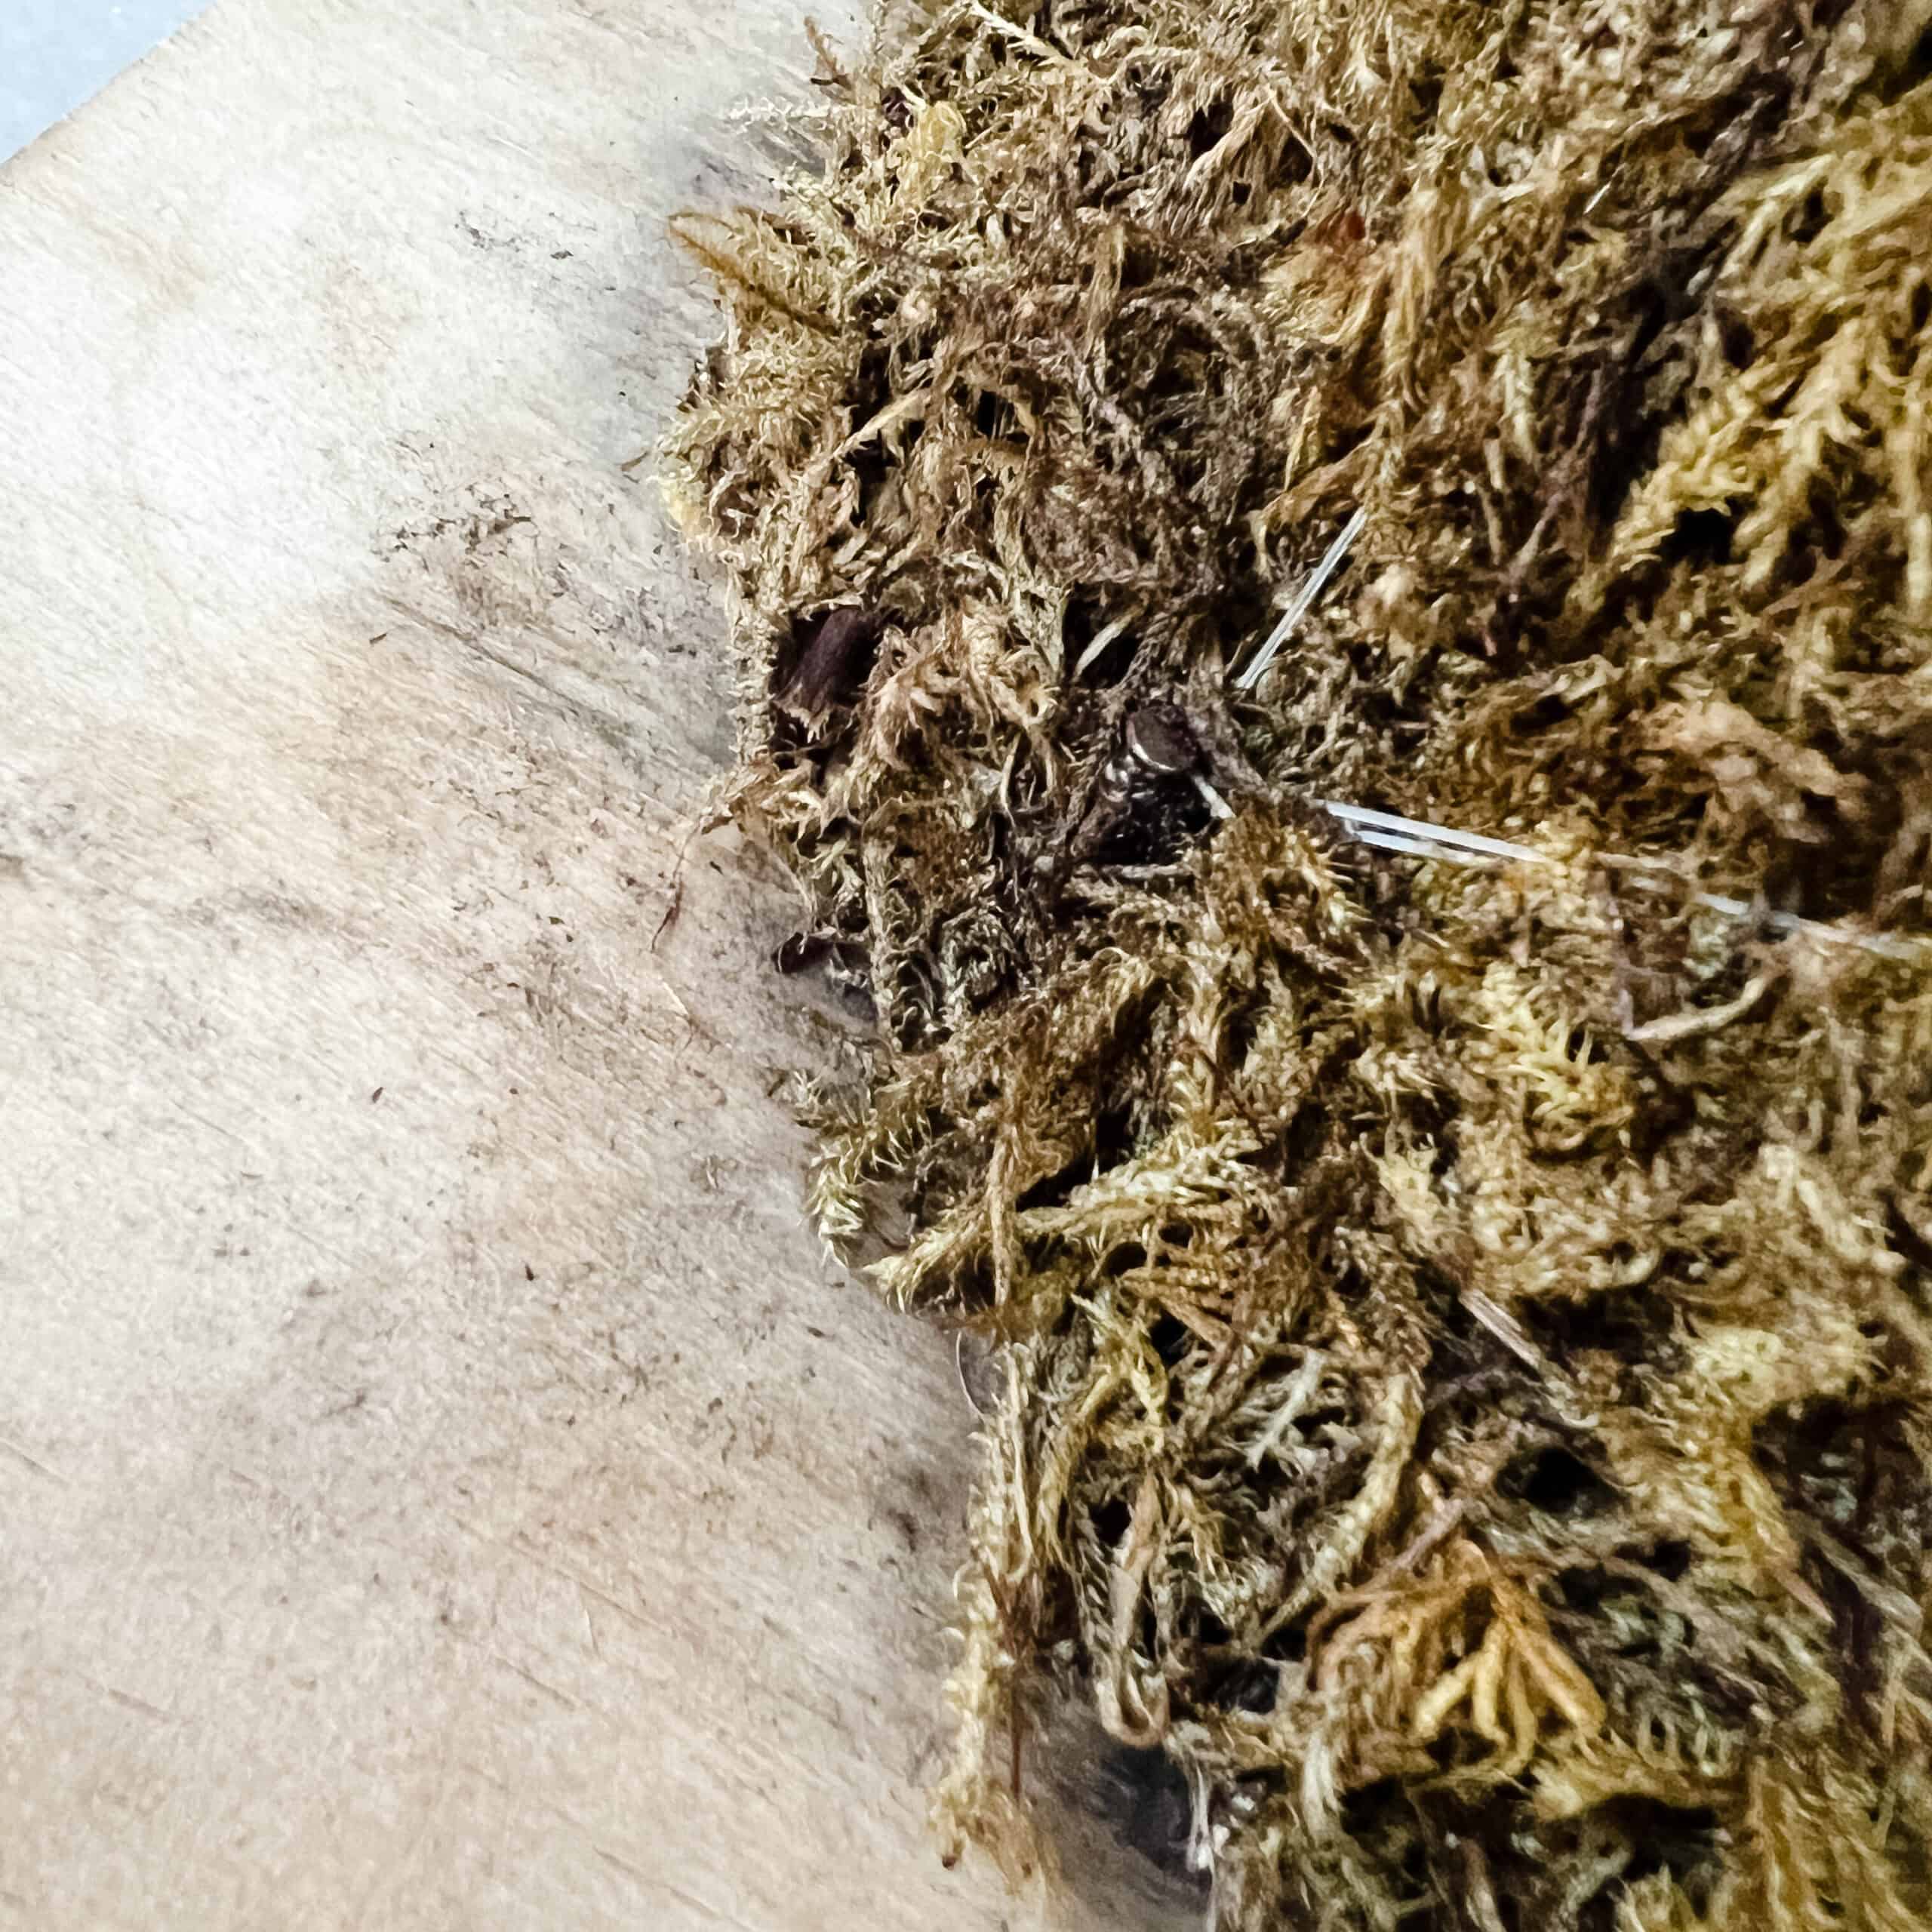
Step 6: Add the Moss
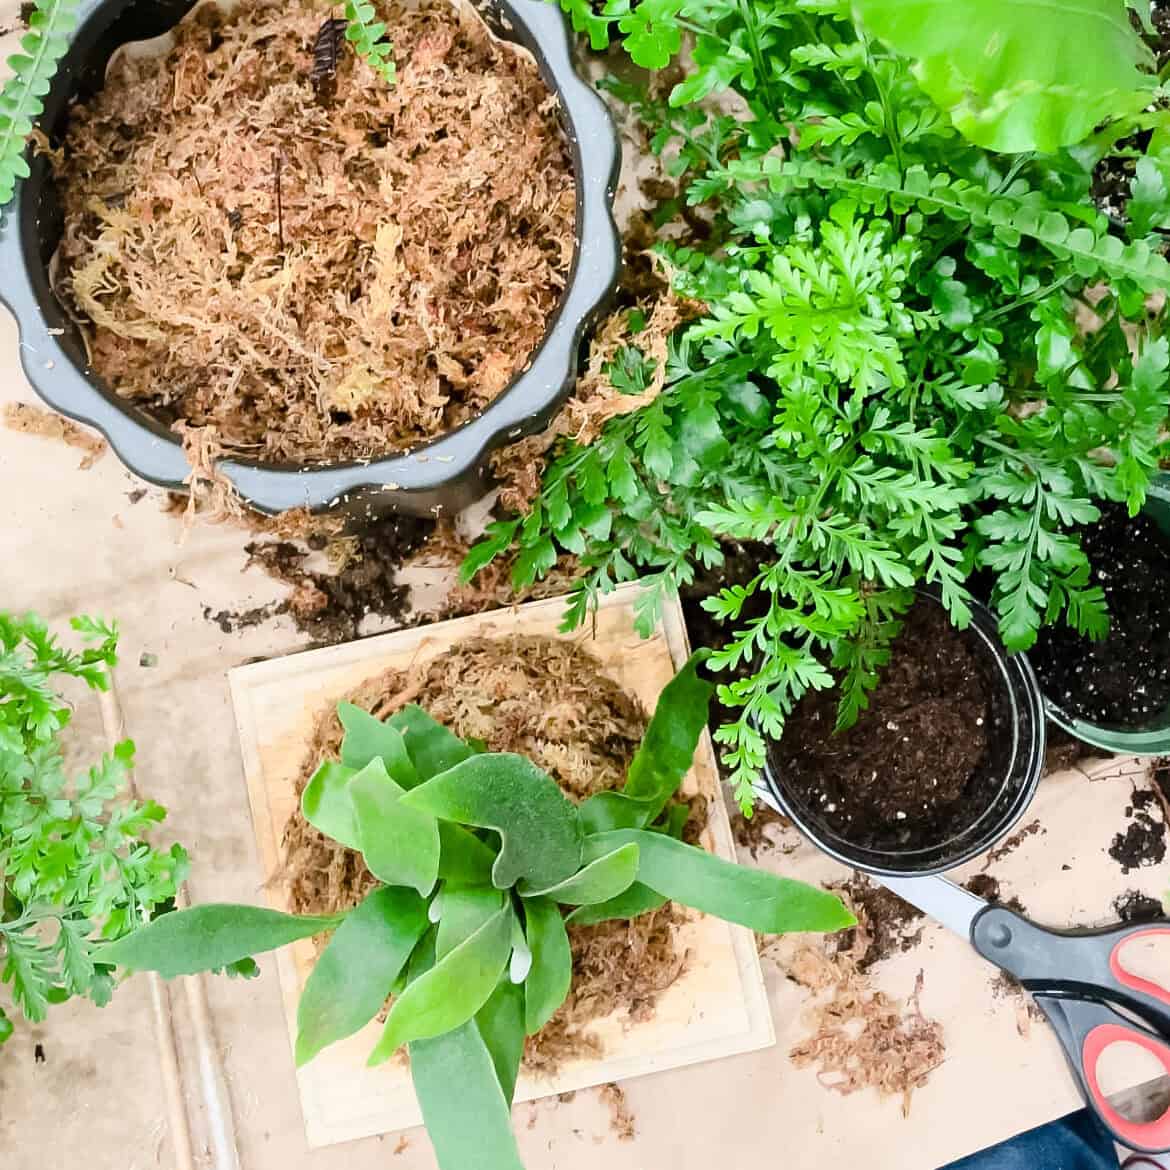
Soak the moss in water until it’s saturated. Then, wring it out so it’s not dripping but merely damp. Getting the moss wet will make it more pliable and help it grow into your staghorn fern mounting.
This moss is the base of your staghorn fern, so spread some of it (we’ll need another layer later) inside your circle. Try to shape it, so the moss at the top of the board is thinner and slightly bulkier on the bottom.
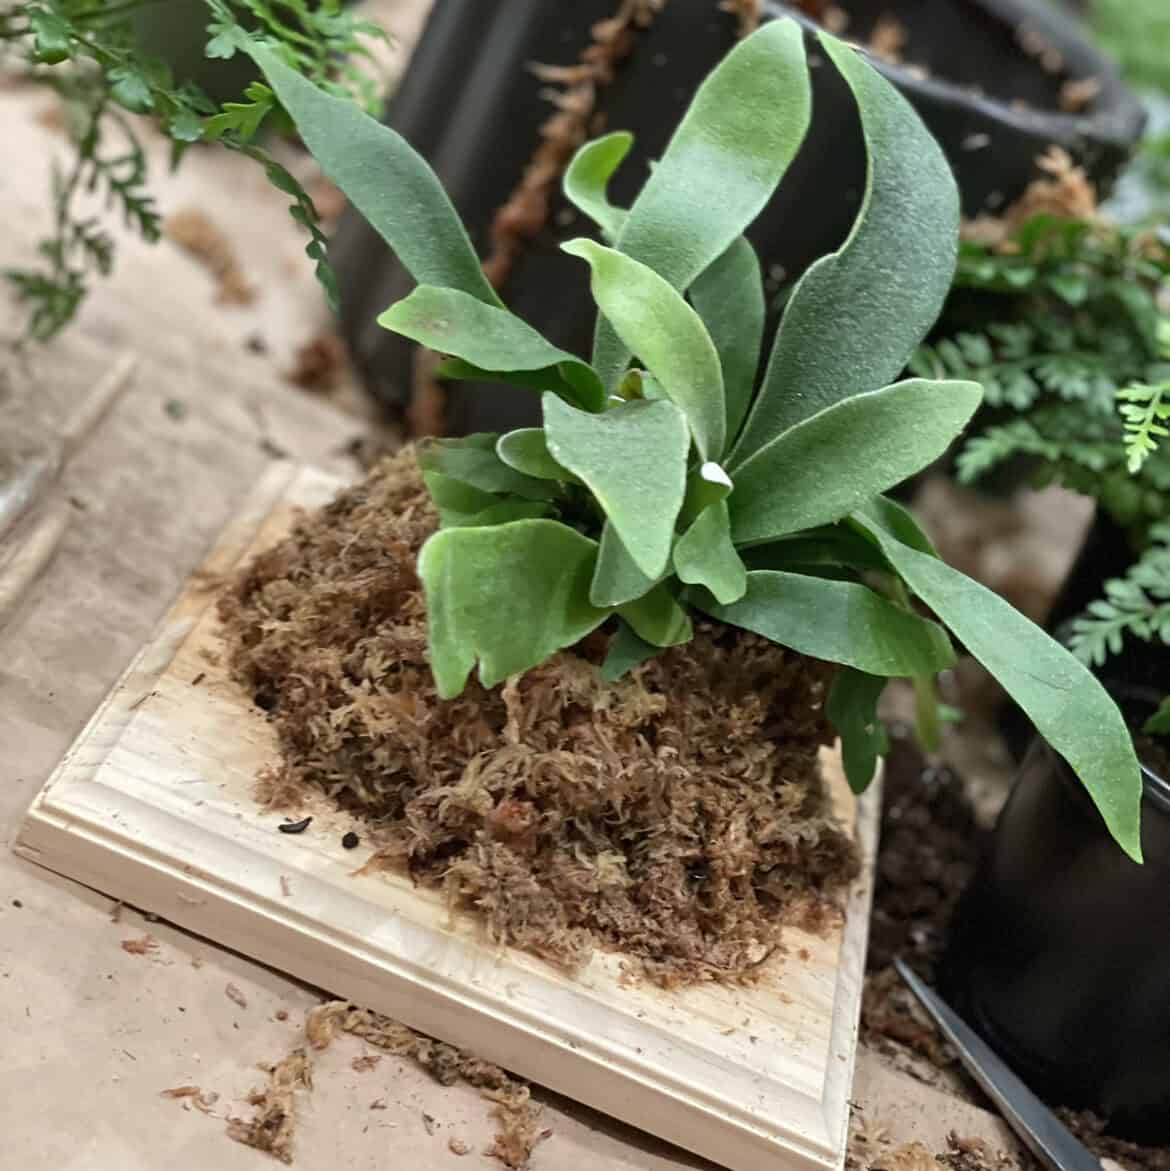
Step 7: Prepare The Fern
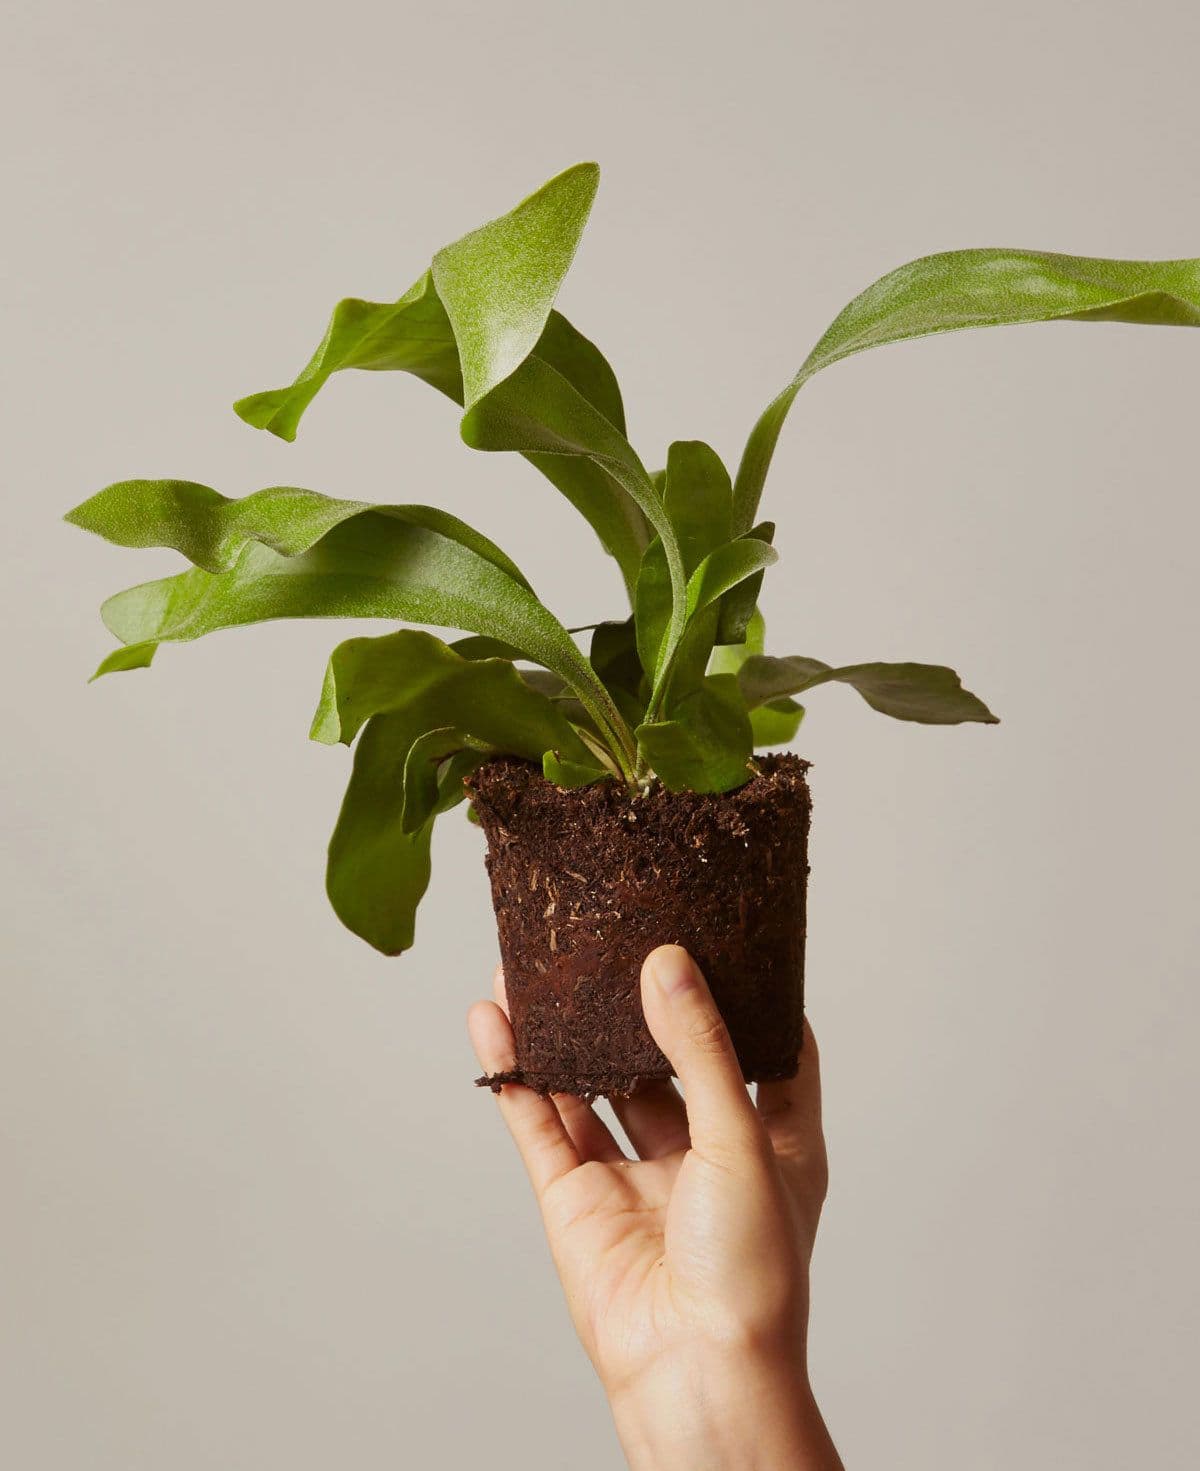
Take a healthy staghorn fern out of your pot. The ideal candidates will be new plants or relatively mature stag horn ferns. They can also be a potted fern. Try to avoid an epiphytic fern with black spots. Loosen the dirt and root ball at the bottom until you’re left with only an inch or so of soil attached to the plant. It’s going to feel like you’re killing it as you tear the root, but I promise you aren’t. This is how we encourage the plant to take root in the wall. Spread the roots gently and place the plant on top of the moss.
Step 8: Pack The Fern

Arrange your fern to your liking before packing the area around the fern with more damp moss. Be sure to loosen the plants roots a bit and center it in the middle of your drawn circle and nails.
YOU MAY ALSO LIKE

Step 9: Secure The Fern
Starting at the bottom right (or bottom left, dealer’s choice), tie a knot with the fishing line around a nail. Wind the line across the fern, being watchful for shield fronds and antler fronds, so it lays over the moss, holding it and the base of the fern in place. This is how it would grow in a tropical climate
At the opposite nail, wind the line around once or twice to secure it. String the fishing line back and forth in a criss-cross pattern, securing at each nail. Once everything is lashed down, tie off the line and trim excess.
While this might all feel somewhat precarious, the fishing line is a temporary measure until the fern attaches to the surface. The fishing line will be swallowed by foliage before long, creating the perfect camouflage for your staghorn fern mounting.
Proper Staghorn Fern Care
Pin this article
Pin It NowMounted staghorn fern care is much easier than caring for your cats or kids. Aim for indirect, filtered sunlight. It’s best to keep it in a place with high humidity.
Once a week, check to see if the plant has completely dried from the previous watering. Overwatering can cause root rot, so do your best to ensure it’s completely dry before watering again.

The moss on the outside might be dry while the interior is wet, so some staghorn fern care experts even suggest waiting to see the plant begin to wilt before you water again. Keep it damper in the summer months and less in the cooler months that replicate humid conditions.
Tip
If you have a mister and love loving on your plants, staghorn ferns love a good daily misting. Every other month you can fertilize with topical plant food to give your staghorn fern mounting an extra kick.
Staghorn Fern Care: Are Those Dead Leaves?

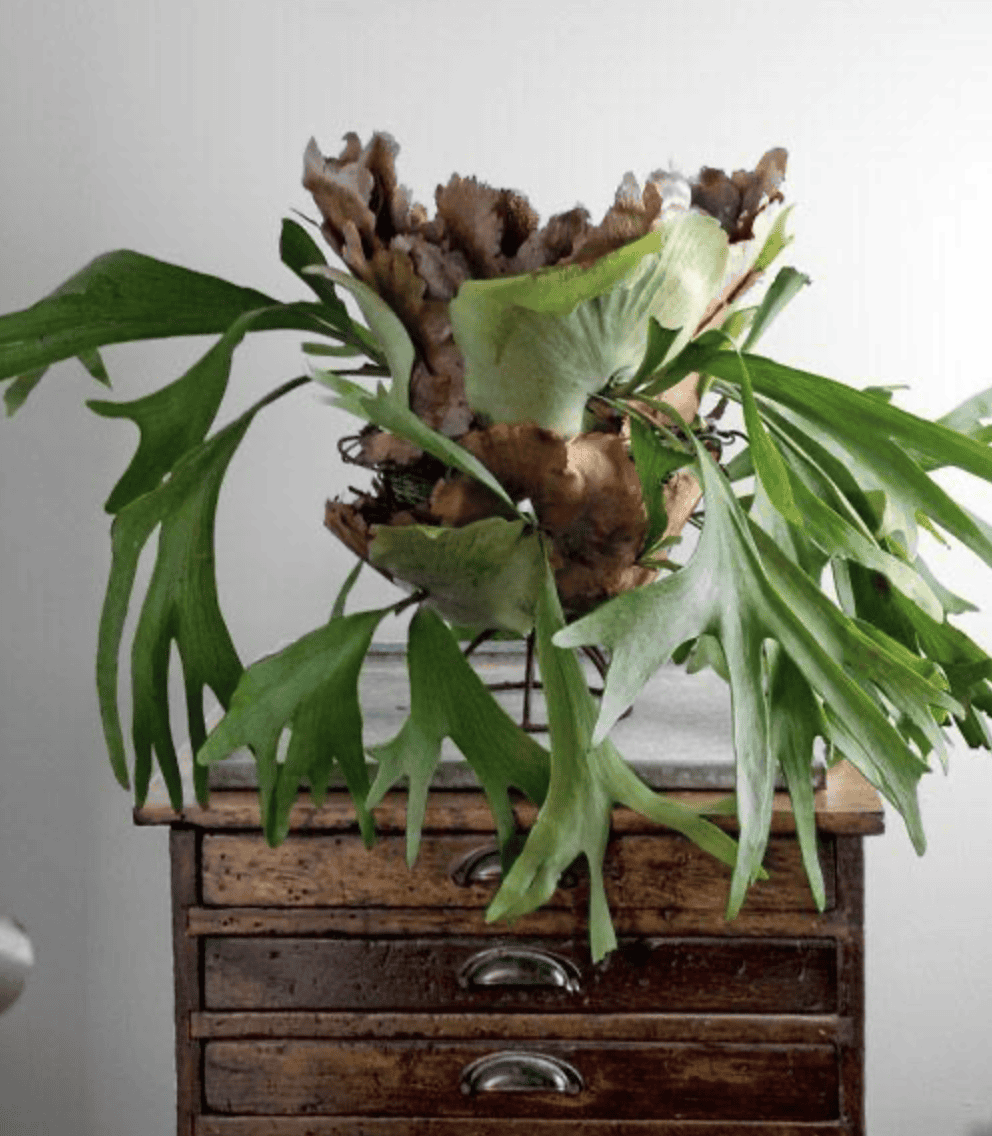
Staghorn ferns have two sets of leaves; sterile and fertile fronds. Sterile leaves form a flat shield covering the roots, protecting the plant and helping it attach to the support. These often look dead but don’t pick them off because you’ll damage the plant. As a result, staghorn fern care requires little pruning, although you can trim dead or damaged foliage whenever you see it.
Fertile leaves are the green ones that sprout from the center to give the staghorn fern its name.
Common Questions about Staghorn Fern Mounting and Care

You don’t have to attach it to the wood; it’ll do the hard work itself. Once you string it up and leave it in close contact with the wood, it’ll grow its way into the wood over time.
The best way to orient your staghorn fern on its board is with the shield (the sterile leaves that might look like dead leaves) pointing toward the ceiling when it’s hung. This allows for optimal growth.
You can use any wood for staghorn fern mounting, from the cheapest find to the fanciest. However, a recommended wood is cedar because of its rot-resistant properties. It’s also a long-lasting wood with a classic look that won’t go out of style.
The great thing about how to mount a staghorn fern in a basket is that you’ve already earned all the steps. Instead of wiring the moss and planting down, you situate it inside the basket, making sure you give it lots of room to grow.
Driftwood is an excellent large staghorn fern mounting idea. The fern will augment its natural look, and it’s cheap. The mounting procedure will be the same, although depending on the piece of driftwood, you may not want to hang it on your wall. Instead, use it as a standing accent piece.
The most important thing to remember is to pick a mounting board that will be big enough to support the fern as it grows. You don’t want to have to re-mount the fern later when it outgrows its mount.
The heading might be corny, but staghorn ferns are a great accent piece. Not only will they never go out of style (a plant can die, but it can never go out of style), but they also add a touch of DIY fun and fresh nature to your home.
In Conclusion
Give it a try! I know you will love the look loves. If you have a space where you aren’t sure what to do. This can be a great and east solve. Watering is easy. Just take em off the wall and give em a shower. No go forth, and create the living staghorn wall of your dreams. You got this! xoxox


Be sure to use fishing line for an invisible look!