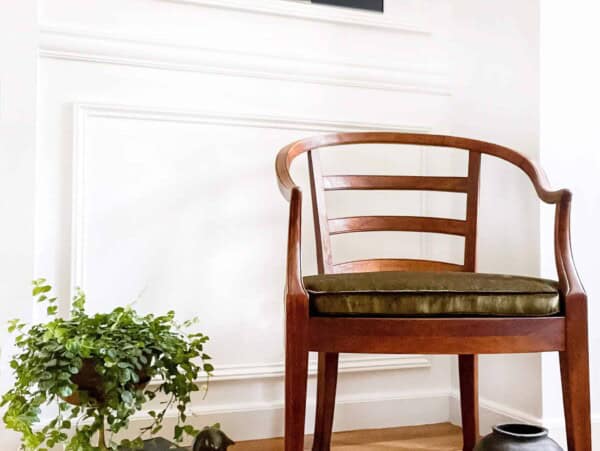
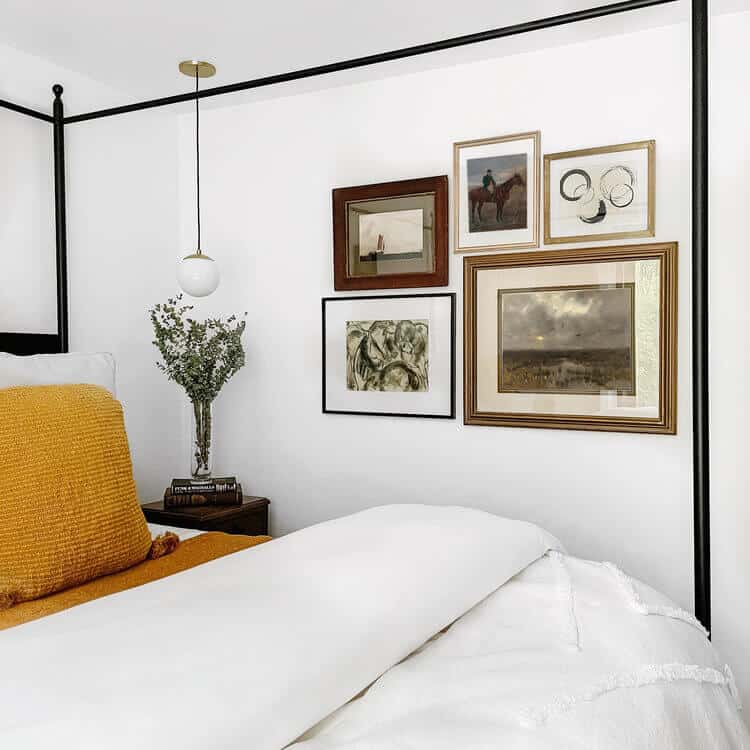
Let’s face it. Wall art can make or break a space. It’s no secret that some of the best interior-designs use framed art as a focal point to not only tie the elements of a room together but infuse personality and charm into a home.
The challenging thing is that it can get really expensive, and there are a million and one ways one can go about buying and placing art. Especially, if you are going to make an entire gallery wall consisting of 6-12 pieces of art.
If you are just starting out or looking to save a few pennies I have a favorite DIY to get your very own art at a fraction of the cost. You just need a printer, thrift store frame, tape, and canvas printer paper. I have everything you could need to be linked here. If you are still with me let’s follow the steps below:
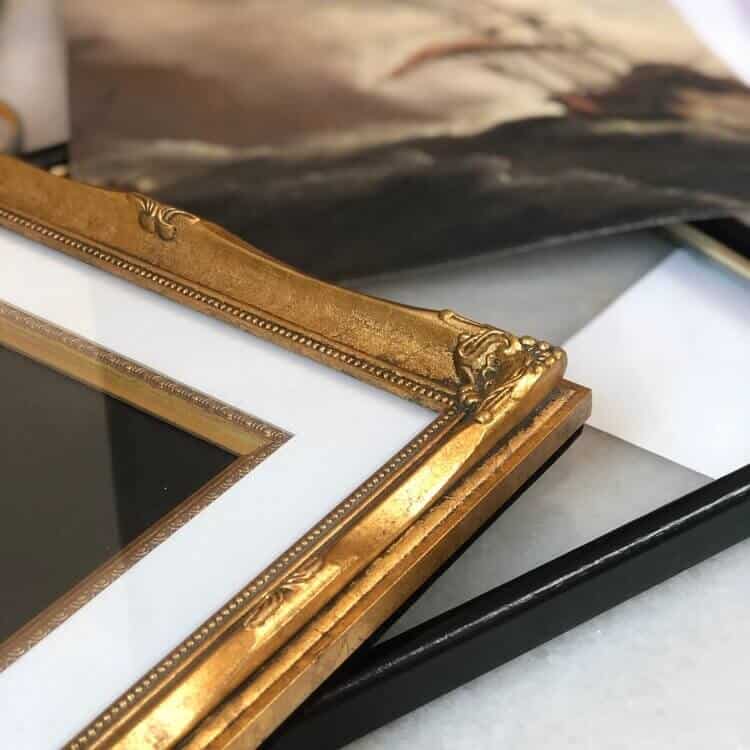
Get a Frame or Two – Never pay full price for a picture frame. I get almost ALL my frames, small and large from either Goodwill or a local thrift store or swap meet. If safety is a concern there are amazing and affordable options online via Etsy, eBay, and Facebook Marketplace. Just type vintage or antique frames into the search bar and start to scrollin.’
Download a Print: Head to some of my favorite online vendors for hi-res art that will print beautifully. You can’t beat the prices. My Favorite Sources are:
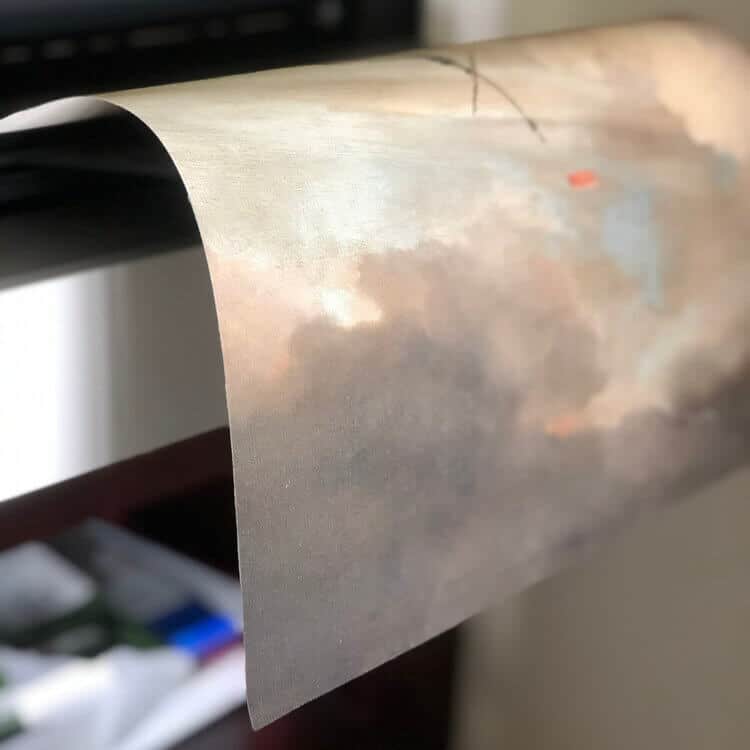
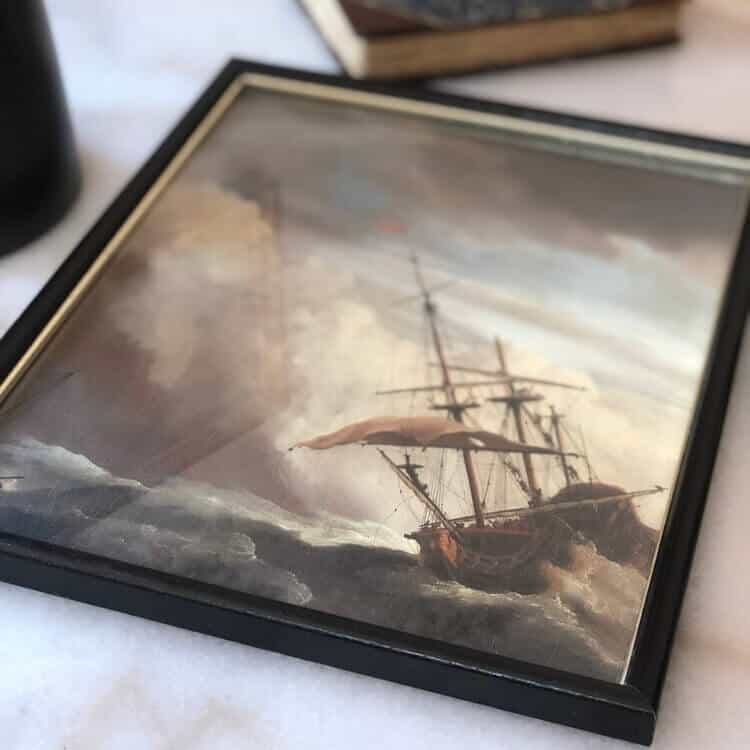
Order Canvas Paper – This is where the magic happens. This awesome paper allows you to get an authentic look because the weight and texture of the canvas look and feel like a real painting.
Measure and Print on Canvas Paper – Be sure to measure the size you need and make sure your printer can handle the paper source. I would suggest not going above 11” x 14” unless your printer has the ability to produce a jumbo image. Print at the best quality you can.
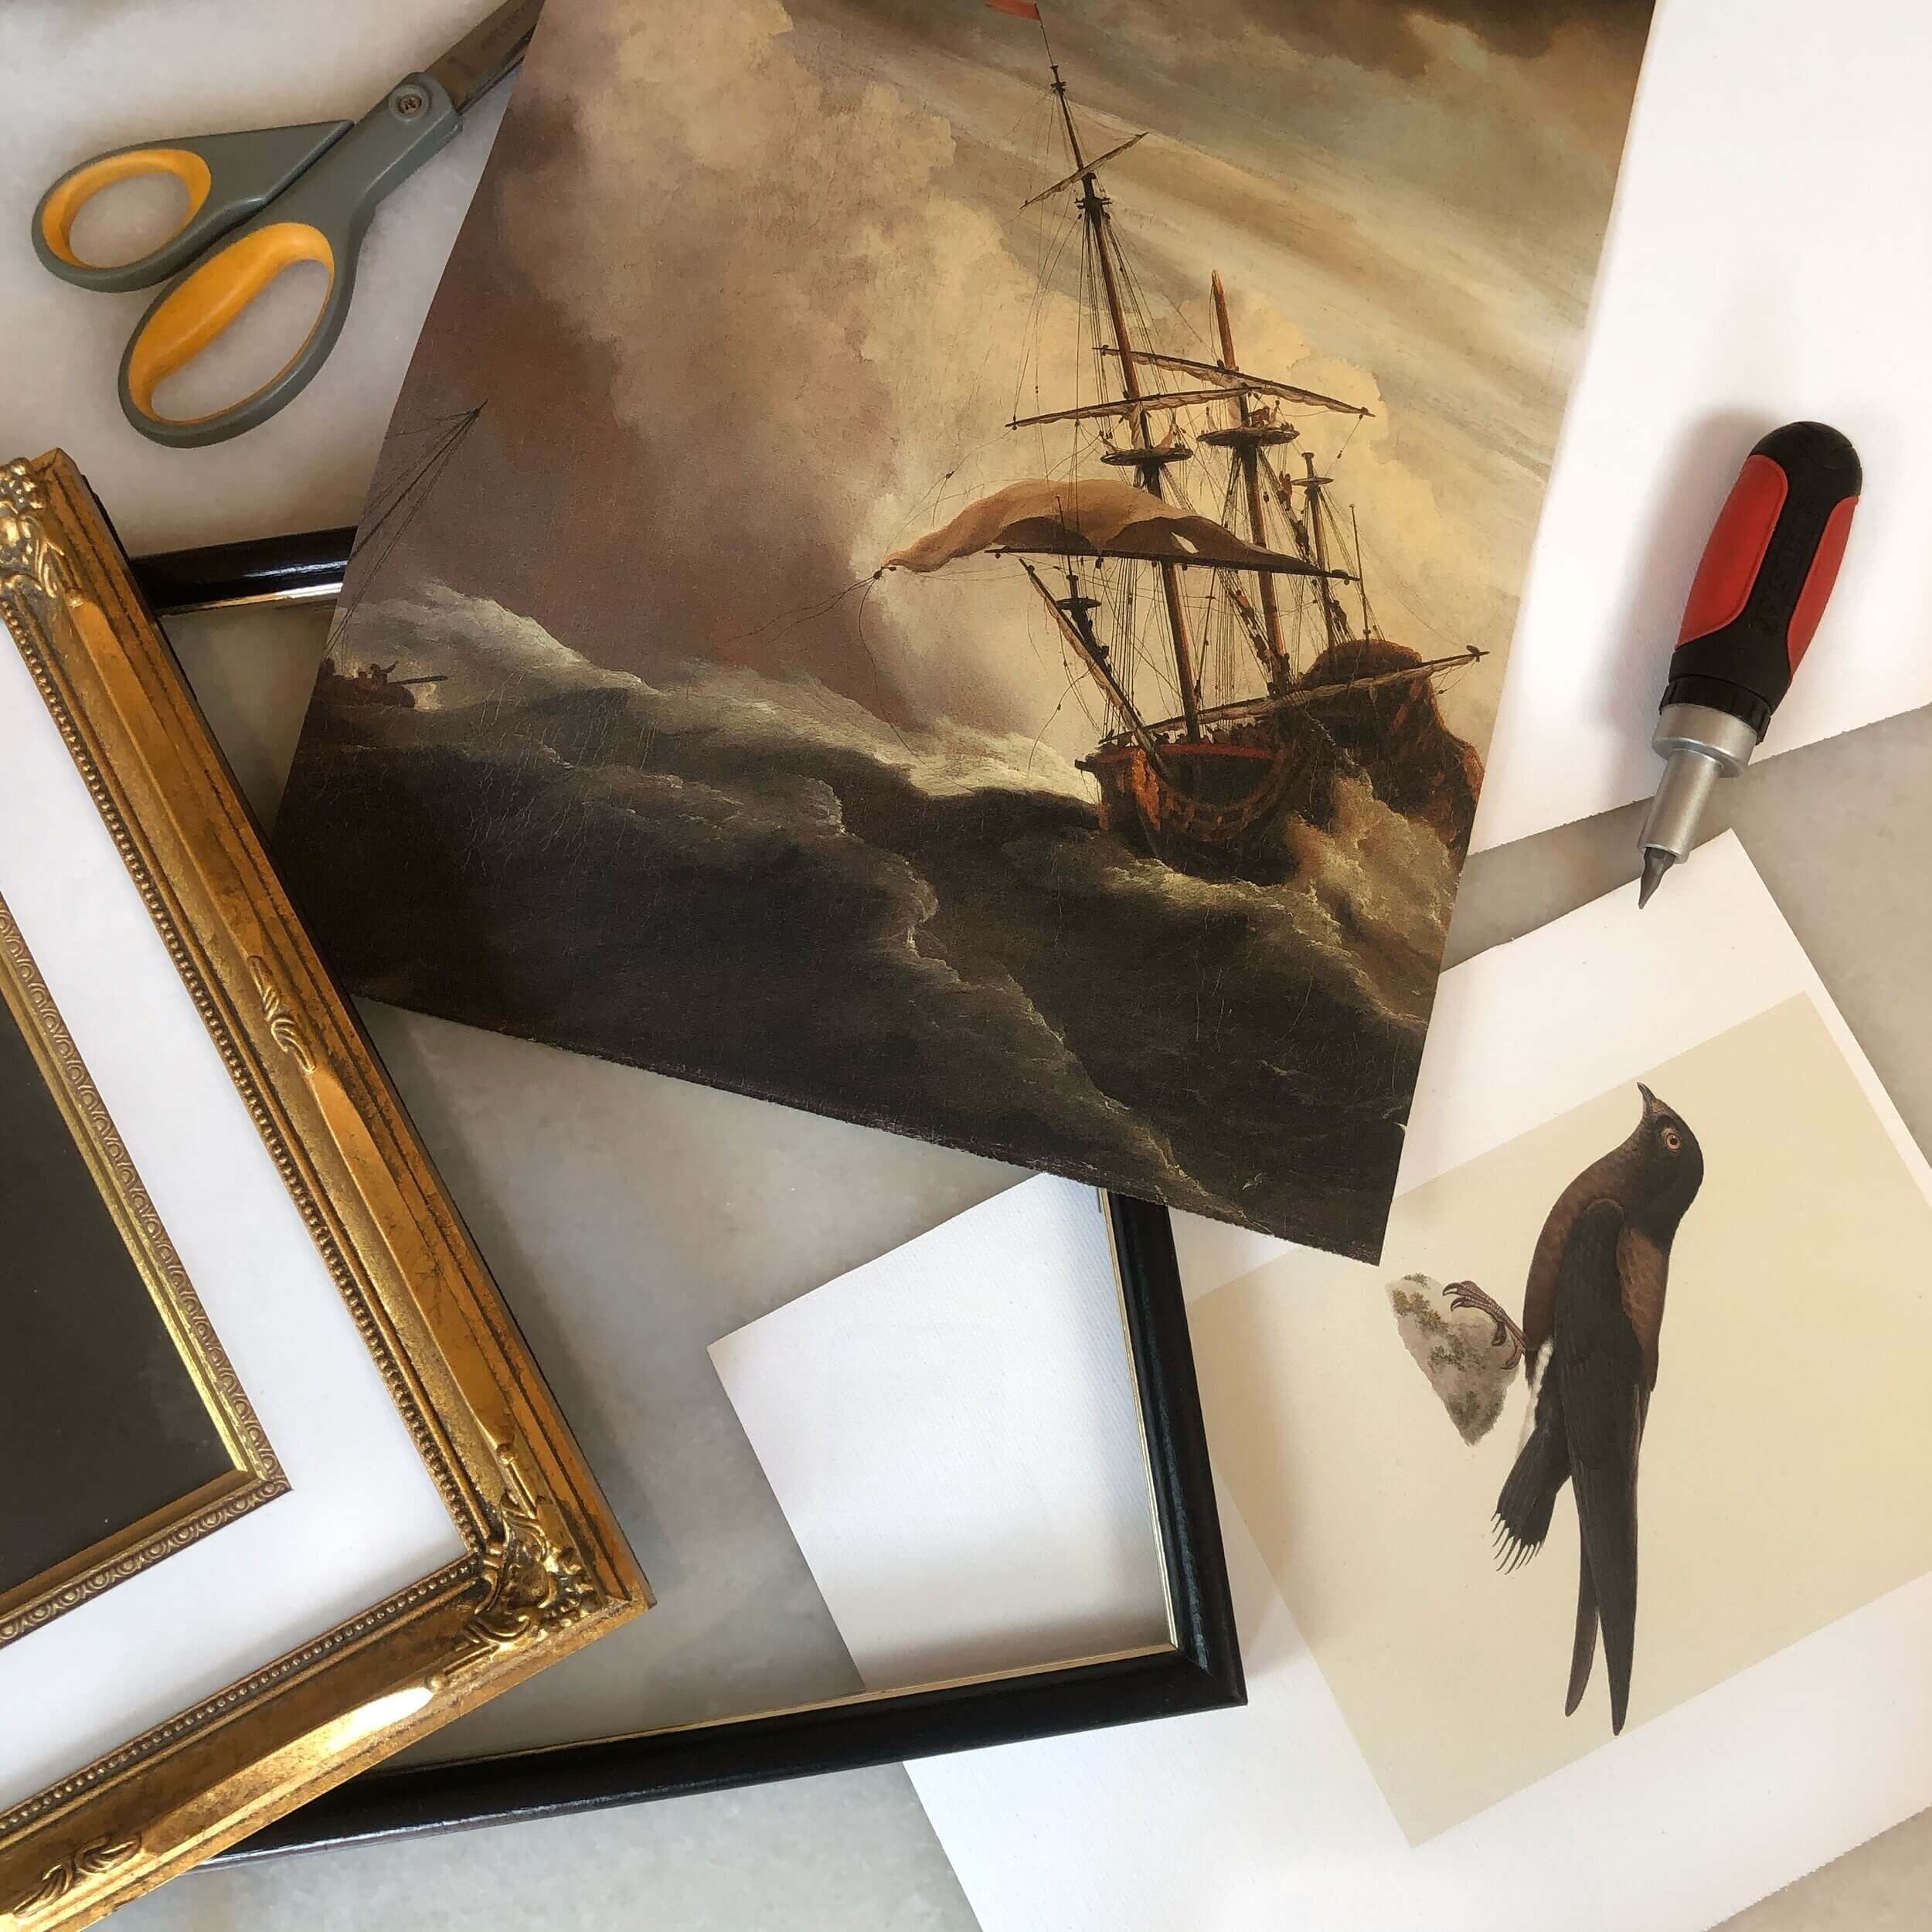
Crop – Once printed use a straight edge and sharp scissors or an x-acto blade to make precise cuts based on the frame you are using. Make sure the scissors are sharp so that you don’t bend or fray the paper. This paper is a lot denser than traditional paper, you will want to be careful here.
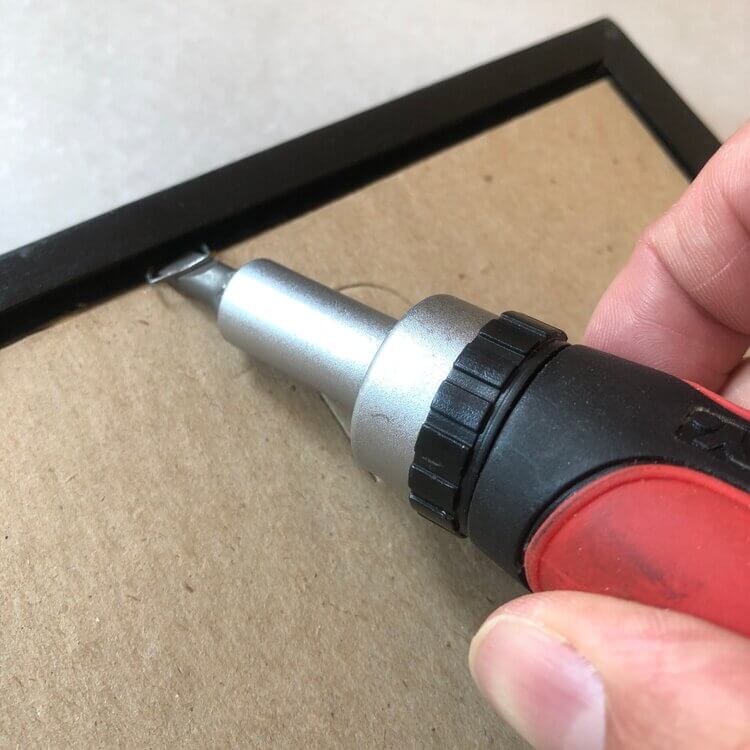
Open up the Frame – At this point go ahead and loosen any clips/pegs on the back and remove any paper from the frame so that you can access the old art and display glass. Depending on the frame you got you will want to dispose of any loose paper and potentially remove the inside art etc. I always use a flathead screwdriver to bend up the metal pegs.
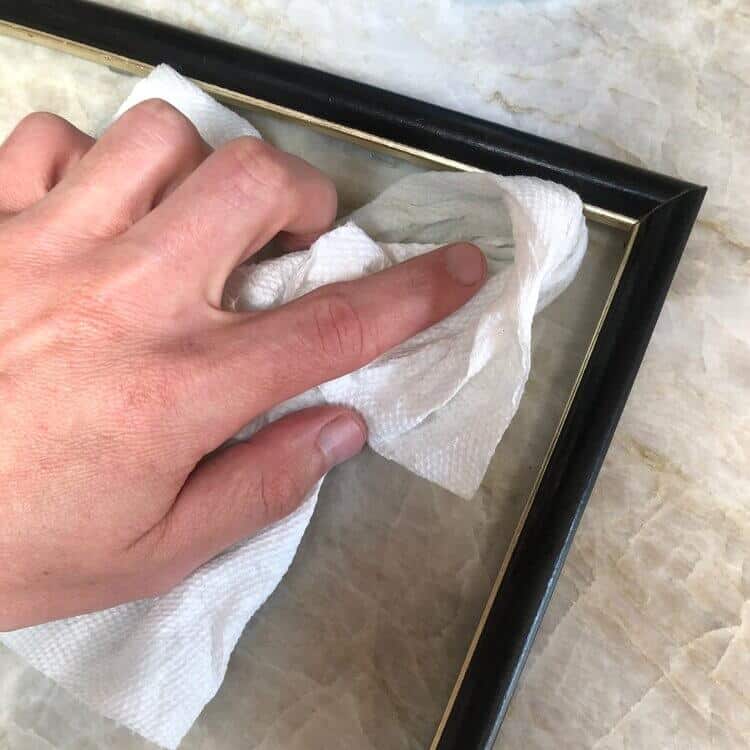
Clean your Frame – Wipe with a damp cloth and consider Windex to get the frame and glass as clean as possible. You don’t need the glass, but I do think it takes the quality of the final piece up an notch if you do. I also use a feather duster once wiped clean to avoid having any pesky dust or debris stuck to the glass that could show once framed.
Place and Set Your Art – Once the frame is open place your art in the desired location and use frog tape on the four corners to hold your art in place. I prefer this over adhesives. The tape can be removed at any time and won’t damage the print or frame. Also, if you want to swap art out you can do so easily.
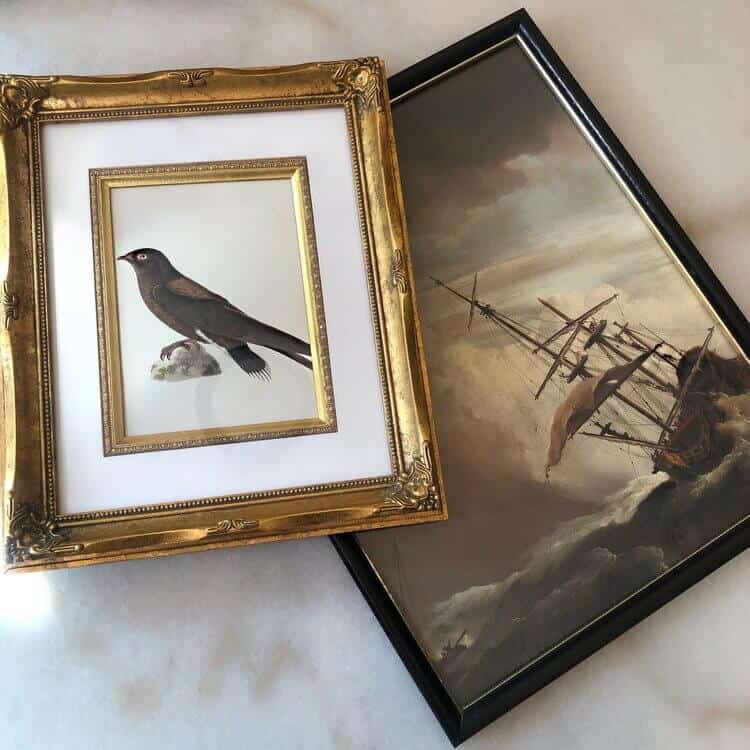
Assemble – Once you have you art firmly in place proceed to simply re-assemble your frame back together. Be careful to bend back into place any cardboard backing and pegs to seal your picture up tight. Before you tighten all the pegs take a quick peak at your art from the front to see if you got everything in the right place. There is nothing worse than tightening all the pegs only to realize your art looks wonky. But, if things are looking great then flip it over and enjoy you new piece of art! I hope it looks great and you had a good time doing it.
Will you be giving this DIY a try? I hope so, and if you do please let me know on Instagram. I really do think art makes all the difference in a home and I hope that this DIY helps you get affordable and beautiful pieces into your space.