I don’t know about y’all, but my toxic trait is that I can’t leave the house without an iced coffee. I know – I’m totally that guy. But, for real I literally can’t start my day until I’ve had a cup of coffee. Even if you don’t live in San Francisco as a coffee-obsessed fiend like me, chances are coffee is still probably an essential part of your morning routine. These days though, rather than spending a fortune by heading off to Starbucks, I use my affordable cold foam frother to make my favorite cold coffee drinks at home. They just taste better with cold foam and it’s super easy to do. Really, adding cold foam to your drinks is a game-changer.
Fortunately, using a traditional option or vintage-inspired coffee maker like we have at the cottage – a frothing method, and a few other choice ingredients, you too can follow the cold foam recipe below and start enjoying the premium coffee experience at home. Curious? Keep reading. But first things first.
What is Cold Foam?
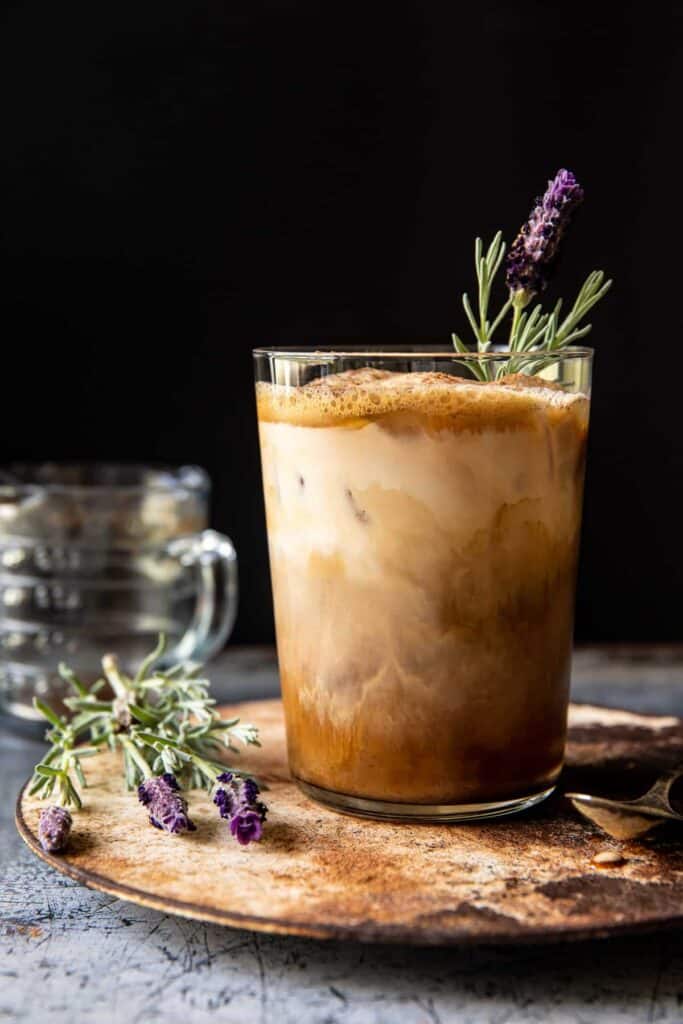
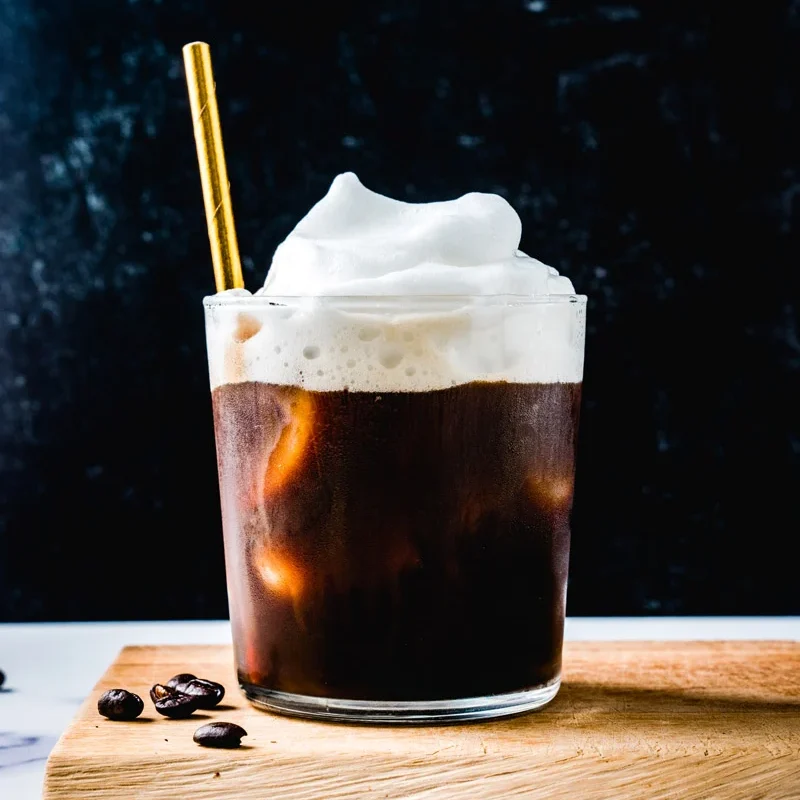
Simply put, cold foam is foamed milk that’s frothed with air and sweetened with syrup. This milk foam is generally made with a cold foam frother, although there are other ways to do it. Don’t worry, I’ll be sure to share those as well.
This cold froth is a bit different from the hot foam you’ll often find in other warm coffee drinks, such as lattes. Aside from the temperature difference, cold foam is generally more dense, creamier, and sweetened, whereas frother milk is light and generally unsweetened. As you can imagine, adding cold foam to your iced coffee drink is a game changer.
Alright, with the differences out of the way, are you ready to learn how to make your own cold foam?
How to Make Cold Foam
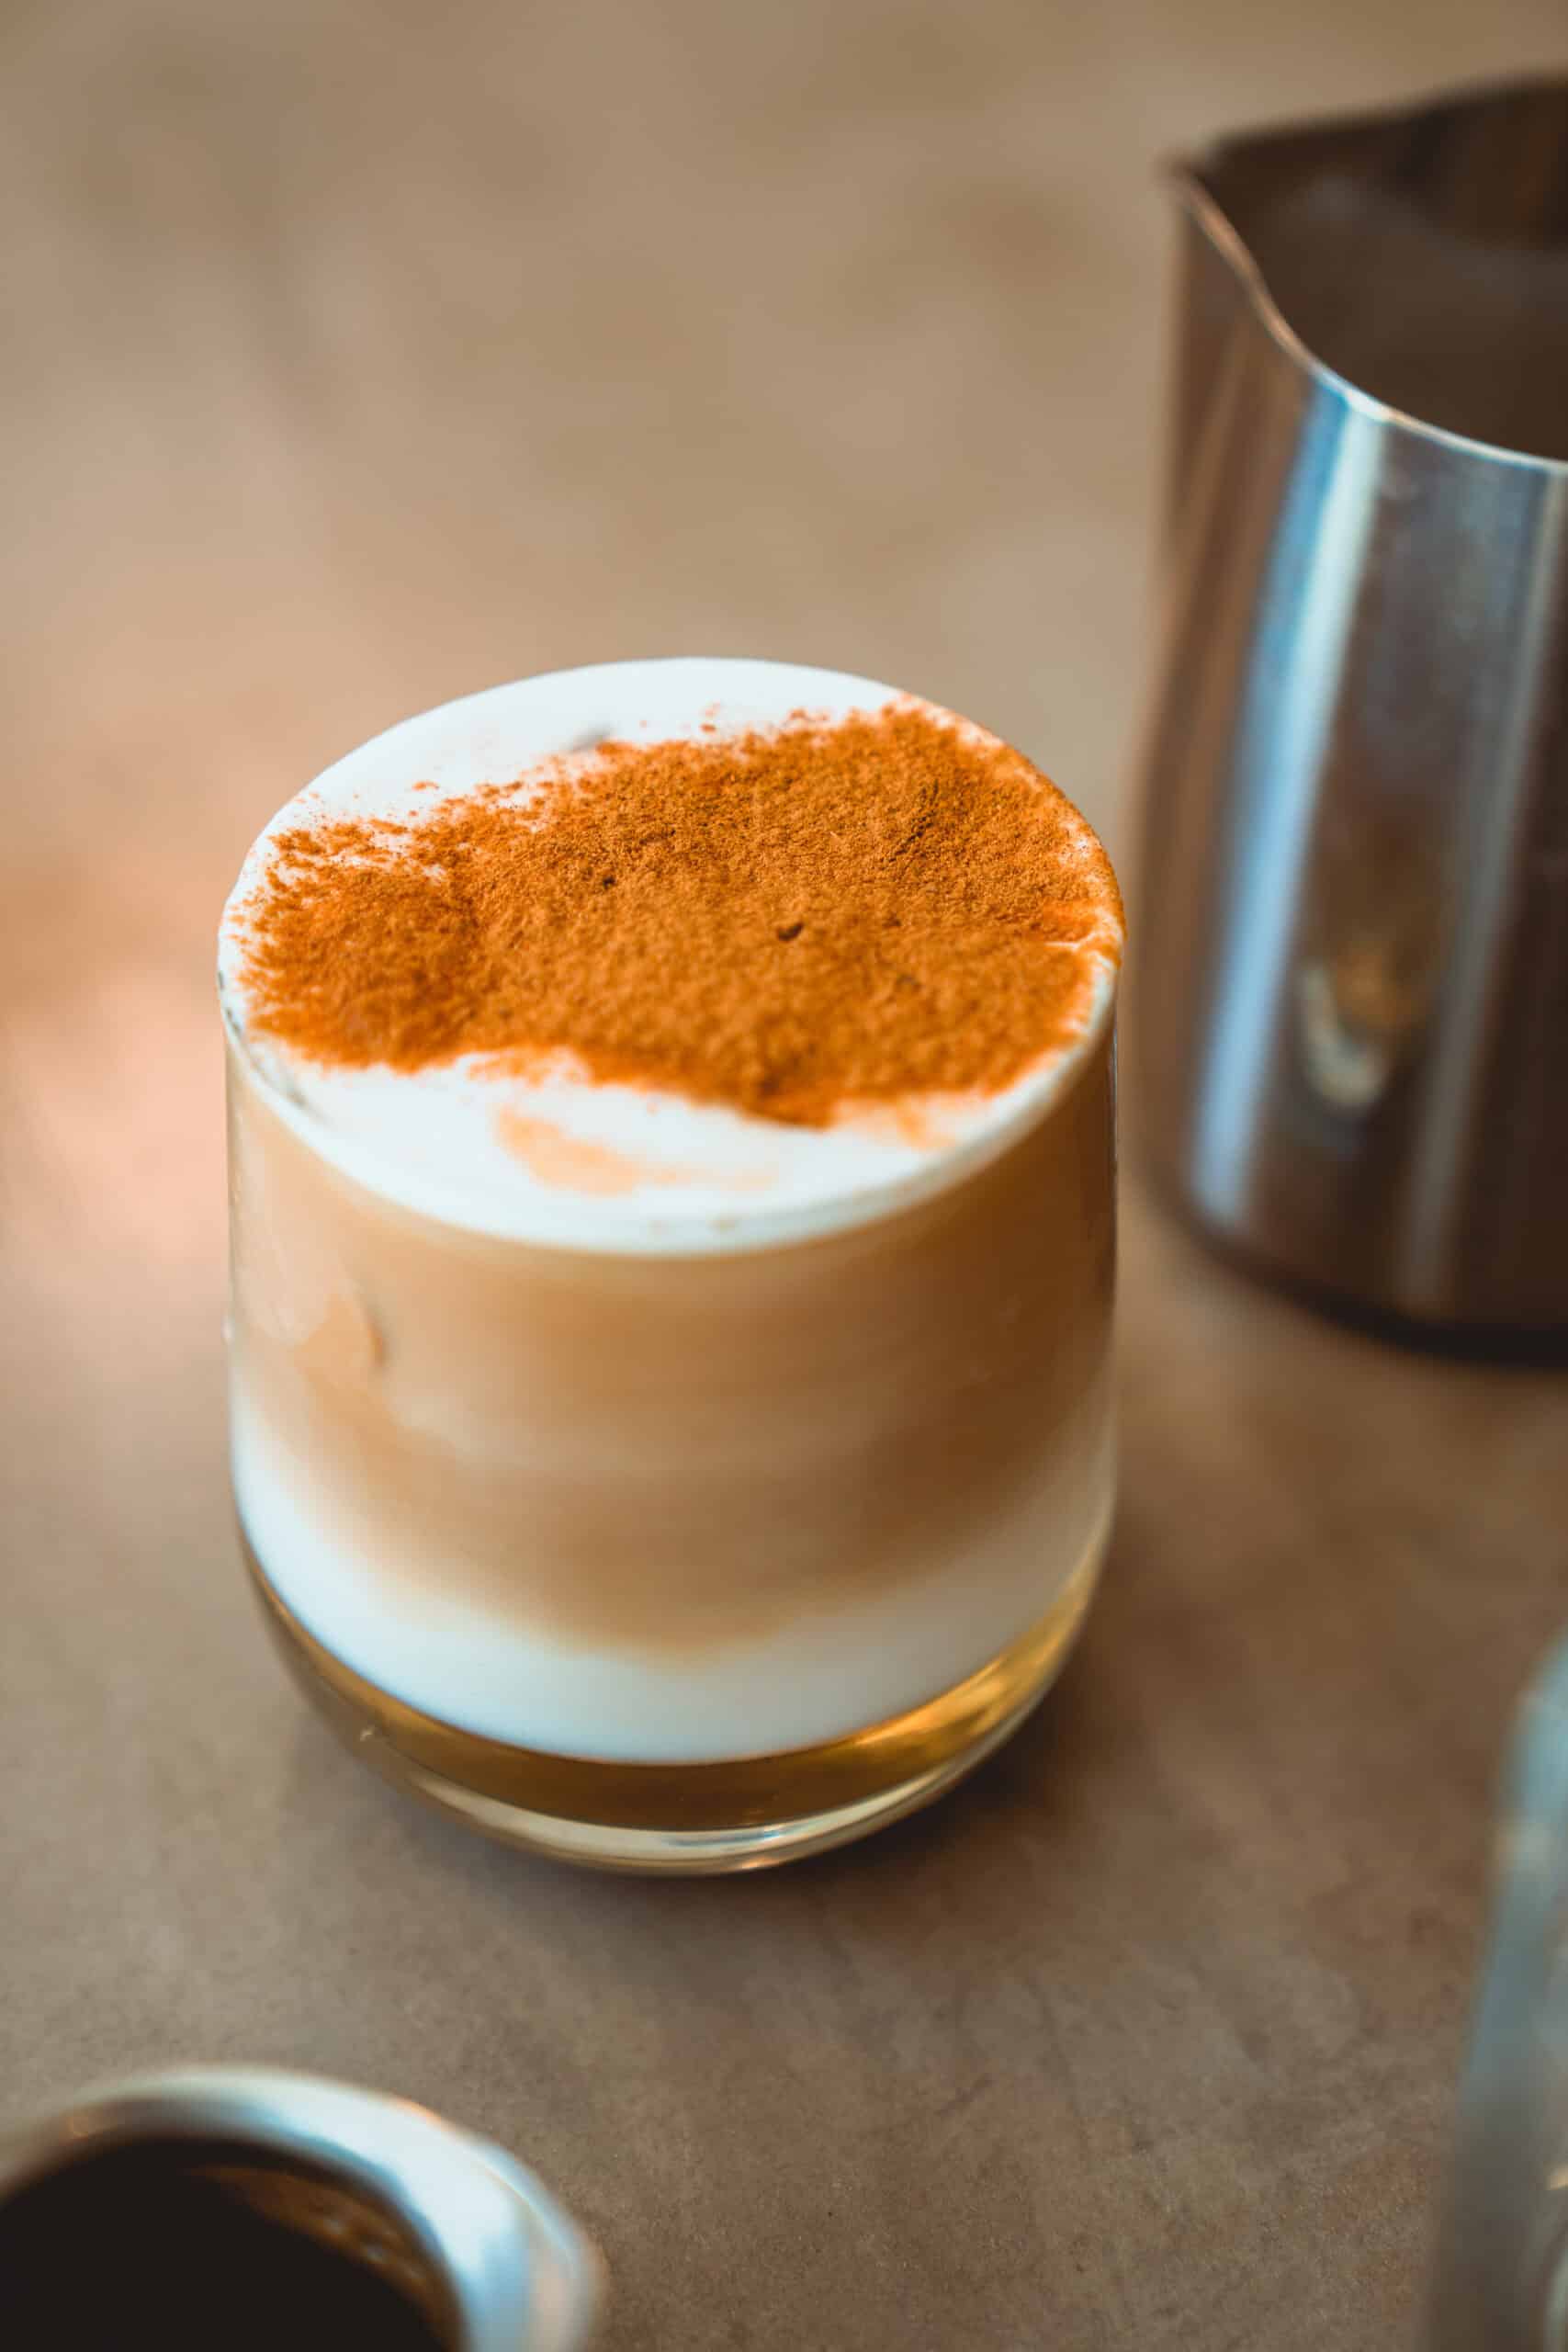
Making cold foam is extremely easy, especially if you already have a cold foam frother. If not, keep reading past the recipe, because I’ve made sure to mention a few other ways you can make cold foam without a dedicated frother.
Of course, a drink by itself isn’t really a meal. If you’re wanting to put together a whole sweet meal then I suggest checking out my cinnamon toast recipe. It’s fairly simple as well, so you can make both recipes at the same time for an extra sweet start to your morning!
What You’ll Need
The first thing you’ll need is coffee. If you’ve already made cold brew coffee then you’re all set. A capable coffee machine will work as well, but you’ll want to cool the coffee down before using the foam, as cold foam and hot drinks don’t mix.
You’ll also need a milk frother, or milk frother alternative, as well as your choice of sweeteners, syrups, and spices. Lastly, you’ll need your choice of cream or milk. Here are a few options:
- Heavy cream
- Heavy whipping cream
- Milk (regular, low-fat, 2%, coconut milk, or your choice of milk)
Once you have the ingredients, here’s how to turn them into cold froth!
Blender
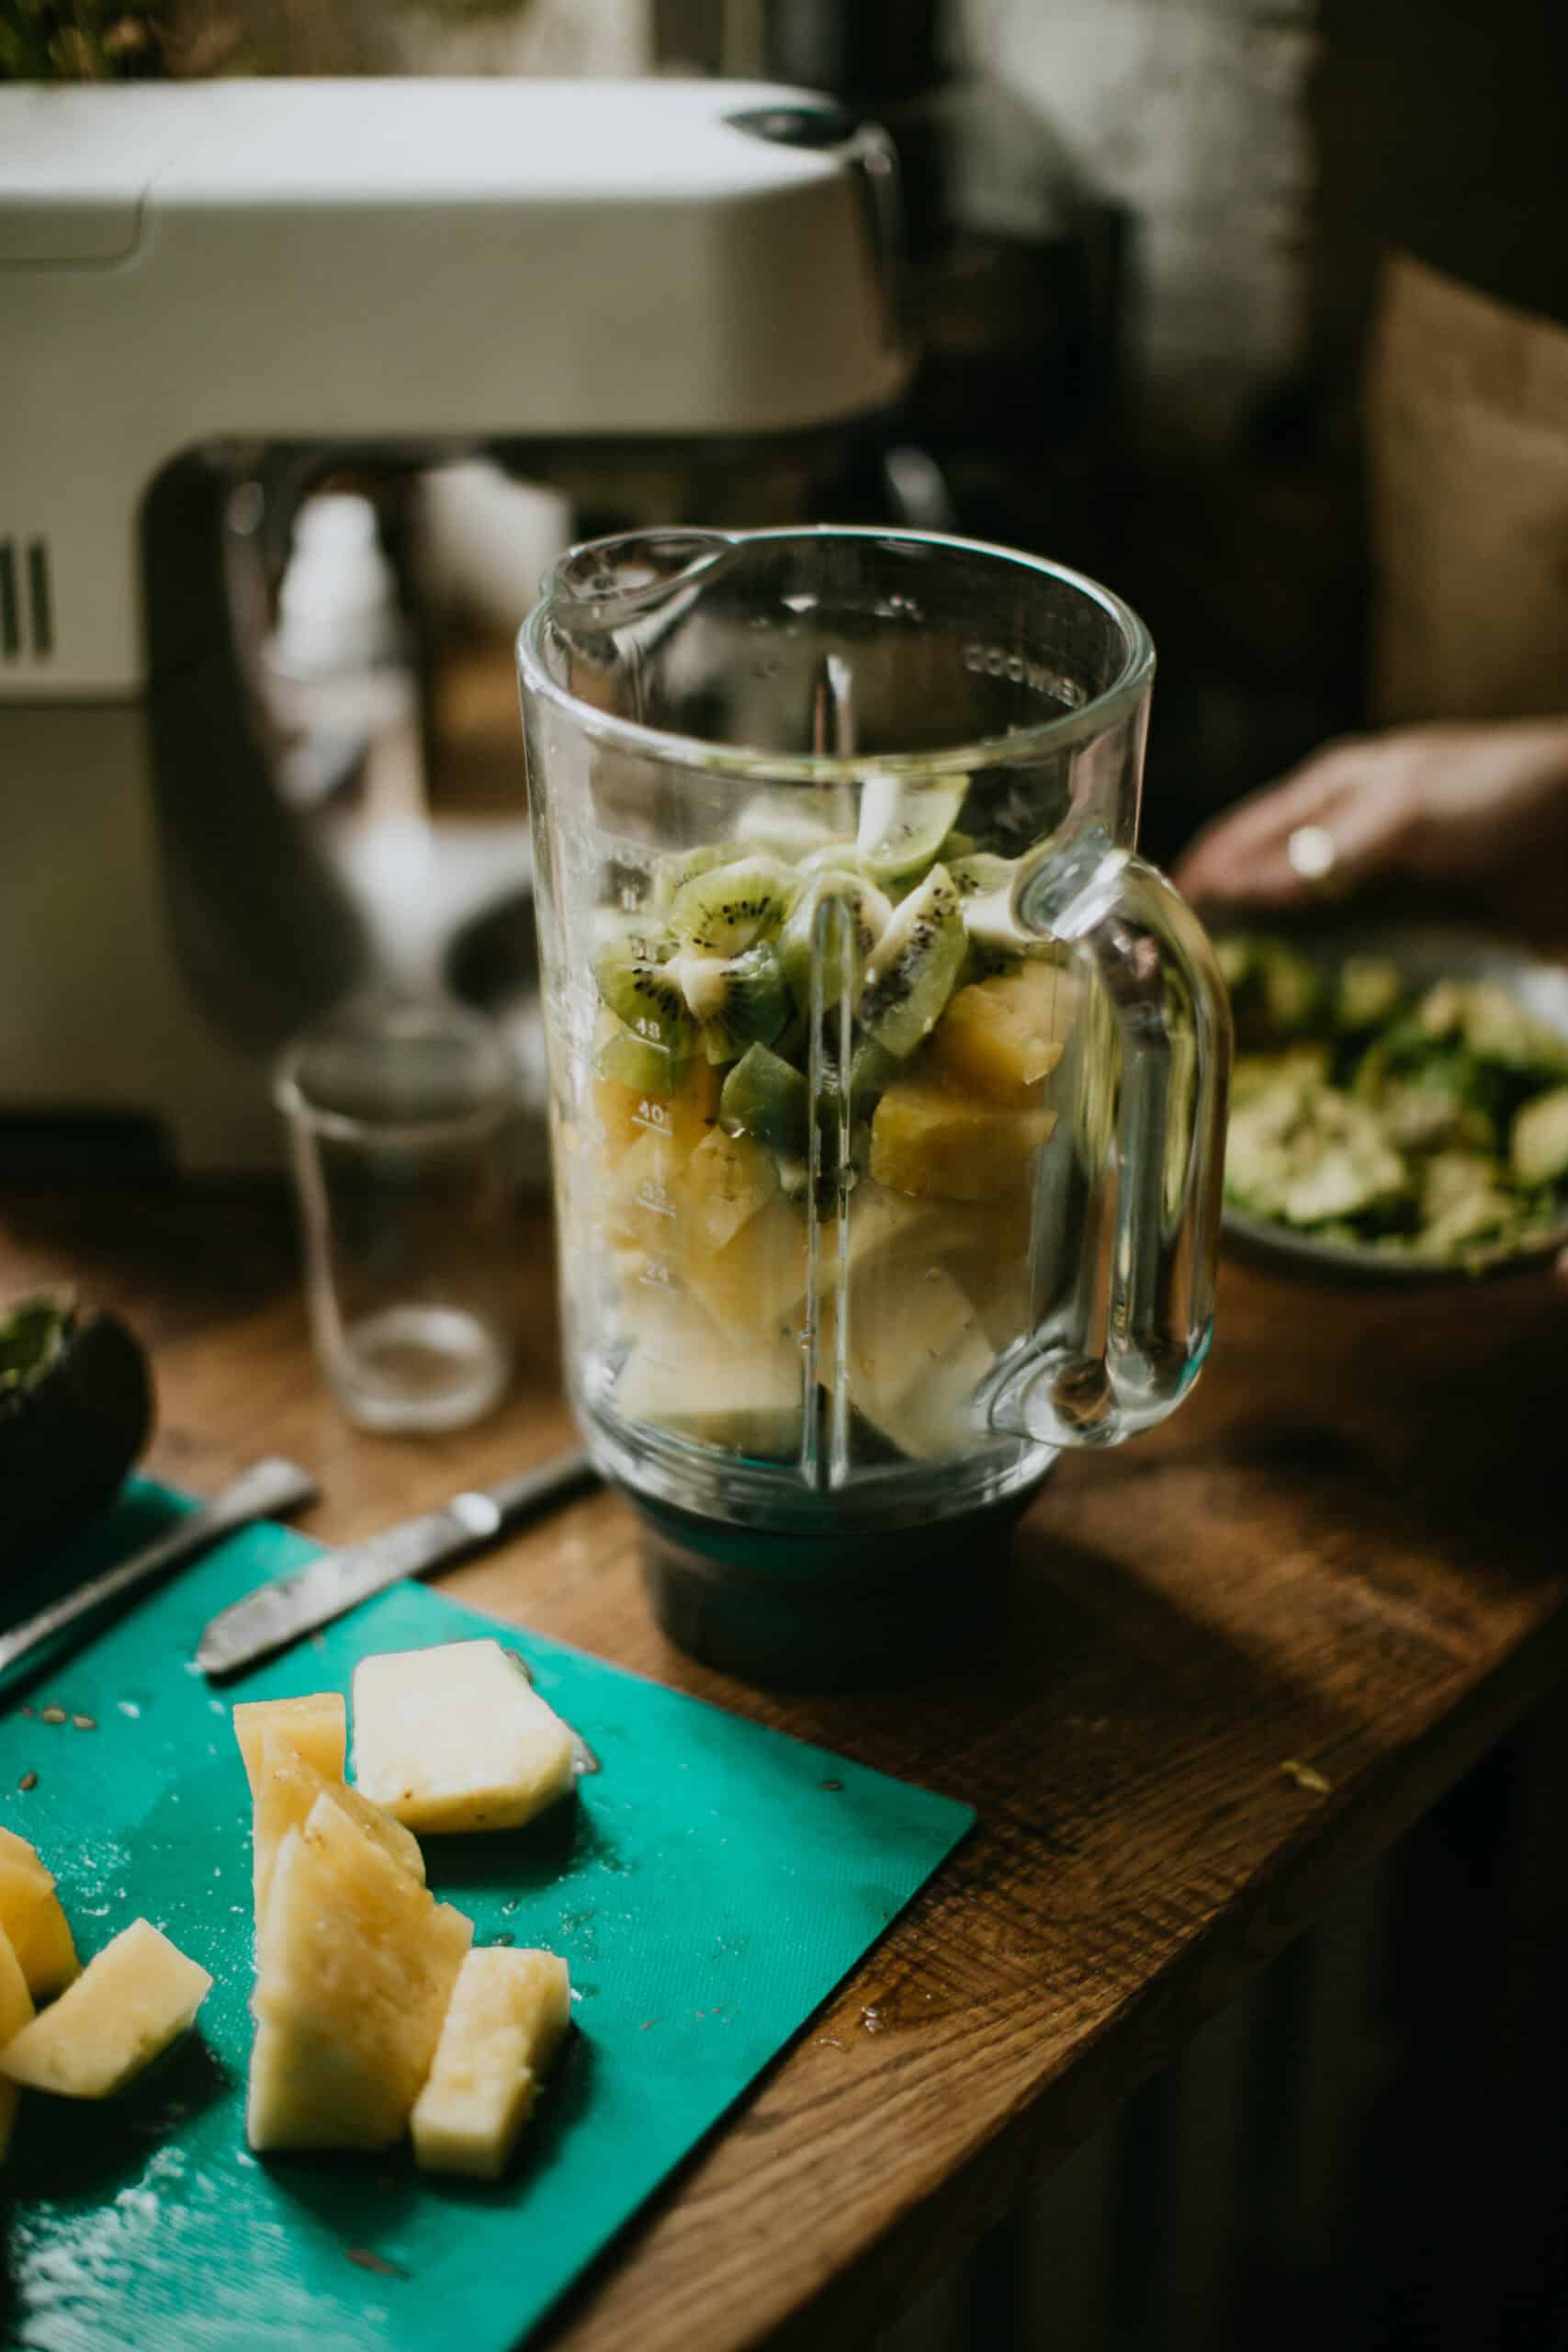
You can use either a regular blender or an immersion blender. The process is basically the same for both. First, pour your milk into the blender itself, or the bowl you’ll be blending in. From there, add any sweeteners or spices you want in your cold foam.
For a dedicated blender, start on “Low” and slowly increase speed until you’ve reached the highest settings. Continue blending until you’re happy with the consistency of the foam.
For an immersion blender, start on low and increase the speed until you’ve reached your preferred foam consistency.
Electric Milk Frother

Using a dedicated cold foam frother is the easiest method. Literally, all you need to do is pour your milk into the electric milk frother, add your choice of sweeteners/spices, then set it to “Cold foam” and hit start!
French Press
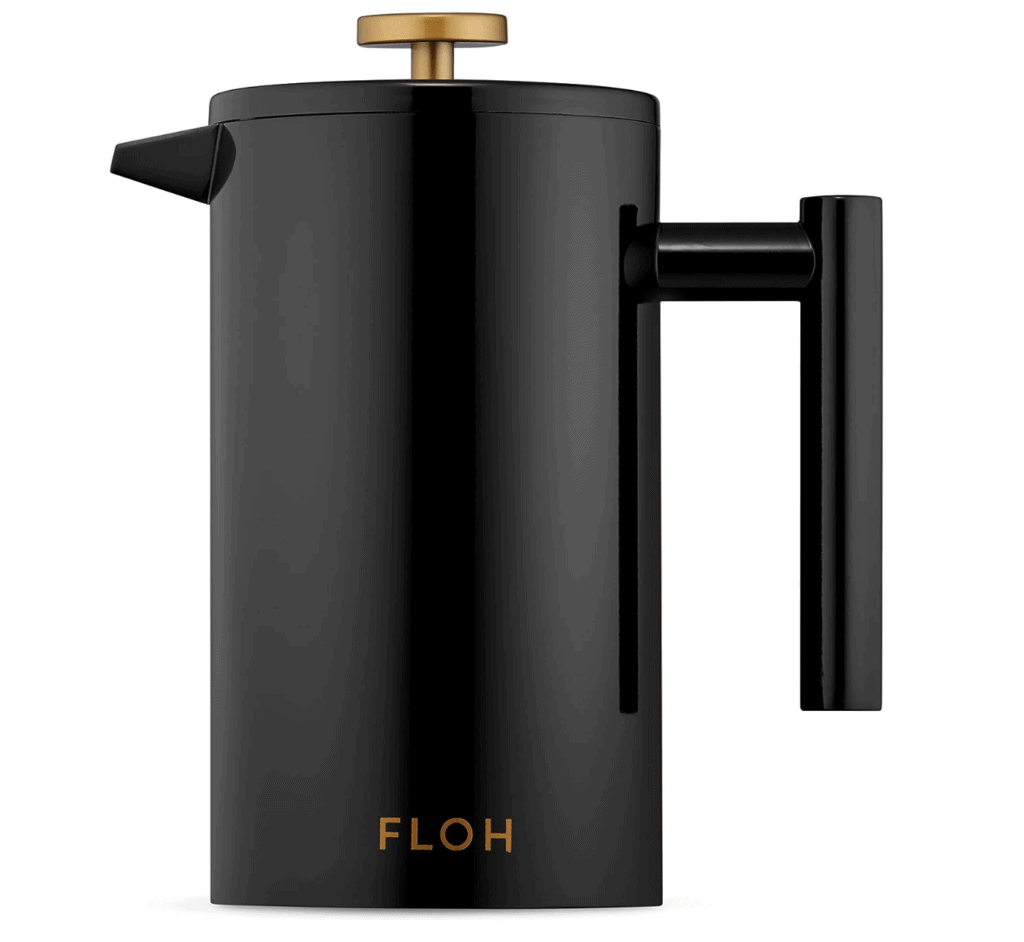
You can manually complete the frothing process using a French press. First, pour cold milk into the French press, then add your chosen selection of syrups, sweeteners, and spices. Then, just plunge the press up and down repeatedly until the foam has reached a consistency you’re happy with!
Handheld Milk Frother
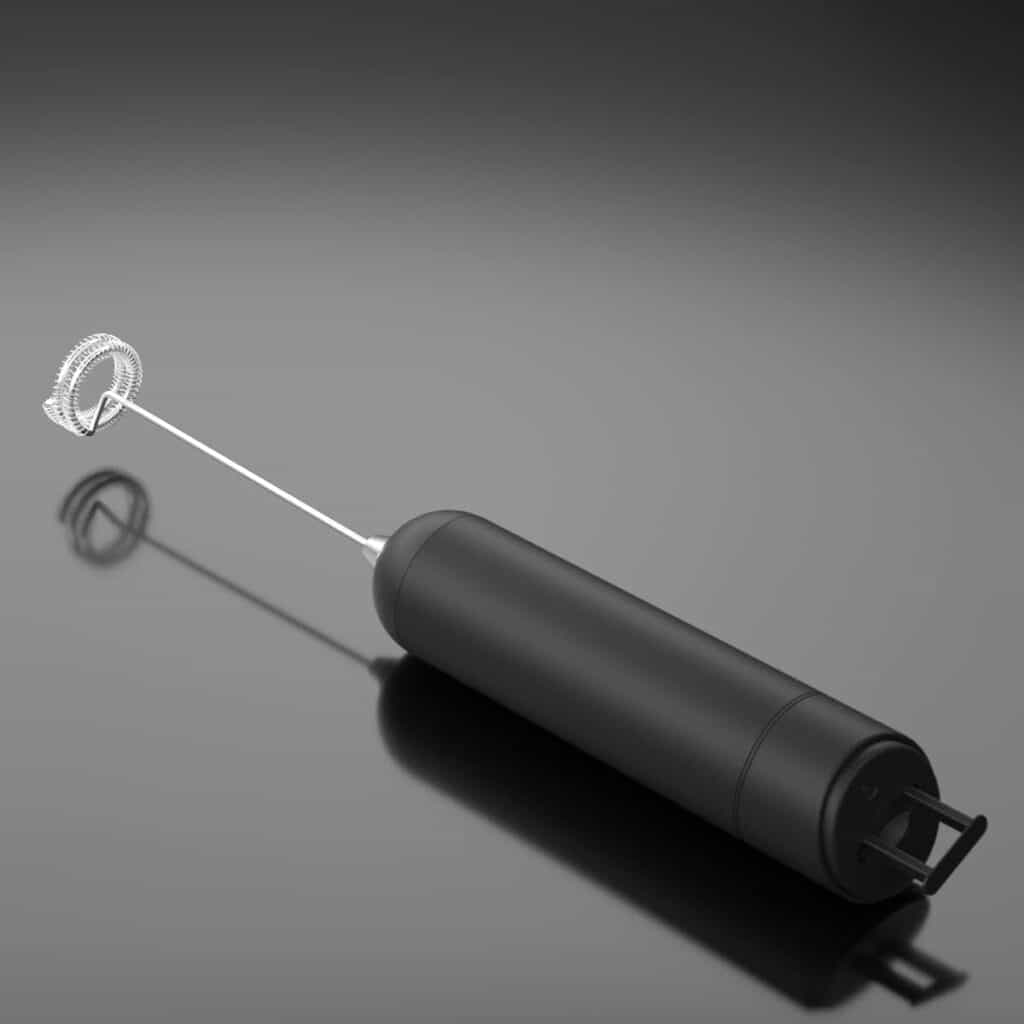
You can also use a handheld milk frother in place of an electric cold foam frother. To start, pour cold milk into a tall glass. Put some thought into your glass selection, as you don’t want it to spill easily (so don’t overfill it either!).
Next, add all the syrups, sweeteners, and spices you want for your foam. Stick the handheld frother wand into the mix, turn it on, and keep frothing until the foam has reached your desired consistency.
Super easy!
Mason jar
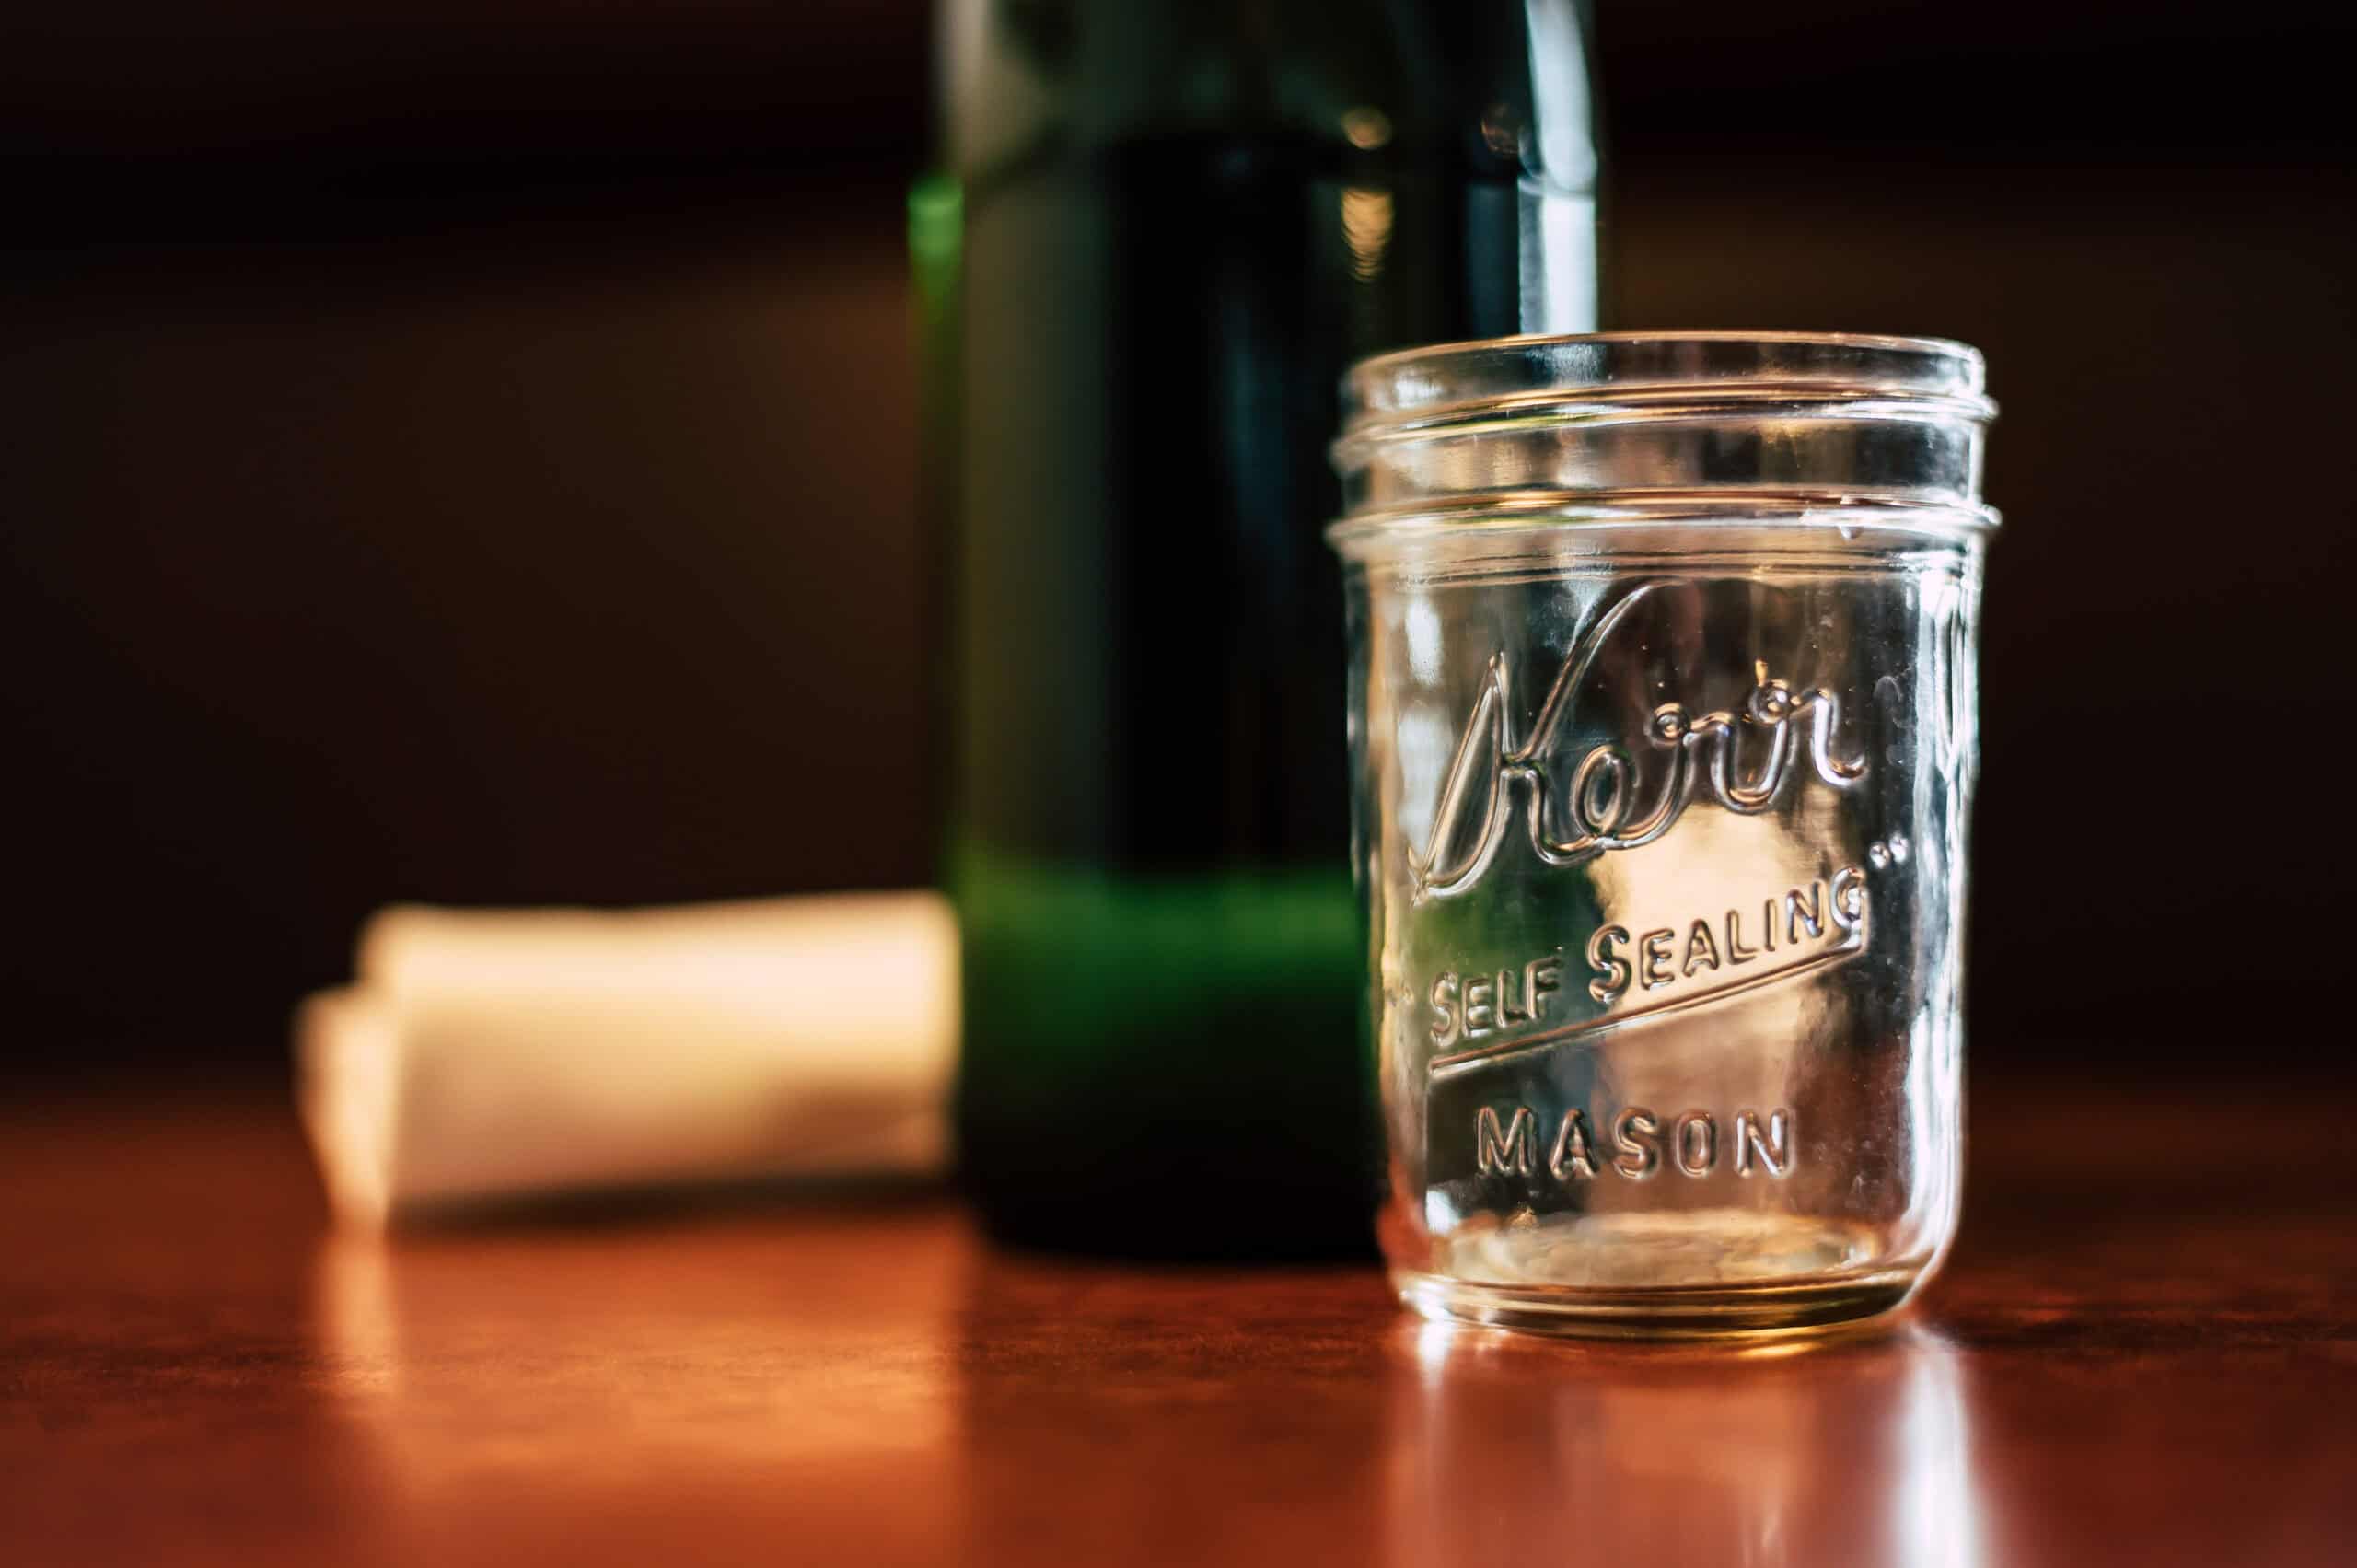
Lastly, you can also use a mason jar if you simply don’t have any of the other items on hand. Chances are, you have a mason jar somewhere around your home, whether you’re using it to decorate the kitchen table or simply have a bunch of them in your cabinets.
Just grab it and you can begin: no other items required! That said, this method does take considerably more effort than the other methods so be prepared for a mini workout.
To start, pour your milk into the mason jar and add in your selection of syrups, sweeteners, and/or spices. Put the lid on tightly, then start shaking the jar. You’ll need to keep shaking the jar until you reach the consistency you’re looking for.
This method isn’t ideal, but—if you don’t have any other options—it will definitely get the job done in a pinch.
Milk options
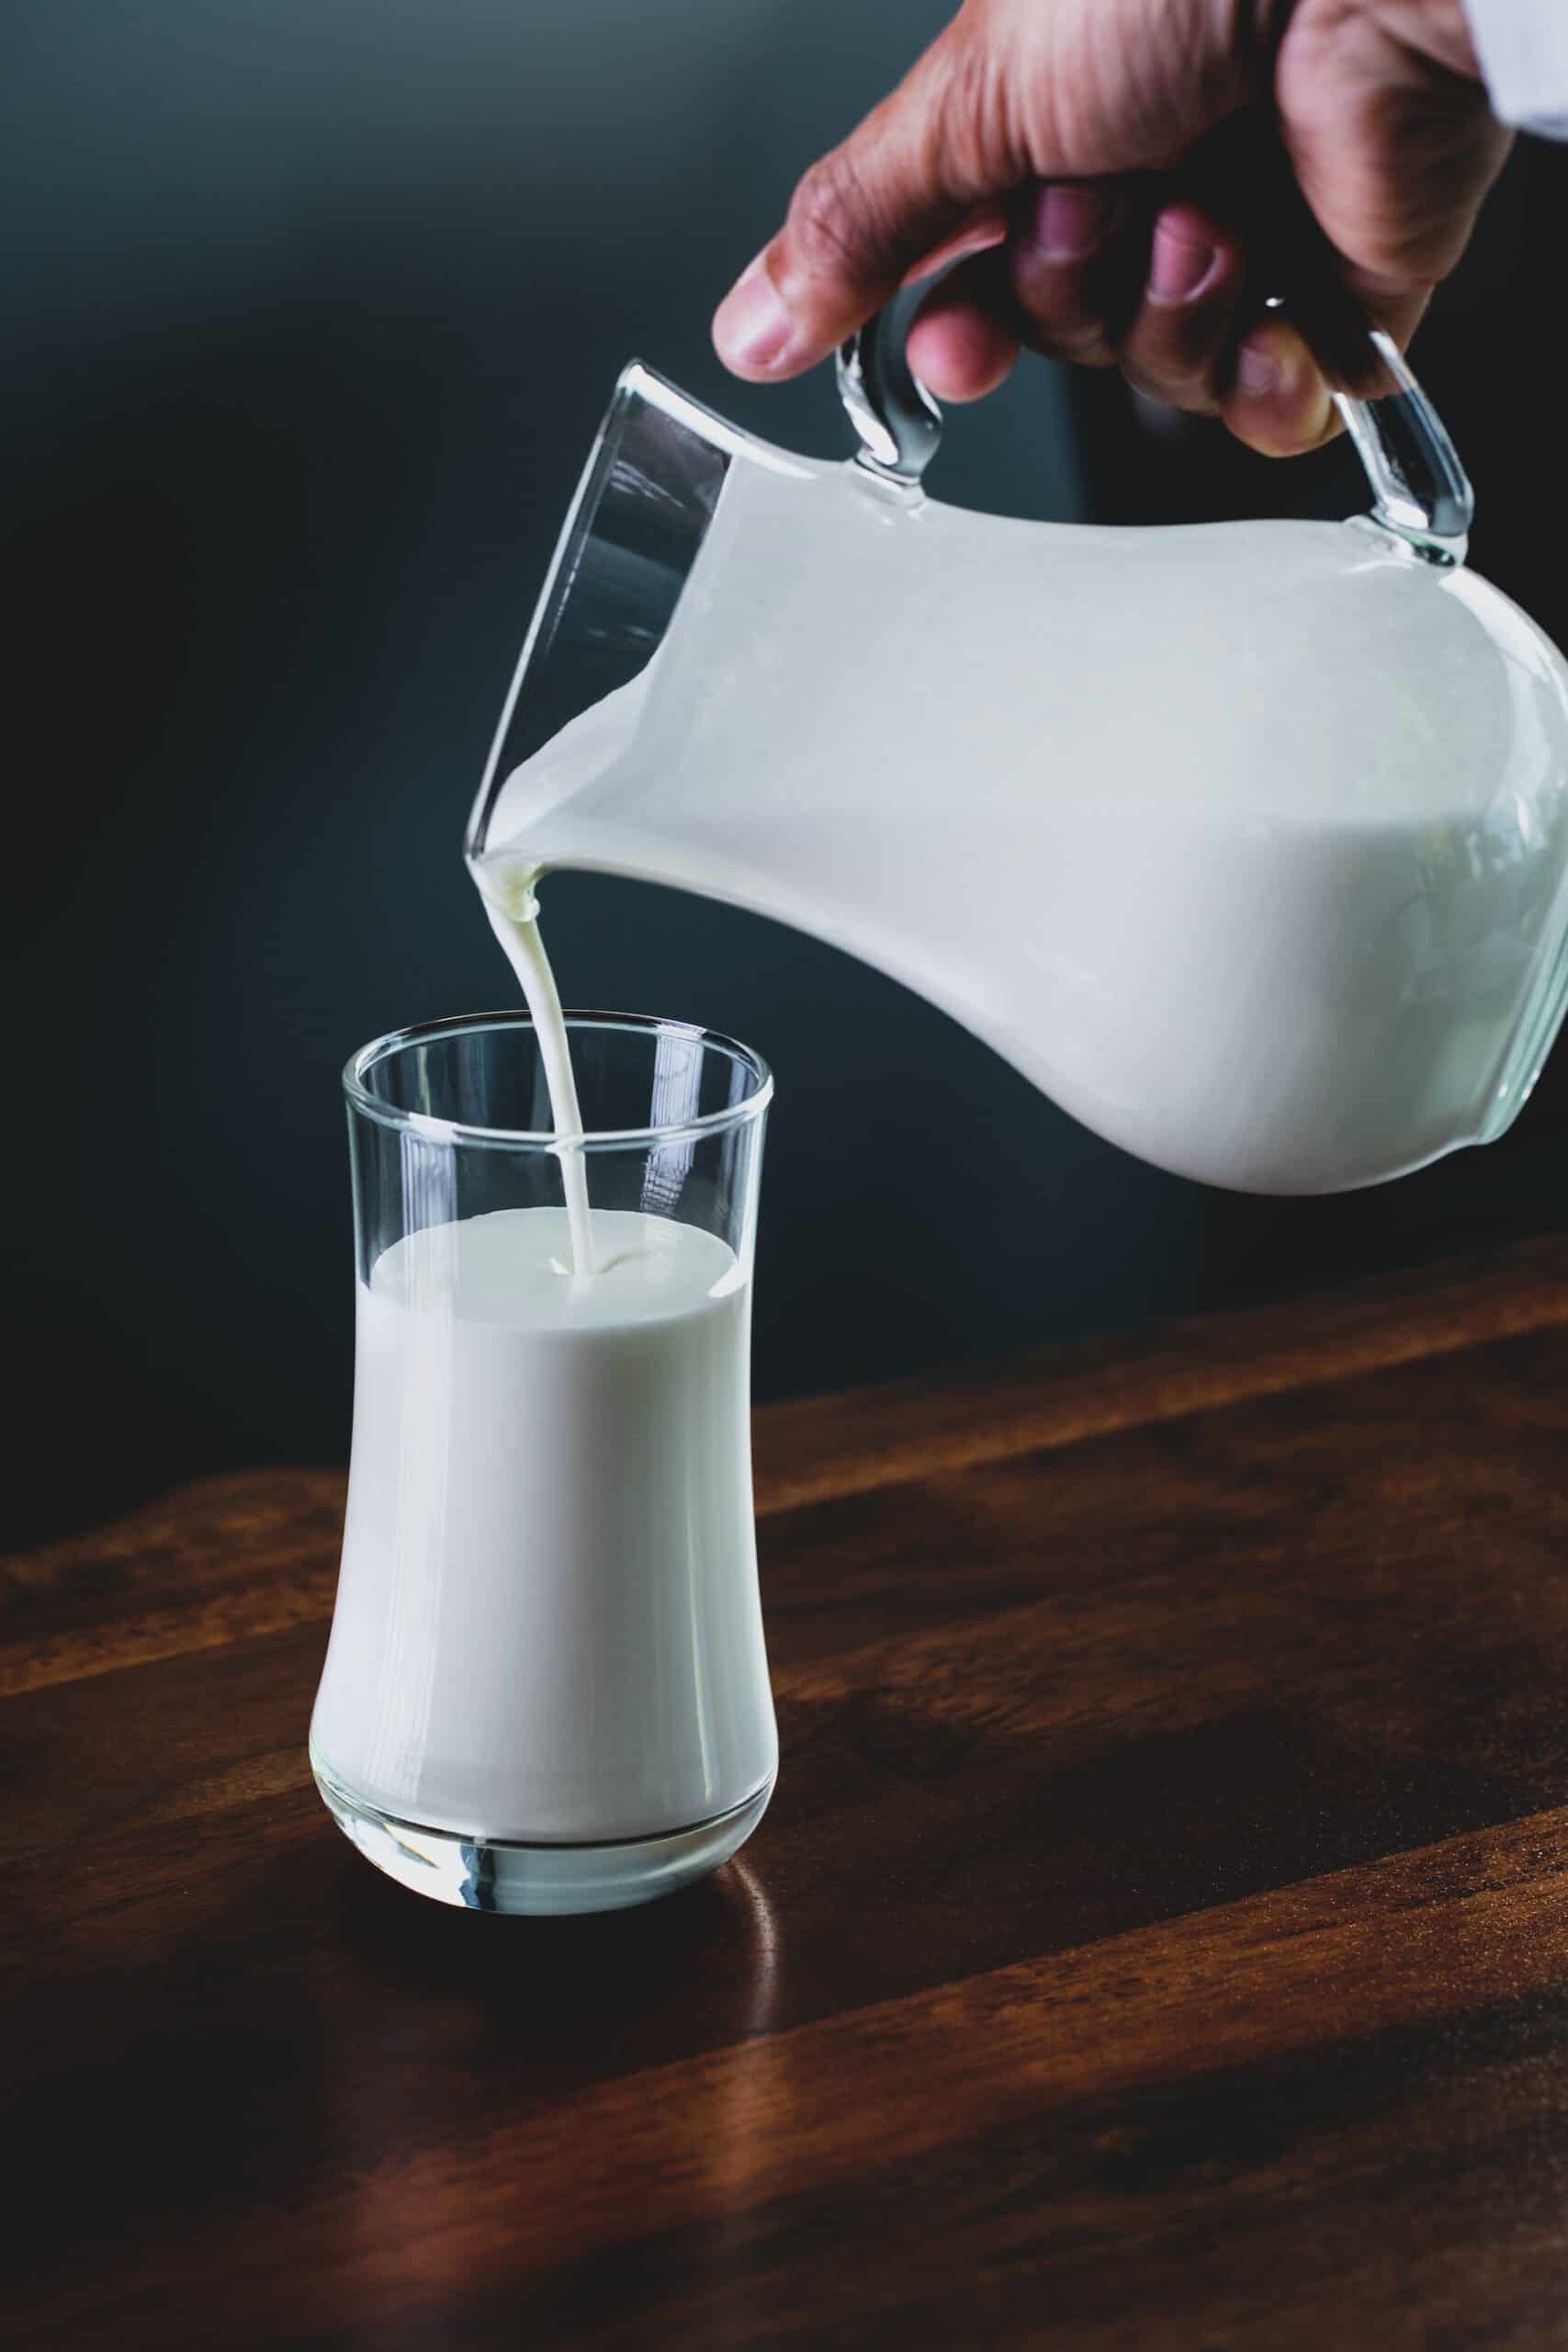
Alright, now that I’ve told you how to make cold foam, let’s go over the ways you can customize it to your liking. Cream and foam are the foundation of making cold foam, whether you’re doing it by hand or with a cold foam frother.
As such, the ingredients you choose are essential for perfecting the taste of your drink. Still, there’s plenty of leeway here, and I honestly recommend experimenting with different bases to see which one you like best.
For creams, you have two basic options: heavy cream—which is sometimes called heavy whipping cream—and whipping cream. Heavy cream contains over 36% milk fat, whereas whipping cream contains between 30% to 35% milk fat. Choose the latter if you want light foam.

For milk, you have plenty of options to choose from. I’d recommend going with skim milk (nonfat milk) if you want your drink to be identical to the consistency of Starbucks drinks. On the other hand, whole milk is a good option if you want a thicker consistency.
A few additional options include:
- Oat milk
- Almond milk
- Coconut milk
- Soy milk
- Mixing whole cold milk with non-fat milk
Remember, using different types of milk will yield different results, so I highly recommend experimenting around to see which type—or combination—you like best.
Cold Foam Flavorings

Sometimes, you just want to have candy for breakfast. Similarly, sometimes you just want your drinks to taste as sweet as sugar. Using flavorings gives you a bunch of different ways to do this, although you may want to pay attention to what you’re using if you have concerns about the fat content, sugar levels, or other dietary restrictions.
When I have a day off, I absolutely love sipping on a sweet drink fresh from my cold foam frother while reading my favorite coffee table book. Once you figure out which flavor combo works best for you, I’m sure you’ll be able to enjoy the same routine as well!
Sweeteners

You don’t need sweeteners, but I think sweeteners and syrups really help bring my favorite drinks together. You can basically use whatever sweeteners you want, but here are a few options I’ve tried and liked so far.
- Caramel syrup
- Honey
- Maple syrup
- Simple syrup
- Vanilla syrup
- Vanilla extract
Spices

Spices are another great way to enhance the flavors of your cold foam. My all-time favorite is cinnamon, but there are plenty of other options to try, including:
- Cocoa powder
- Mint
- Cardamom
- Nutmeg
- Pumpkin spice
A Few Different Frothers
Like I said above, you don’t technically need a cold foam frother to enjoy your own cold foam. Still, having one is sure to make your morning routine 100 times easier. You’ll have plenty of options to choose from, but here are a few models I recommend.
The Premium Experience
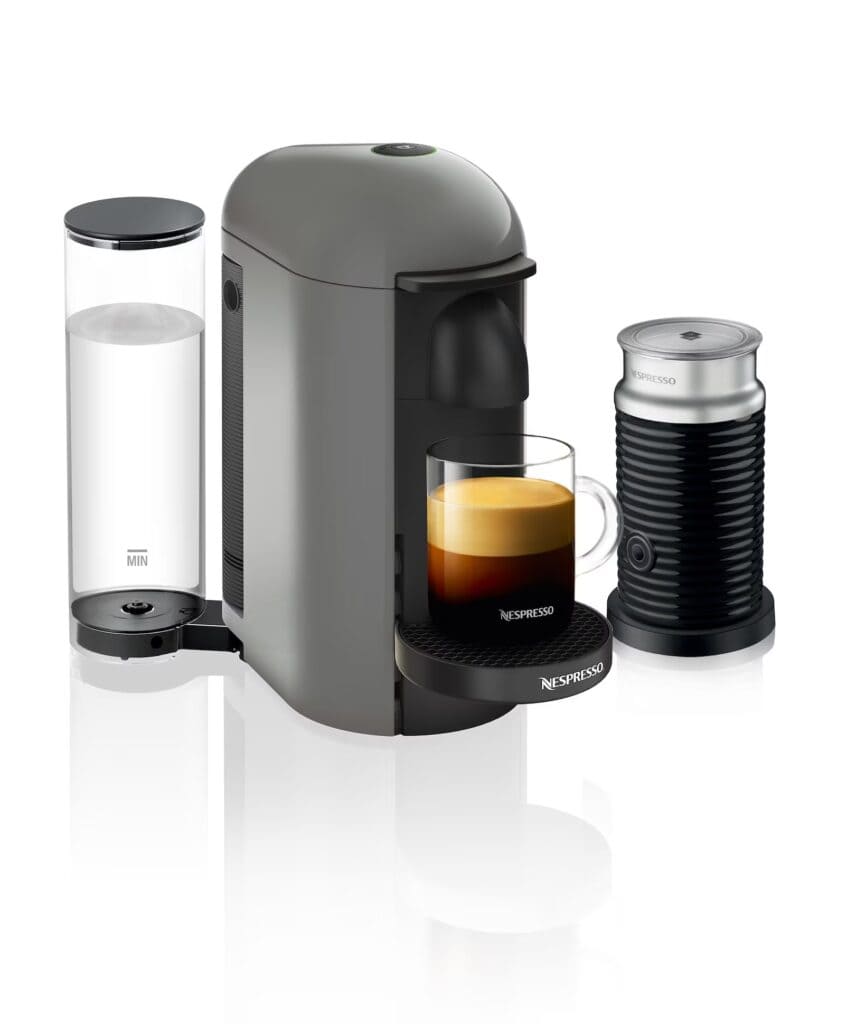
I used to frequent the local coffee shops, but ever since I got my VertuoPlus & Aeroccino3 Milk Frother, I never leave the house without a coffee in hand. Seriously, guys, my Achilles’ heel is that I need my favorite iced beverage to start my day. Honestly, I consider it one of my kitchen essentials!
Aside from being able to make iced coffee and cold foam, this device can also make hot drinks such as expressos, cappuccinos, lattes, and—of course—”regular” coffee.
The best part is, this thing really doesn’t take very long to make your drink. Even if I start preparing my favorite breakfast foods before and wait right until it’s almost done to turn on the cold foam frother, the machine still finishes before I’ve plated my food.
Yes, it’s a bit expensive, but for me, it’s a lifesaver. If you can find the space in your budget to accommodate this luxury item then I highly recommend doing so. It’s one kitchen appliance you won’t regret buying!
The Budget-friendly Frother

The premium experience is great, but if you can’t justify spending a lot on a cold foam frother, don’t worry. There are still plenty of great options you can find for less than $100. One such option is the Miroco Milk Frother.
This device won’t make your coffee, but it can froth both hot and cold foam for you. This means that whether you want an iced cappuccino topped with cold foam or need a latte to start your day off right, the Miroco Milk Frother can get the job done.
The Minimalist
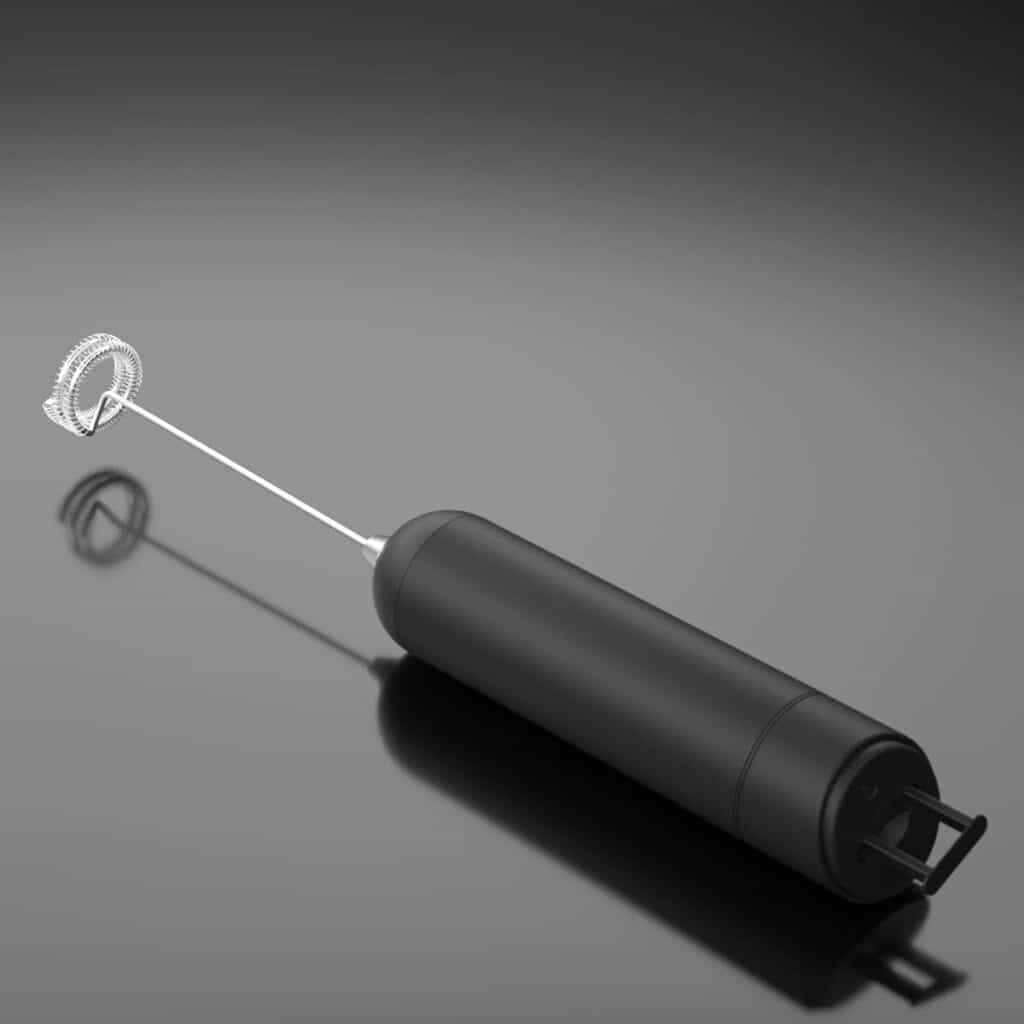
Let’s say you’ve never tried an iced drink with cold foam before, let alone used a cold foam frother. Well, in that case, it just doesn’t make sense to instantly invest a lot in something you might never use. If that’s the case for you then I recommend picking up the Mistletoe Handheld Milk Frother to see what the hype is all about!
Whether you need to make some cold foam for an iced drink or beat eggs for breakfast, this little handheld device has got you covered. Powered by two AA batteries, equipped with a stainless steel frother, and taking only seconds to clean, this is definitely one I’d recommend picking up if you want an affordable introduction to cold foam frothing!
My Top Ten Cold Foam Frothers
A premium automatic coffee maker and milk frother, offering both functions in a single system.
A purposefully-made machine capable of cold and hot frothing, thanks to the addition of “Cold Stir” settings.
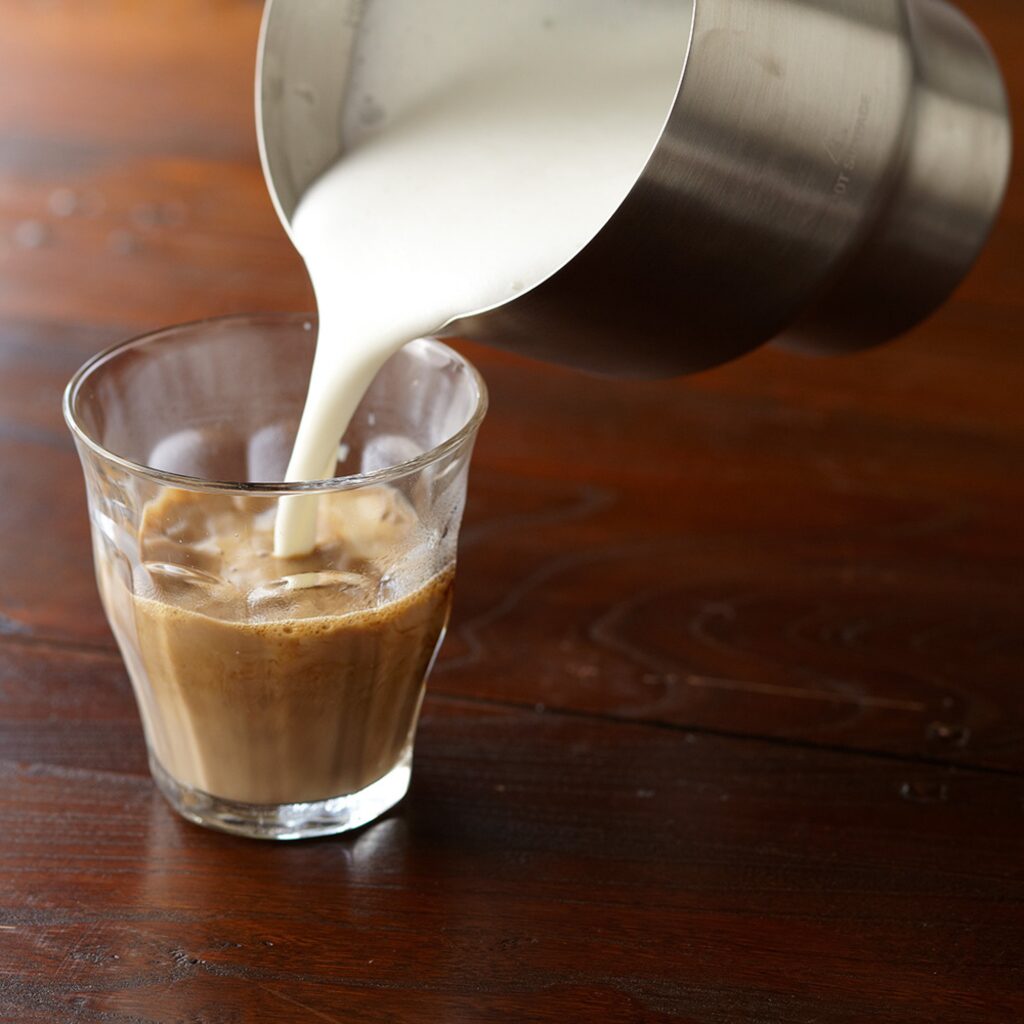
A purposefully-made machine capable of cold and hot frothing, thanks to the addition of “Cold Stir” settings.
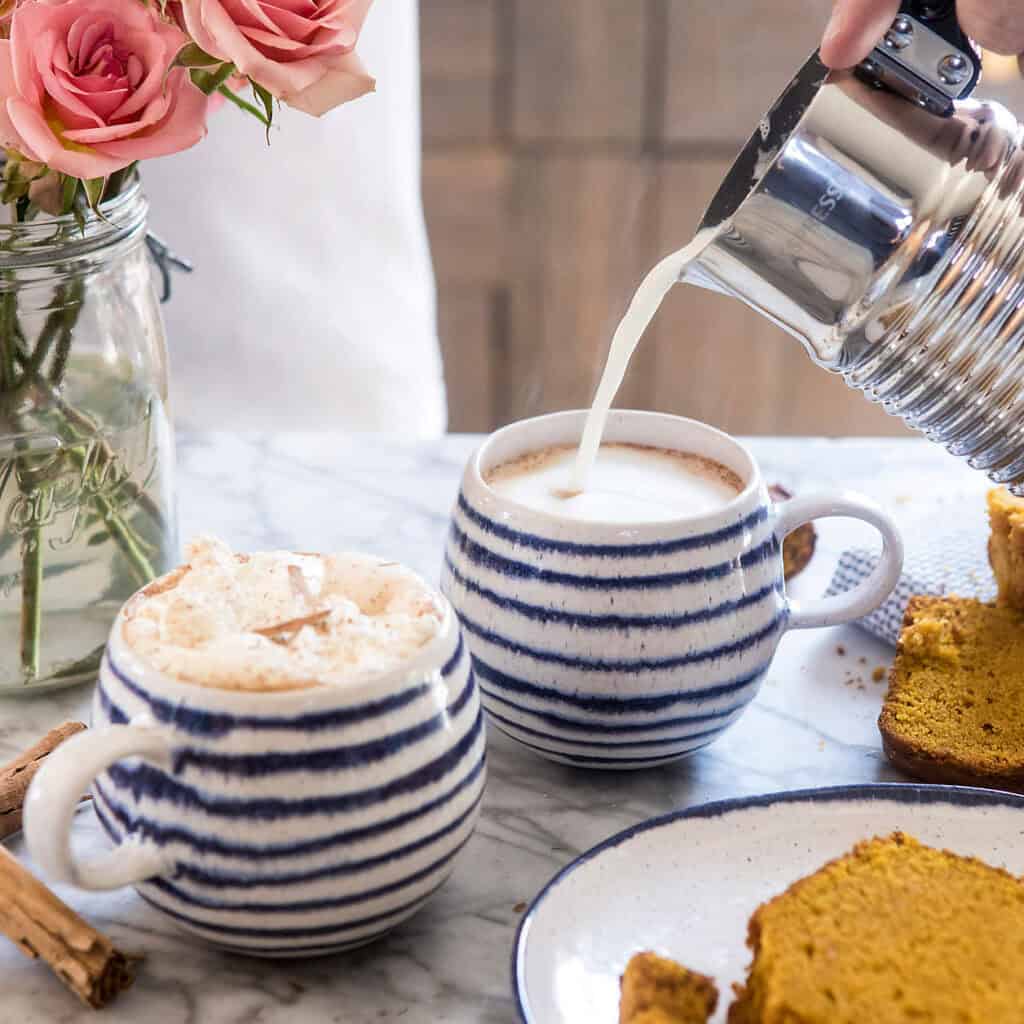
A simple frother that offers both cold and hot foam/froth at the touch of a button.
A budget-friendly model that offers hot frothing and cold frothing of up to 13.5 ounces of milk at a time.
A standalone frothing solution for cold, warm, and hot frothing.
An easy-to-use hot/cold foam & frothing machine that can heat your milk up to 140° F within minutes
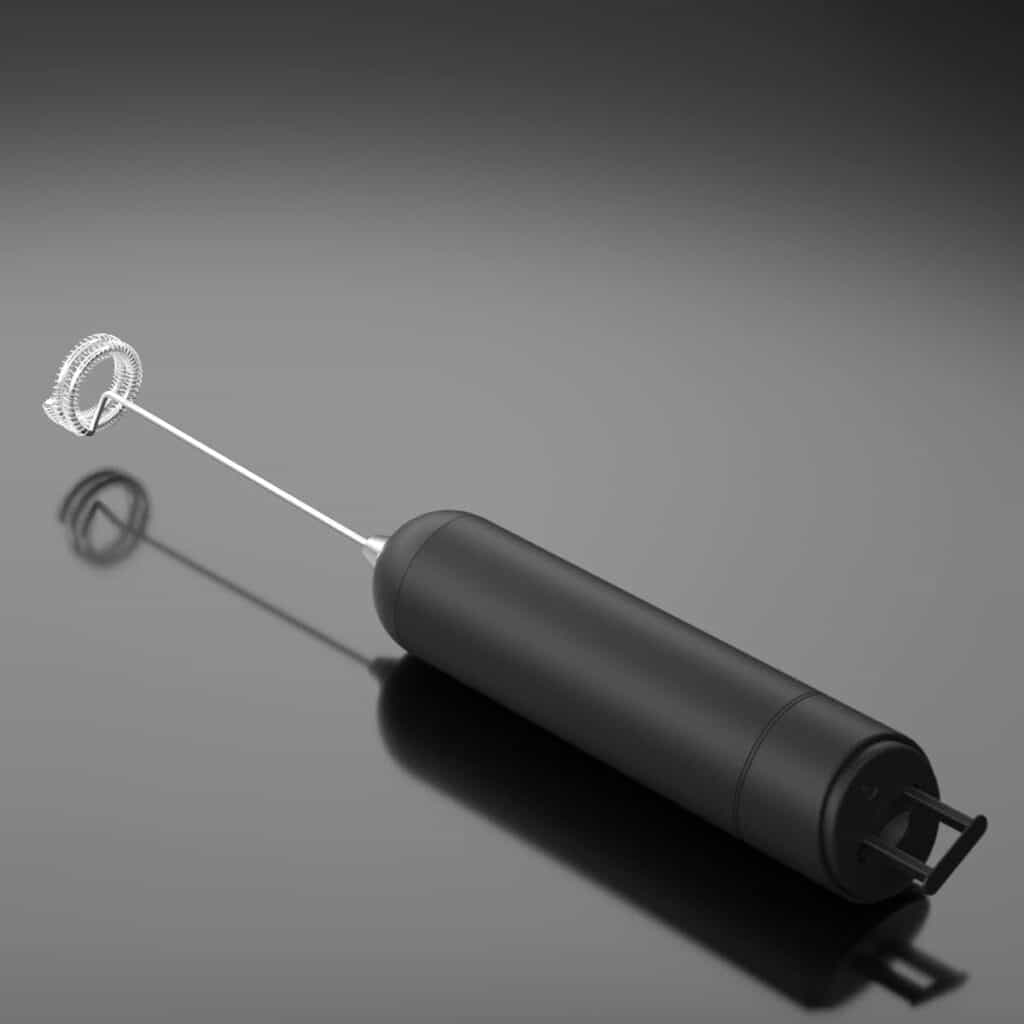
This handheld frother will froth your milk in under 30 seconds, requiring only two AA batteries for more than an hour of use!
A budget-friendly milk frother featuring a dual-whisk design for even faster frothing!
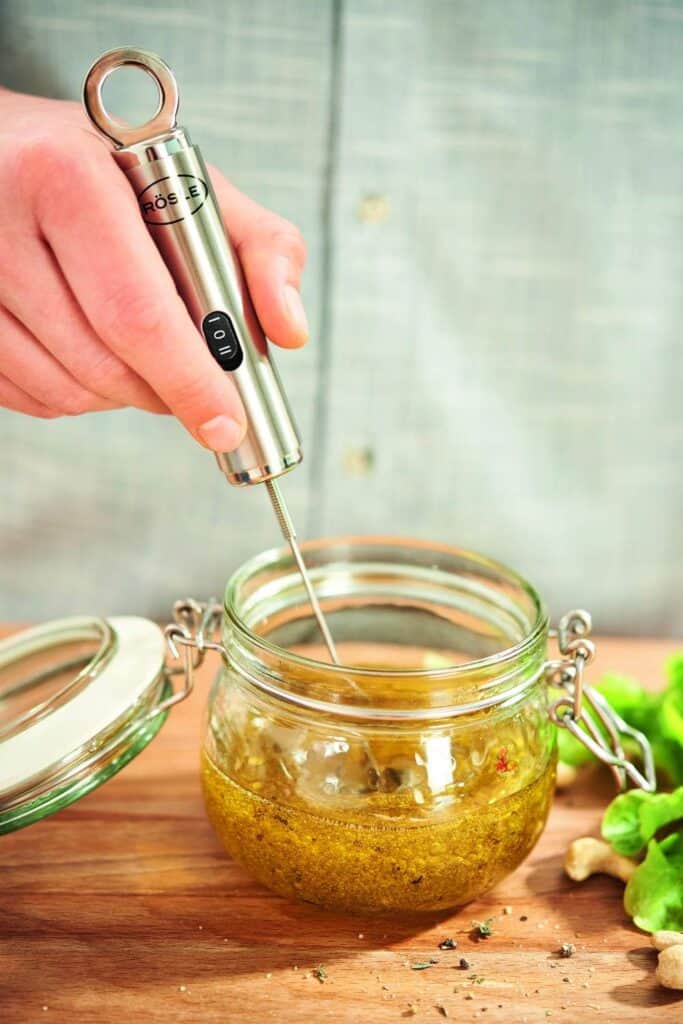
A high-quality but somewhat overpriced dual-speed handheld electric frother that gives you long-term peace of mind with a lifetime warranty.
Closing Thoughts About Cold Foam and a Cold Foam Brother
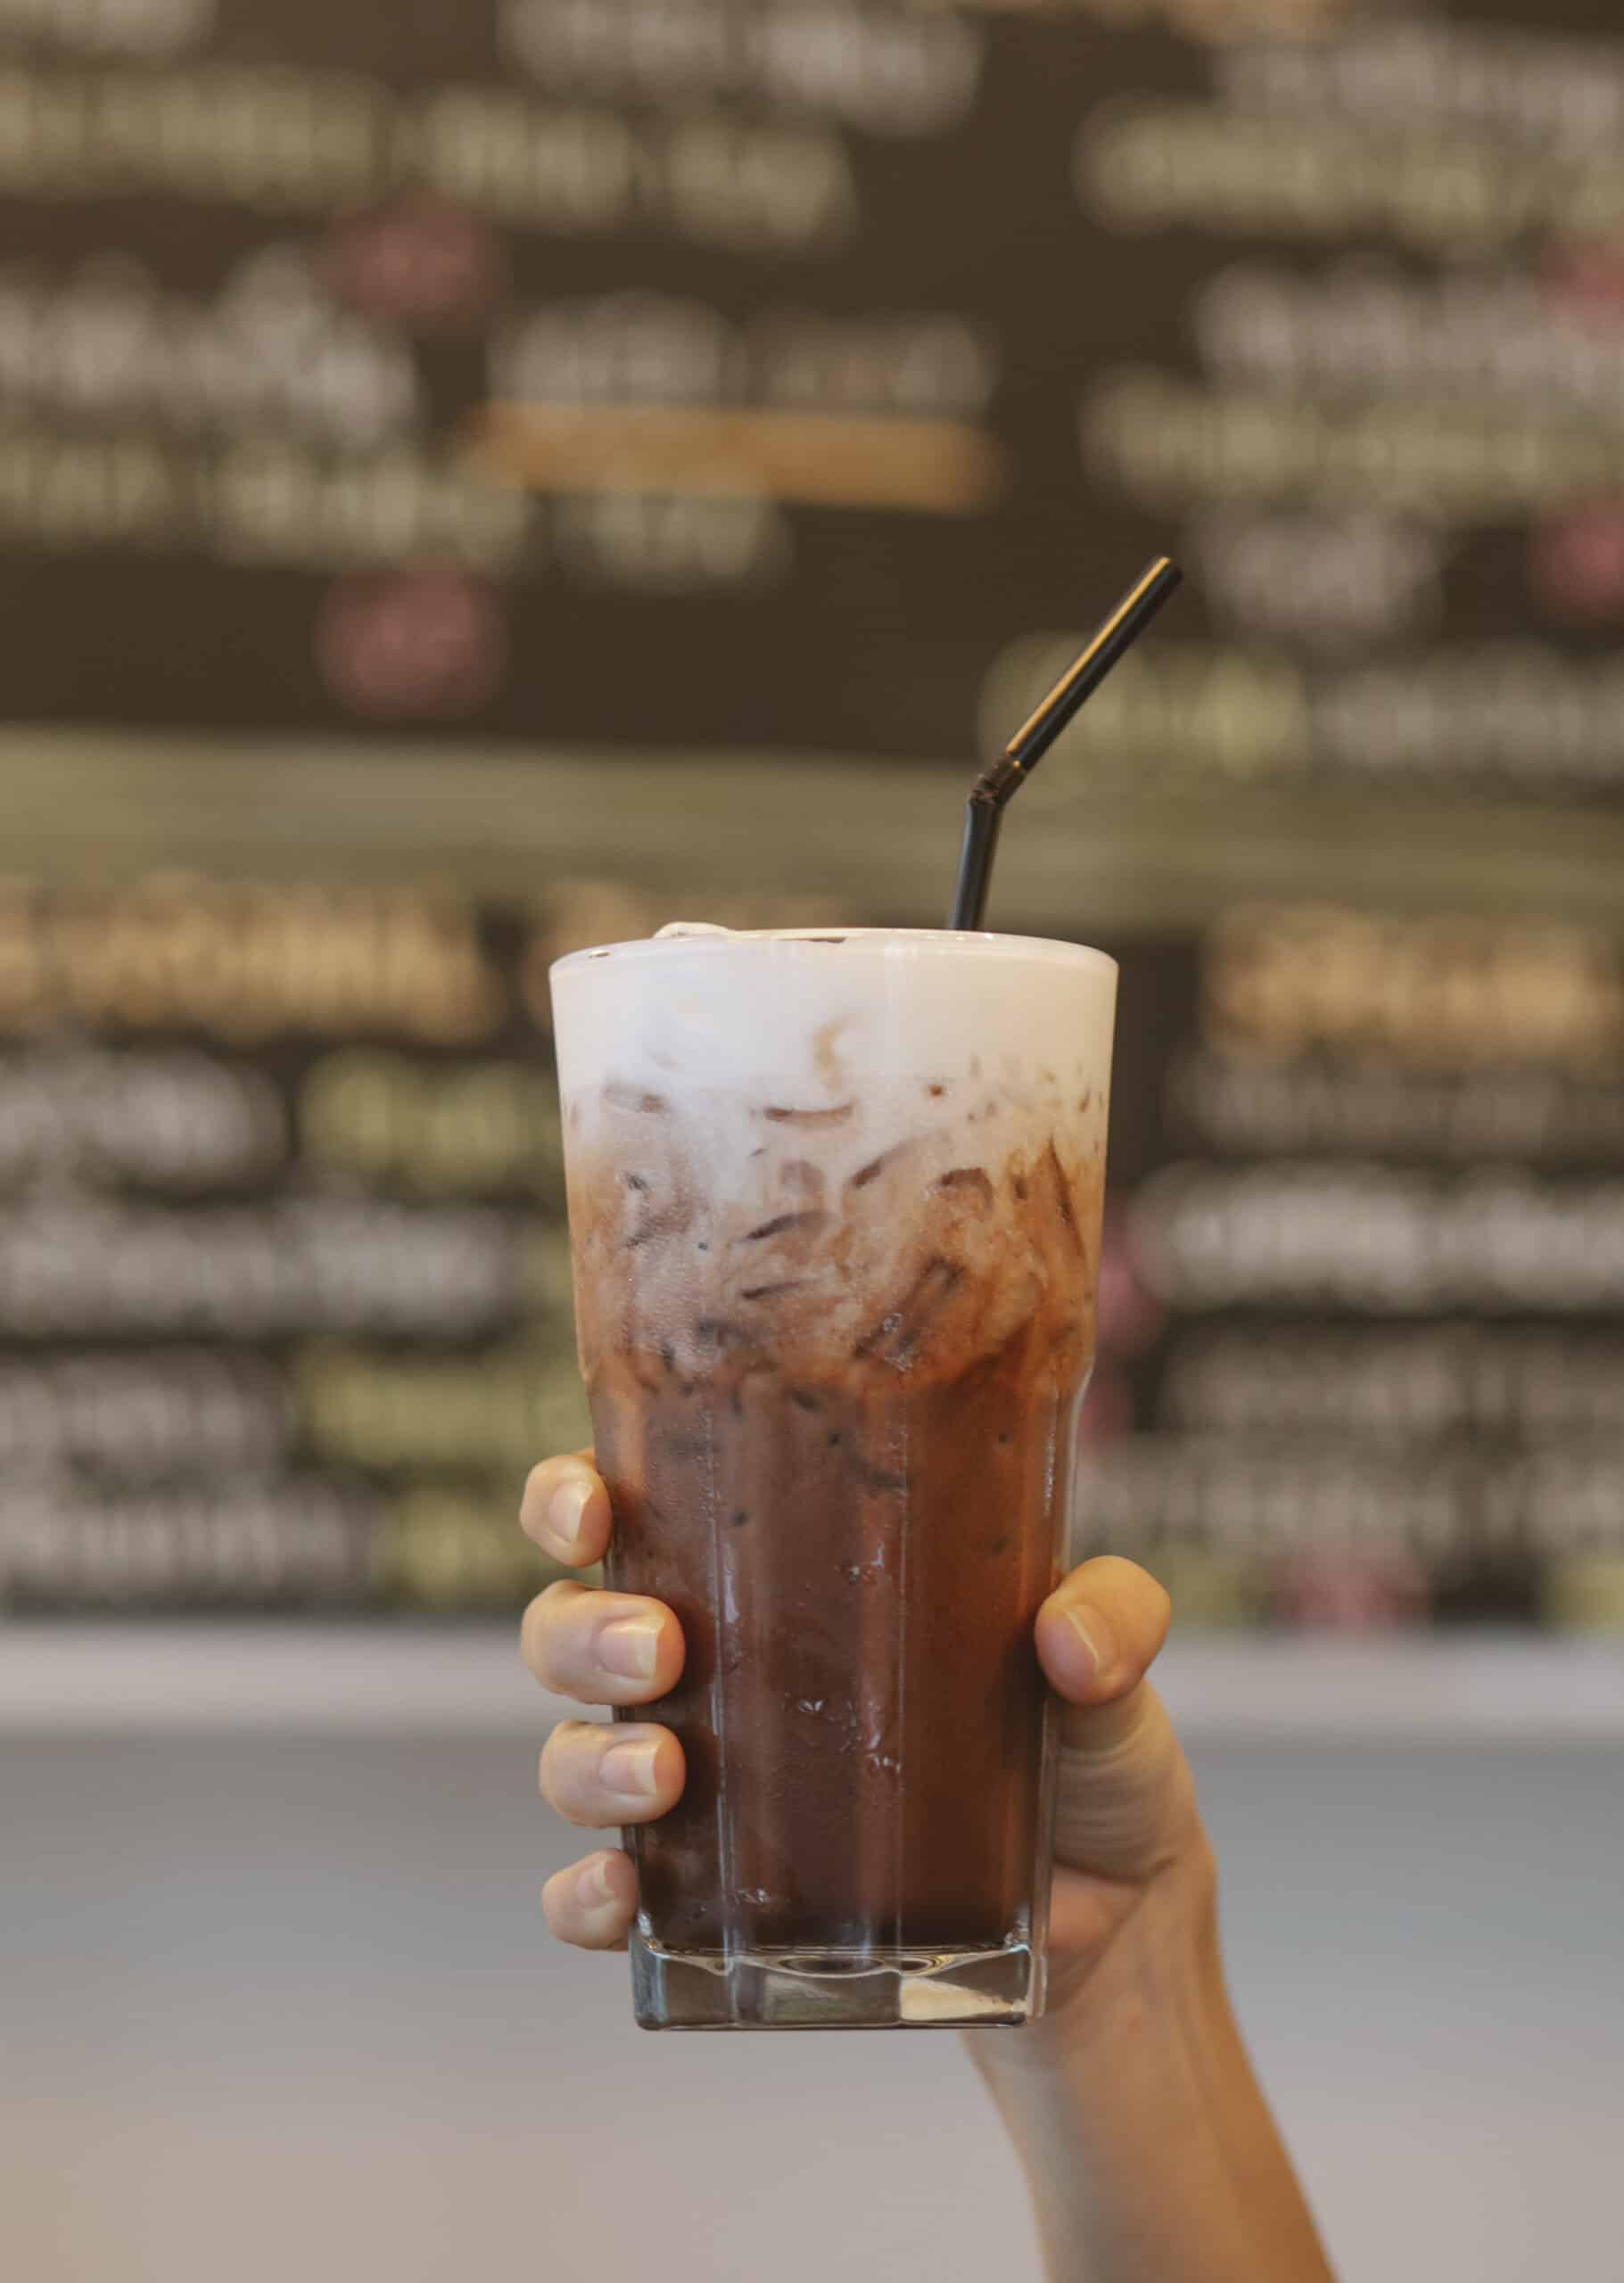
Alright y’all, that’s all I have for you today. Whether you decide to go with a top-end cold foam frother or a budget-friendly model, I guarantee your mornings will instantly be much more enjoyable.
After all, there’s nothing quite like spending an early Sunday morning sipping on an iced latte while admiring your wall art from the comfort of your own couch: no trip to Starbucks required.
Check out this post and learn how to make one of my favorite after-work drinks!
I love to hear back from you guys, so let me know in the comments how your cold foam frother worked out for you. Are you still mastering the process, or did you end up taking your morning coffee routine to the next level? Either way, I’d love to hear about it.
Until next time!
Cold Foam Frother Frequently Asked Questions

Do you need a frother for cold foam?
No, but you will need cold brew coffee (or another type of cold drink). While using a frother will give you the best results consistently, as shown above, there are plenty of alternative methods you can use to get that sweet cold foam you’re after!
What milk is best for frothing cold foam?
Skim milk is the best milk for making cold foam, due to its low level of fat and comparatively high levels of protein.
How are you supposed to drink cold foam?
Technically, you can drink it however you’d like! That said, most people prefer to mix in the cold foam as they enjoy their drink for added flavor.
Can cold foam be made in advance?
If you want to enjoy a cold foam drink in your favorite chair later on in the day, you might be wondering if the foam you made this morning is still edible. The good news? It most certainly is! Generally speaking, you can use pre-made cold foam for your iced coffee drinks up to five days after you make the foam.
Why does cold foam not melt?
Well, cold foam will melt if you place it on top of hot milk or hot coffee, so don’t do that! However, cold foam is thicker than hot foam, which helps it stick together. Since the temperatures between the drink and the foam are similar, the foam simply stays floating when placed on top.
Can I use creamer to make cold foam?
You can, but the results may vary. I would suggest starting with just the creamer, and then adding more milk to the mixture until you get the perfect flavoring and consistency combo for your cold foam.



Aw, this was a very good post. Taking a few minutes and actual effort to produce a good article… but what can I say…
I put things off a lot and never seem to get anything done.
When I originally commented I clicked the
“Notify me when new comments are added” checkbox and now each time a comment is
added I get four e-mails with the same comment. Is there any way
you can remove people from that service? Many thanks!